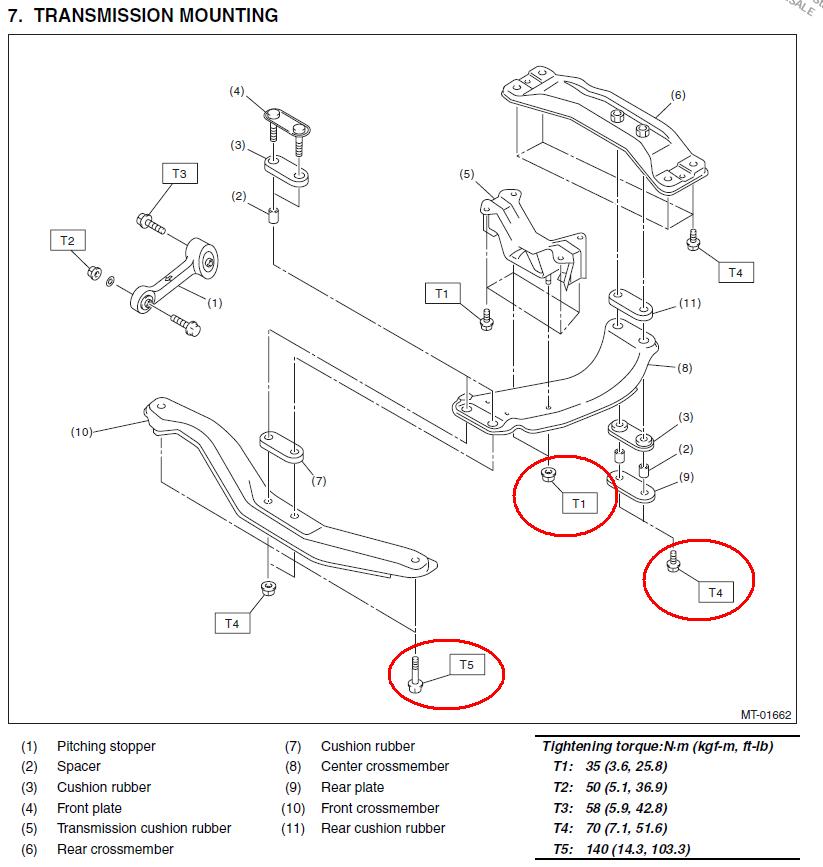
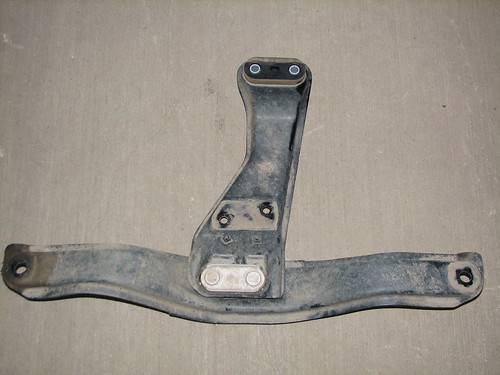
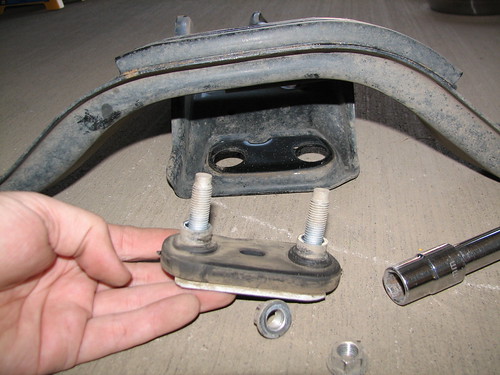
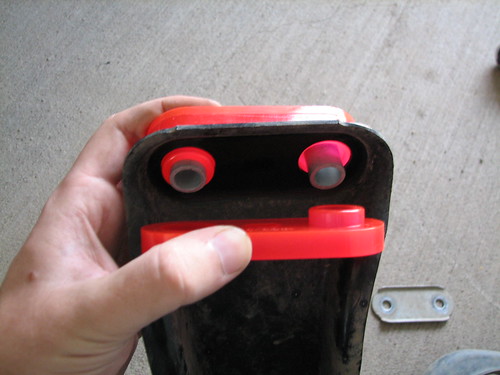
You should now have this.
As viewed from above, as if it was on the car.
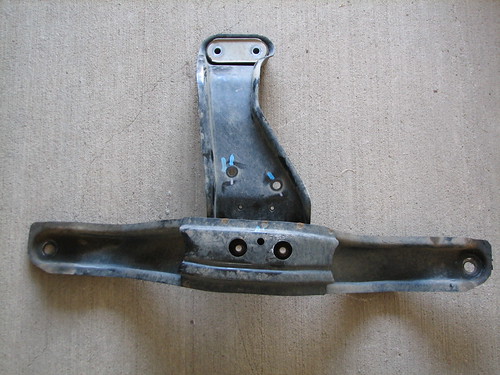
Flipped over, viewed from bottom, as if you were under the car looking up.
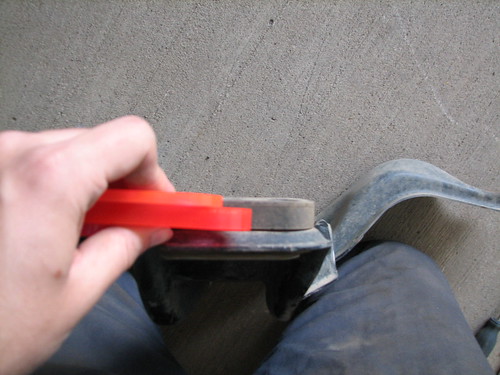
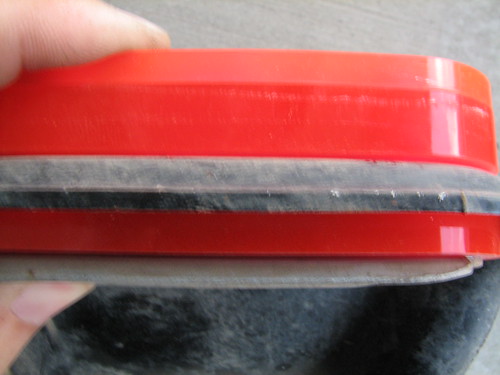
Here is the bushing between the front support and the crossmember.
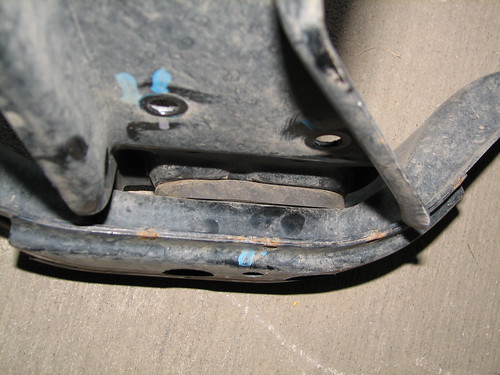
Undo the two bolts from the above pic.
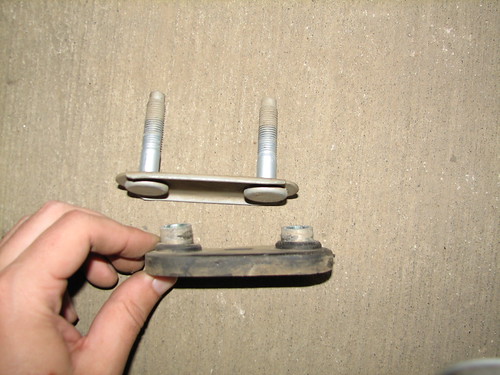
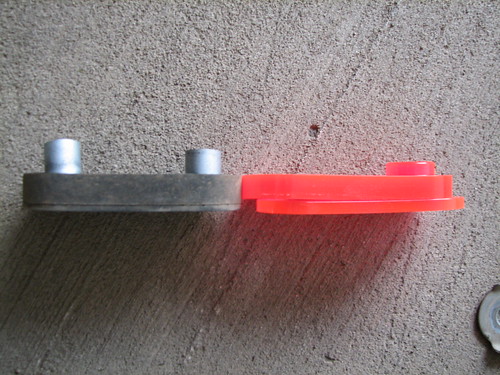
You'll have this, after you "peel" it off of the crossmember.
Note: there is a bushing that goes on the other side as well. You'll have two black bushings, I just didn't get a pic of both.
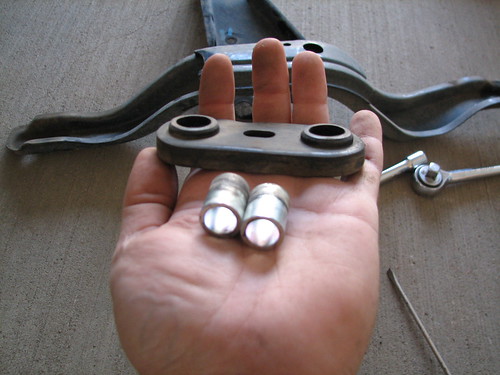
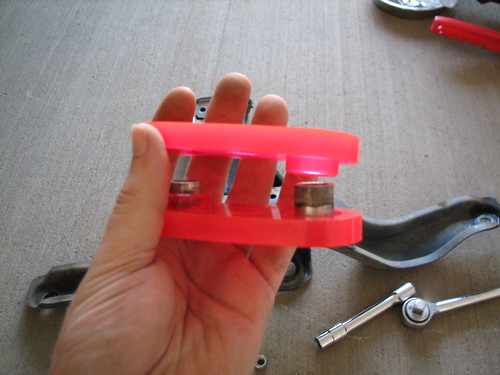
Take the bushing off of the bracket, you'll have a bushing with 2 sleeves.
FYI, the difference:

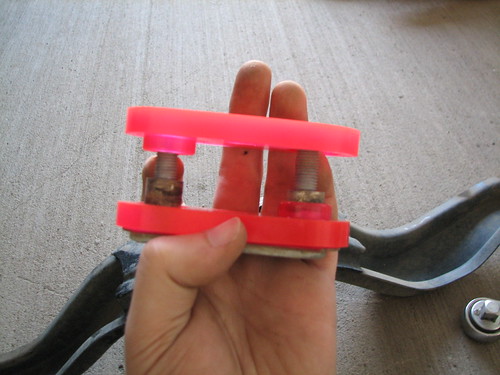
Take the sleeves out.
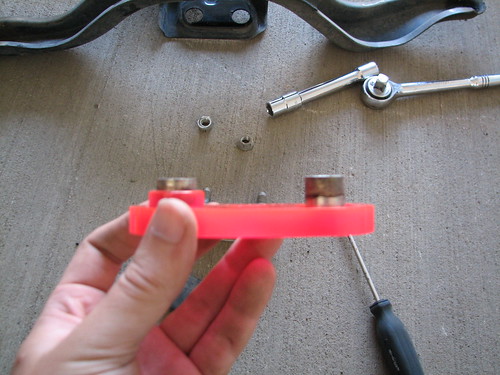
Put them into the TiC bushing.
Spray both sides of both bushings with white lithium grease. This will reduce/eliminate a rubber "squeak" when stress is put onto the bushings and they torque against each other.
It will go together like this. Notice the nibs that fit together on opposite sides.
Put the bracket in, and bolt the front support onto the crossmember, reversing the order you took them apart in.
You can torque the nuts at this point if you want to, or you can just snug them and torque them once the whole contraption is back on the car. They torque to 51.6ft-lbs, as per the diagram at the bottom of this install.
Now for the rear bushing.
Since you already have the bolts out (they bolt into welded nuts on the rear support that is still attached to the car) you should just have to peel the stock bushings off.
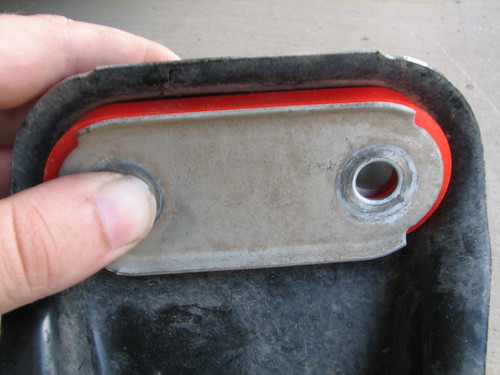
Notice that the plate on the bottom bushing has a lip to it. Remember that the lip points down when you put it back on.

Also notice the reason that TiC includes a spacer in it's kits now for the 08+ models. The top bushing is where the spacer goes.
These bushings also have the sleeves.
Put the sleeves into the new bushings.
Spray white lithium grease onto both sides of both bushings, and both sides of the spacer.
You won't really be able to "install" these until you get back under the car, since the bolts that holds these bushings on goes into the rear support, which again, is still attached to the car.
The sleeves might hold them together well enough.
 Don't
Don't forget the spacer on the top bushing. It just "sits" on top. It does not go between the nibbed bushings and the crossmember.
Also remember that the lip on the bracket faces down.
Slide the contraption back under the car, and plug it all back in.
I did it in the following order: (No pics, just do it and stop being a panzy)
Maneuver the front support back over the downpipe. Line up the studs from the transmission support, and push the crossmember up. Turn the nuts as far as you can while holding the crossmember up.
Don't tighten them completely, as you'll need to maneuver the whole jumble to line up with the front and rear support bolt holes.
Now the front 17mm bolts. Leave a thread or two, so that you can still maneuver the rear bits to line up.
Finally, the rear 14mm bolts.
Be
very careful with all of these bolts. They have a tendency to crossthread and strip. About a half dozen people on 3gwrx, and myself, have stripped bolts here. Don't do it. It's a pain in the assay.
That being said, here are the torques:
17mm front: 103.3ft-lbs
14mm rear and 14mm fronts: 51.6ft-lbs
14mm nuts on trans mount: 25.8ft-lbs (hand tight)