Time to update!
Can't believe it's 2019 already...
Last summer was pretty chill far car stuff. I finished the motor just in time for Driven then I had time to hit up a few ASA lapping days at Castrol as well as one Track Junkies event.
Things started to pick up a bit for RA Motorsports so that's taking a bunch of my time, also the fact that I have a baby on the way for April!
Spent 3 weeks in Europe for my honeymoon, a week in Cuba, 10 days in the yukon and a week in BC, all last spring/summer. Honestly surprised the car got out as much as it did!
This year will be much of the same story I'm sure, between the new little one and drying to balance a work life, this poor car will be neglected. That being said, there's dyno time on the books to see how the new motor compares to the the old, and I'll definitely hit up as many lapping events as possible. Skipping Driven this year and for the foreseeable future, but might be trying out Midnight Rev Up instead, like the grassroots idea around this more, and some of the smaller local meets/shows.
But that's enough about my boring life.. onto the photos!
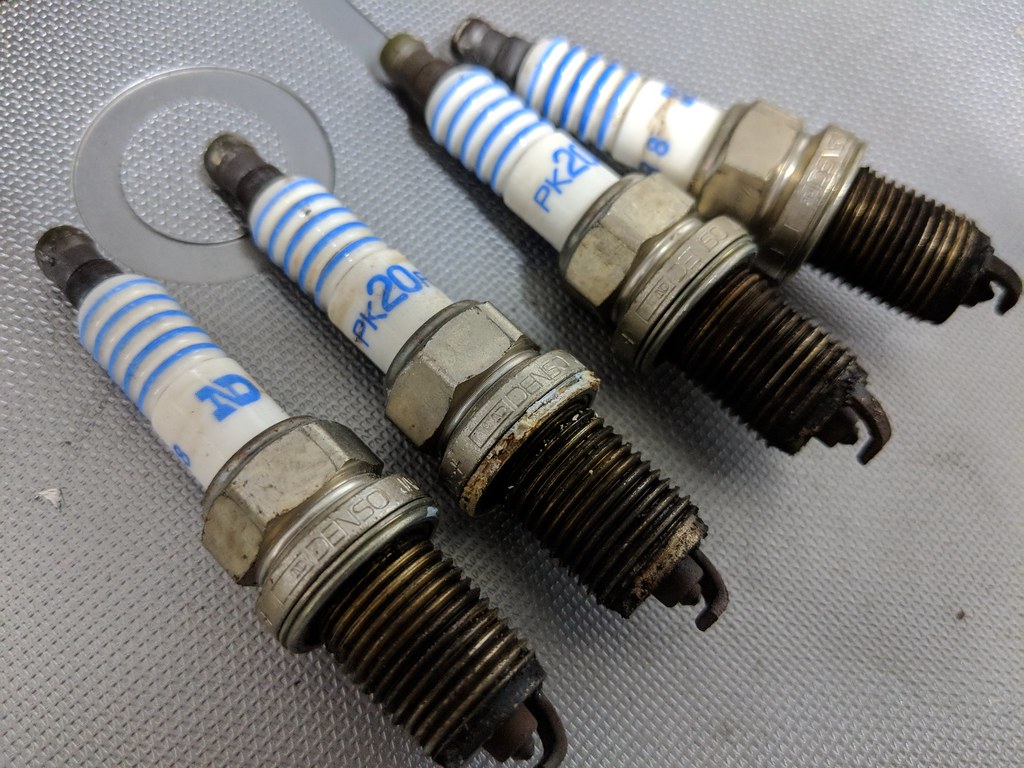
After starting to tear down my new to me motor, I realized I had a unicorn on my hands, this was probably one of the lowest mile stock 4age's on the planet lol OG spark plugs, timing belt and oil filter
Inspection:

OG Plugs!:
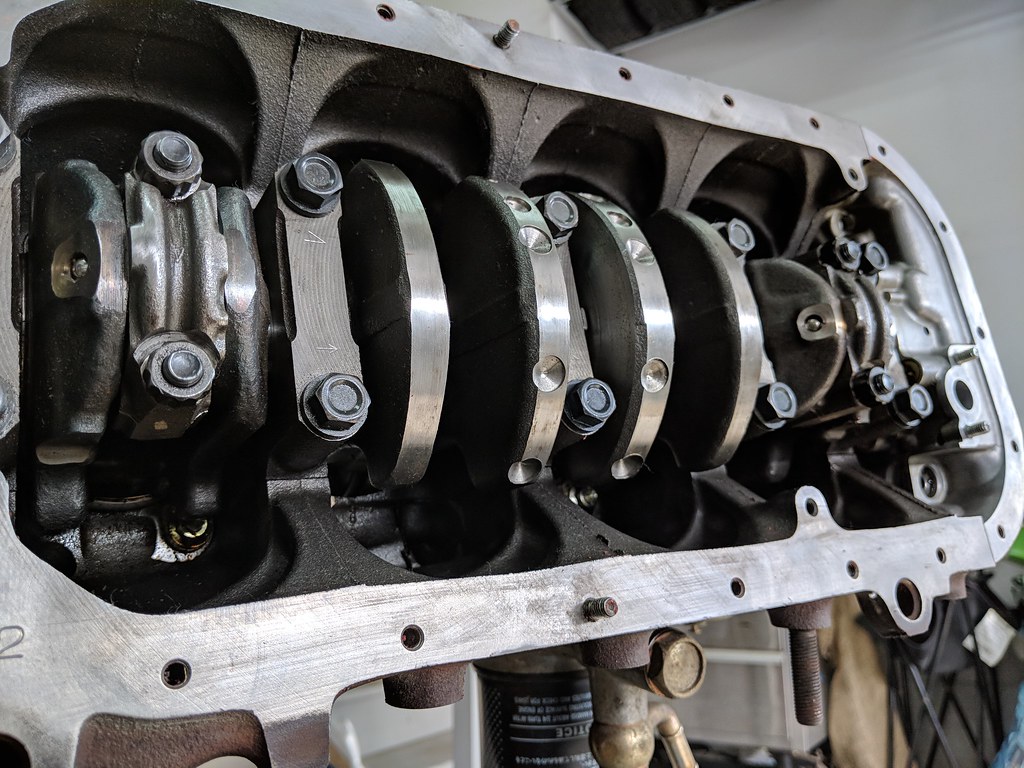
Fresh coat of paint for the block:
Head going back on with a TRD headgasket after being machined and tornado'd.
Quick spray of copper on the headgasket to ensure a good seal
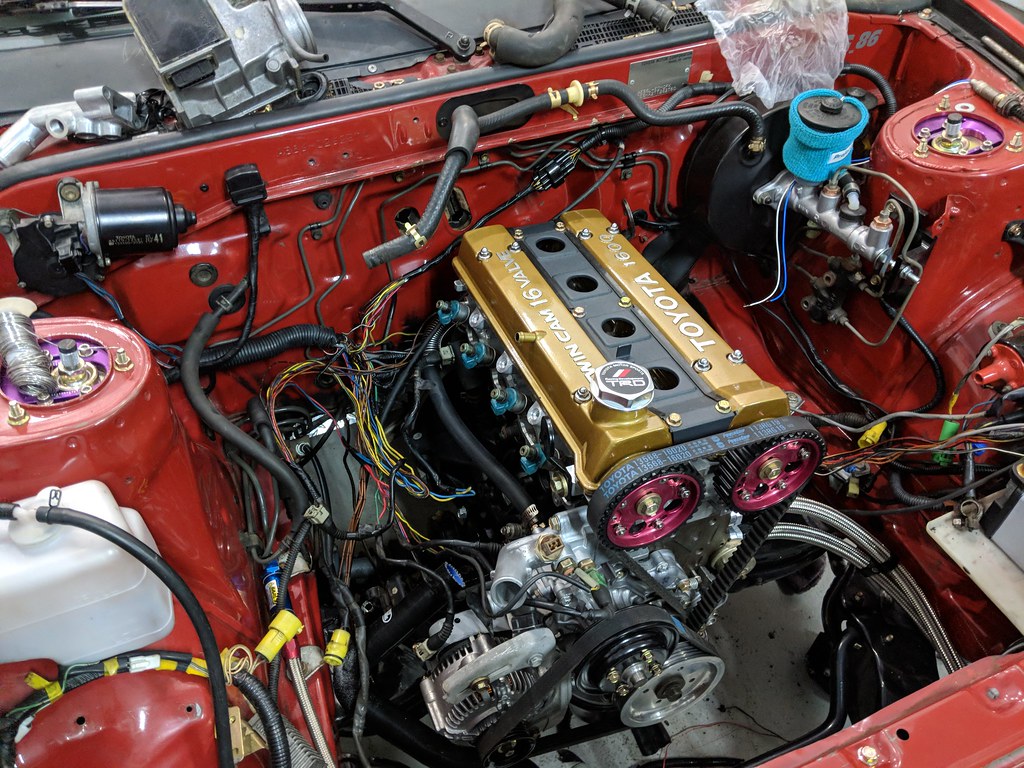
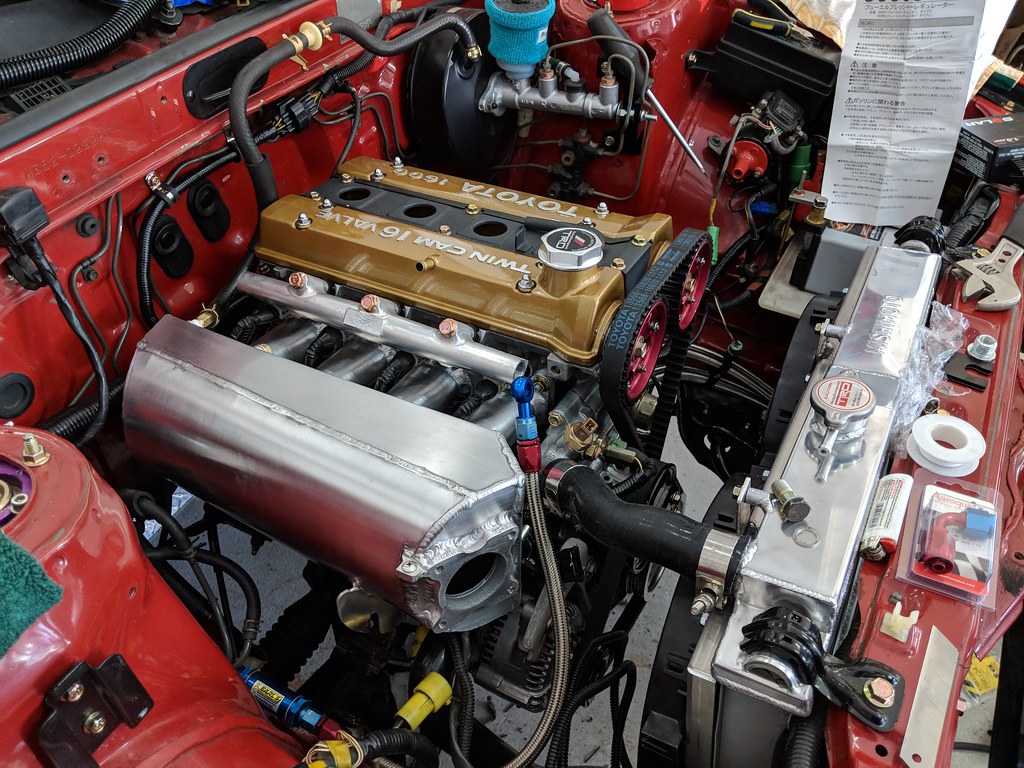
Since I had a few sets of valve covers around, and this build wasn't going for an OEM look, I decided to try out some gold powdercoat:

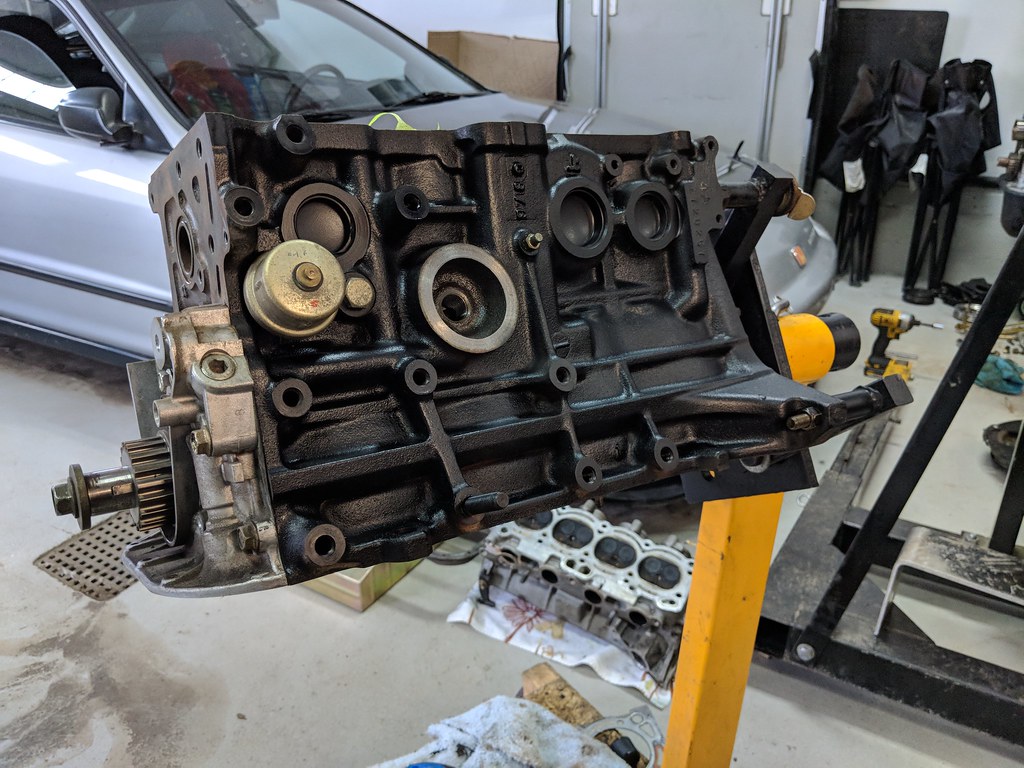
Now it's looking like an engine again!

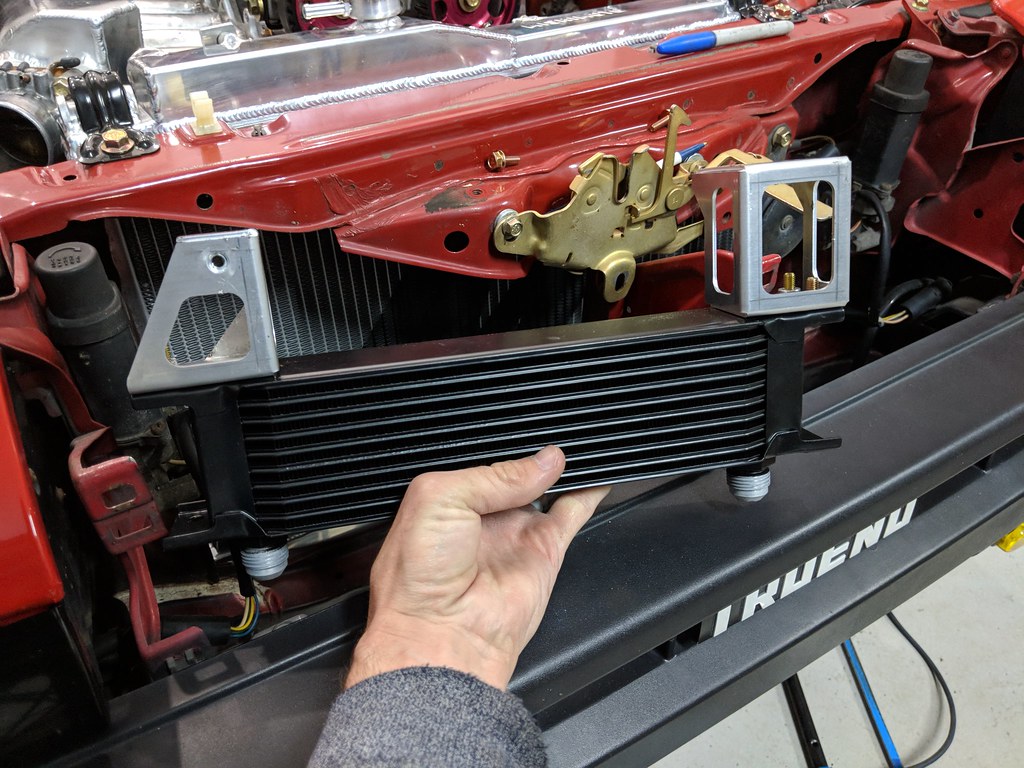
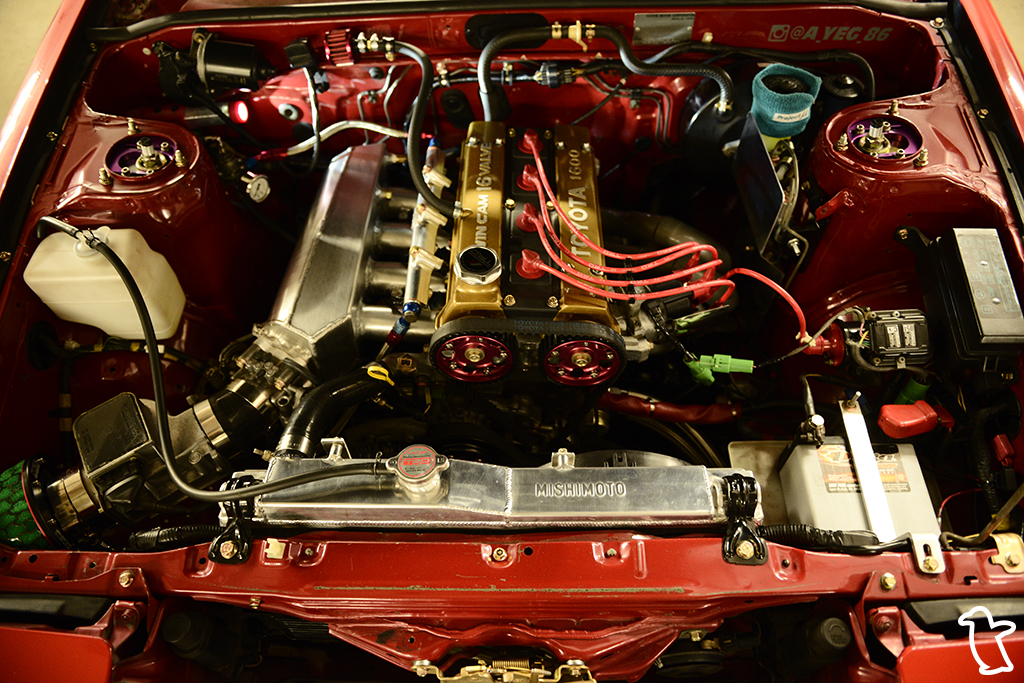
Meanwhile, back at my office it was starting to look like Christmas. Parts were showing up from this cars first official sponsor, Mishimoto:
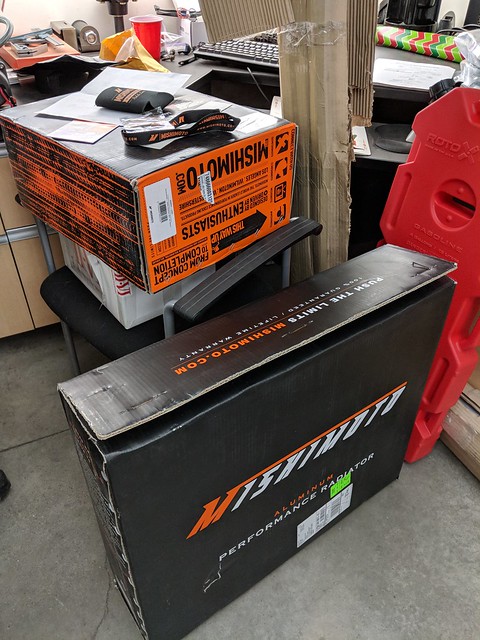
Went with an all aluminum radiator, as well as a 10 row oil cooler kit. A note on the oil cooler for 4ag users, the sandwich plate they provide will work, but only if you delete the factory oil pressure gauge.
I tried for a very extended period of time to make it work with different fittings which cause a big scare at the track, either with oil leaks or the gauge suddenly showing no pressure.
To rectify that, I've got a Greddy/Trust sandwich that I will be putting on shortly, the oil lines come off this at 45* angle allowing the lines to clear the pressure sensor. In the end I wish I would have gone with the HPI oil cooler kit which is specific to the AE86 and 4ag, but live and learn..
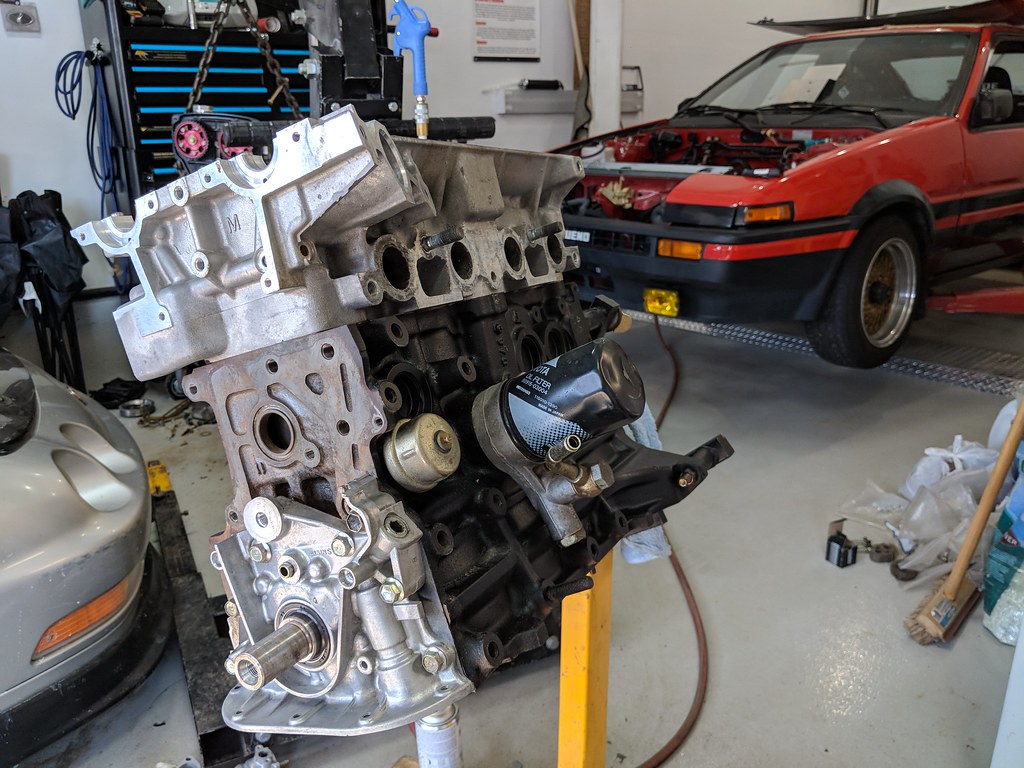
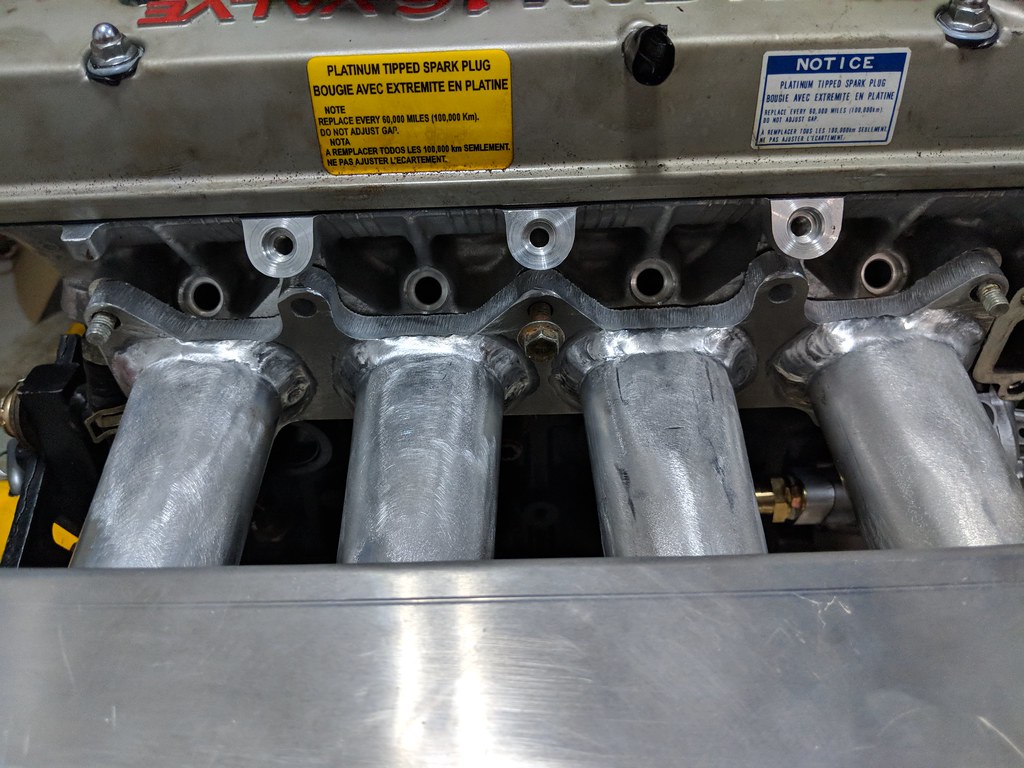
With the engine basically tied up I turned my head to the intake manifold I was fabbing up:

Test fitting before final cleaning:
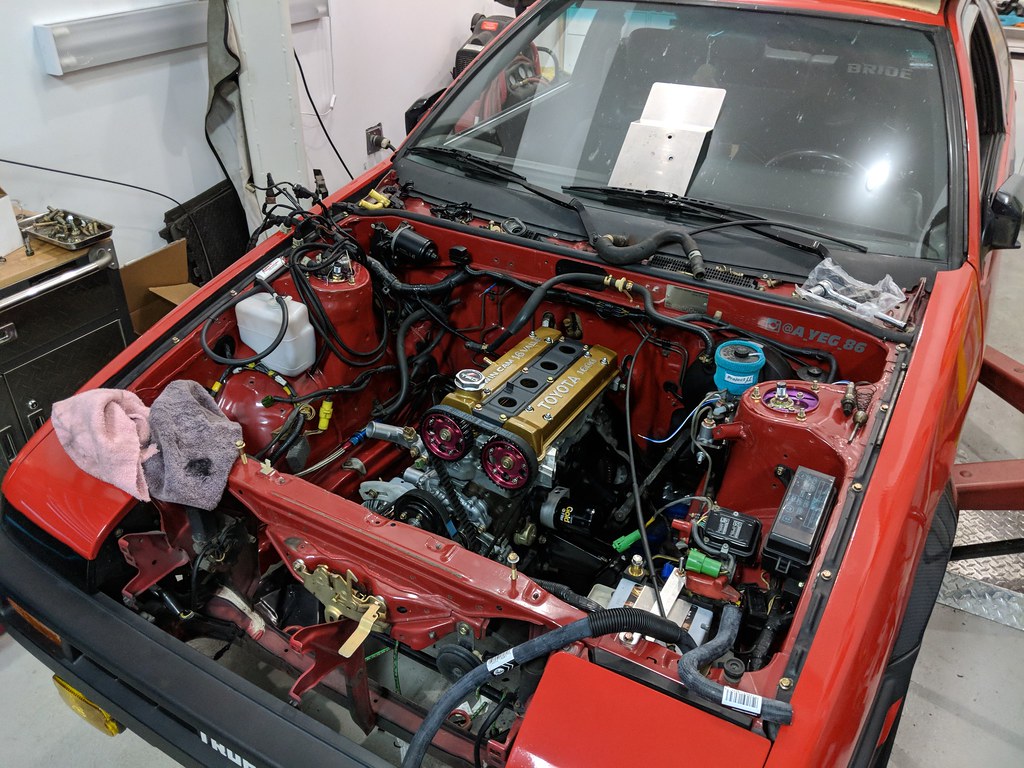
Big day! Engine goes back in:
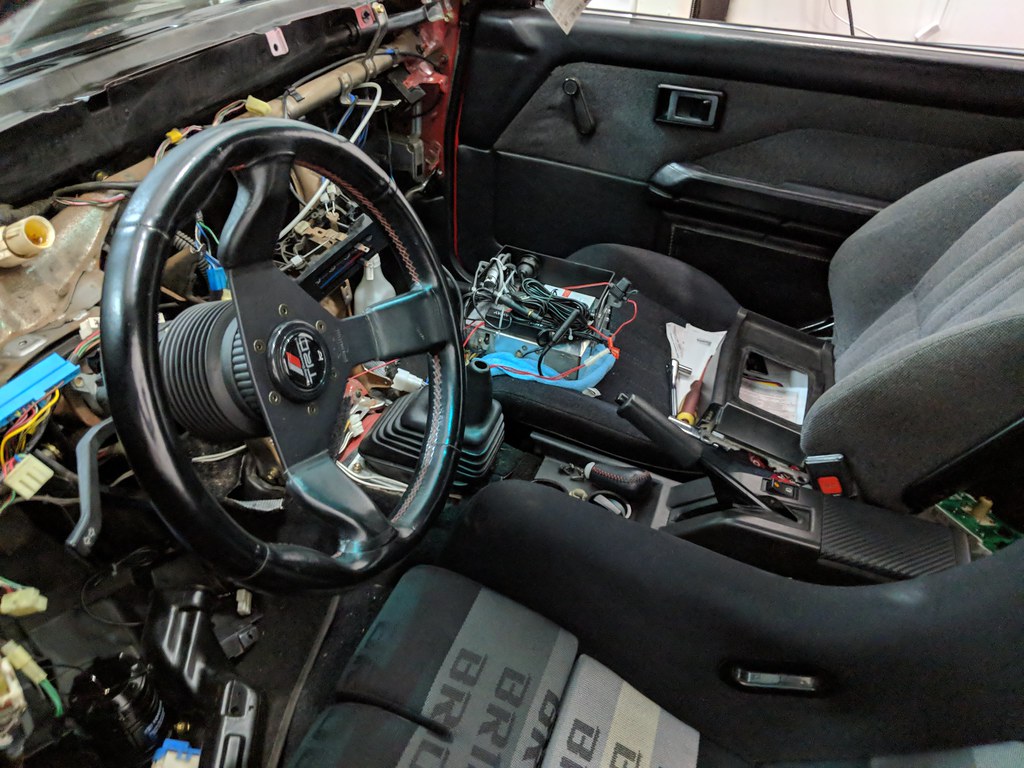
Followed by annihilating the factory wiring harness to lose all the components that were deleted including, IAC, Carbon can, idle up solenoids, cold start assist and cold start injector and EGT solenoids:
Inside some work had to be done as well, for years now the heater core had been plugged up, I've had one on order for well over a year now, so for the time being the old one was coming out and being replaced with a blanking plate. One day I'll either get the new one, or send the old one out to be re-cored:
Now anyone who really knows me knows that I love making a good bracket to hold almost anything haha so that's exactly what I did for the new oil cooler:
With wiring out the way, it was onto fuel and air. Just my luck, it turns out the fuel rails don't cross over between the 2 head designs, even though they're basically identical save for the intake ports.
And what a job it is to try and source a fuel rail for an early 90's toyota engine, that is, by Toyota's standards at least, a fairly rare engine. I went as far as buying some fuel rail "stock" in case I ended up having to make a fuel rail myself. In the end I somehow stumbled onto a shop out of Malaysia called "Speed Master Racing" that cnc's fuel rails for this specific engine. Took a couple months to get here which was a painful wait but it did show up eventually and worked perfect!
Here it is with the fancy over-engineered-not-at-all-worth-it intake manifold:
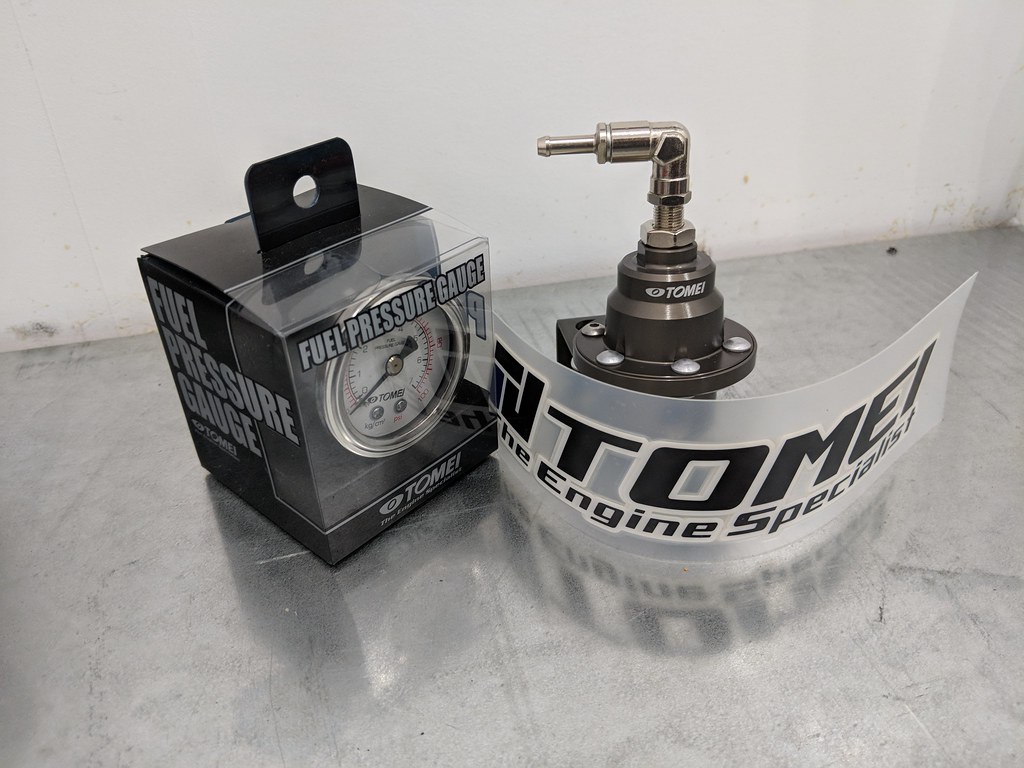
Couldn't use the factory fuel pressure regulator, so bought something ballin:
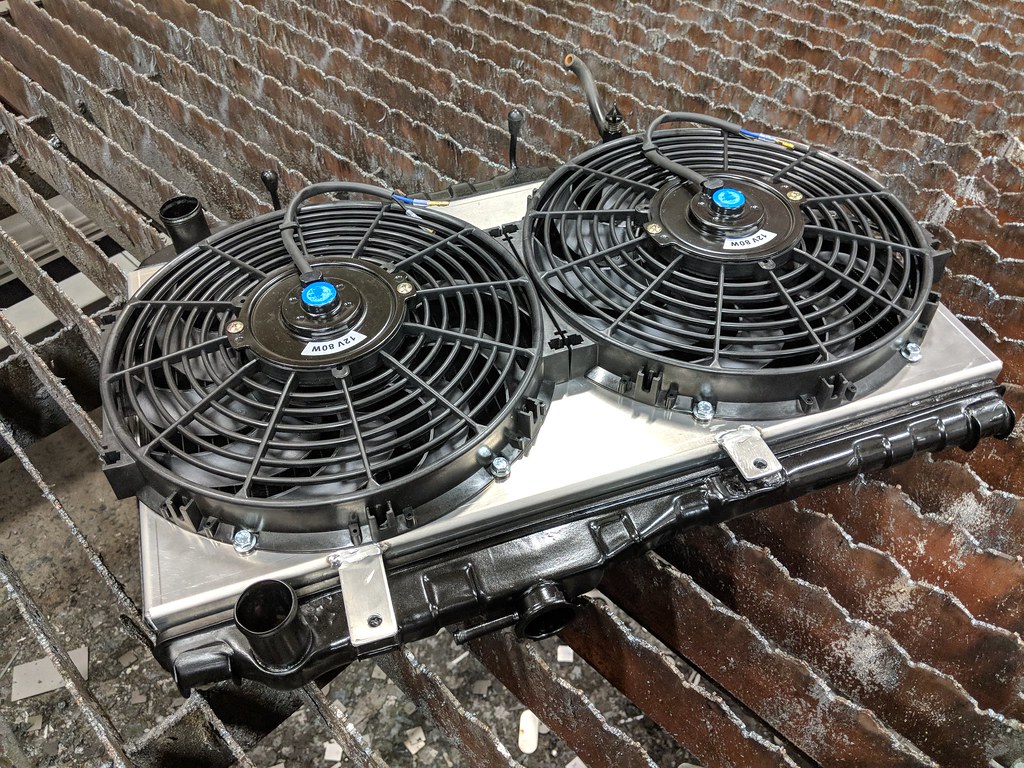
Made myself a fan shroud so I could move to dual electric fans. These are now wired thermostatically instead of via a switch in the passenger cabin. Install came out super clean and no more melted wires by the exhaust manifold. Some factory wiring has to be relocated under the exhaust manifold, and those wires were wrapped in extreme temperature welding cable sleeve.
And that about wraps up this engine "build". Nothing too extreme, but i do love the way the bay turned out, sure looks like it could put out some power, and we'll find out in a few months. Few other last items to tie everything up included how to fit an air filter in the restricted space I had, and some sort of breather. I'm usually one to avoid the foam filters, but I didn't quite leave enough room for anything but that unless I was to remove one of the headlights, which may still happen at some point. Instead of going with a catch can, I decided to try and keep the bay a little more empty and clean, so i rigged up an elevated breather with a small air filter. After a few track events it seems to be working great.
More to come!


