Originally posted on NASIOC and IWSTI, and I think here before the forum crash. -------
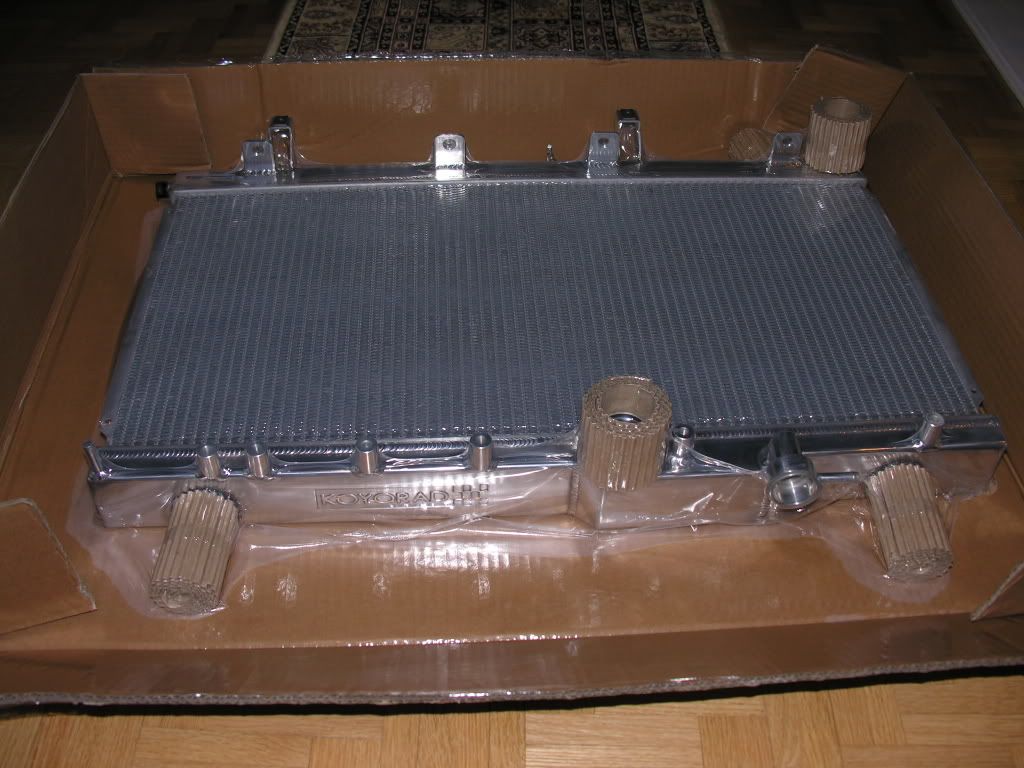
I ordered the Koyo Racing Radiator a couple weeks ago and it arrived yesterday afternoon. Today was install day.
I took a bunch of pictures during the install so I figured I'd post a How-To for those wanting to upgrade their stock radiator to a better cooling, higher performance radiator for big turbo setups.
This isn't the end-all-be-all of radiator installs, so don't read it as bible - I probably screwed along the way, and there are likely better ways of doing things, so be warned.

If you guys see something that makes you go

...

...

... post up and I'll adjust the instructions.
Here we go...
-----------------------
Koyo Racing Radiator - part number
R2704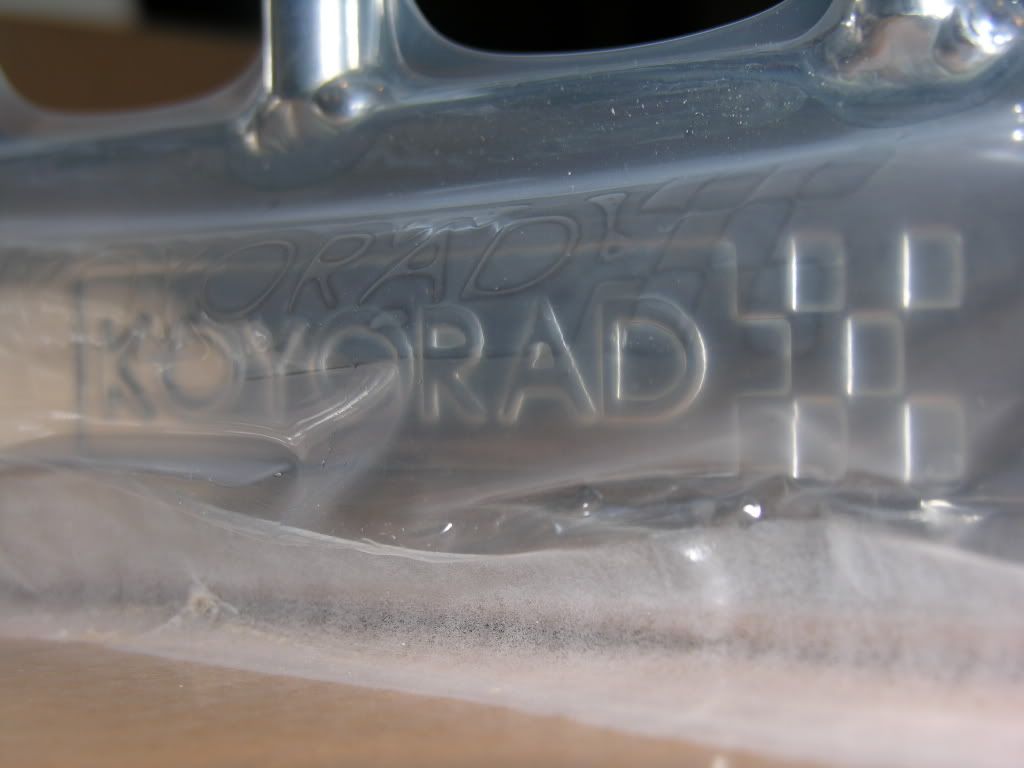
 Step 1 -
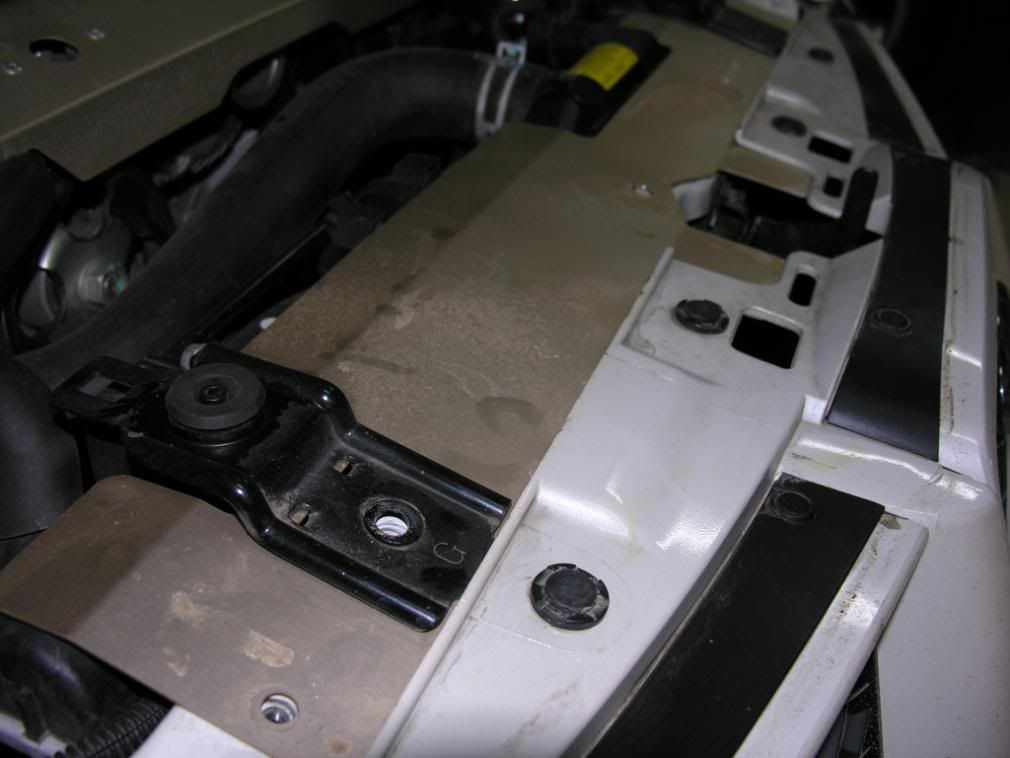
 Get front of the car in the air.
Step 2 - Remove undertray - a few bolts and a few snap clips
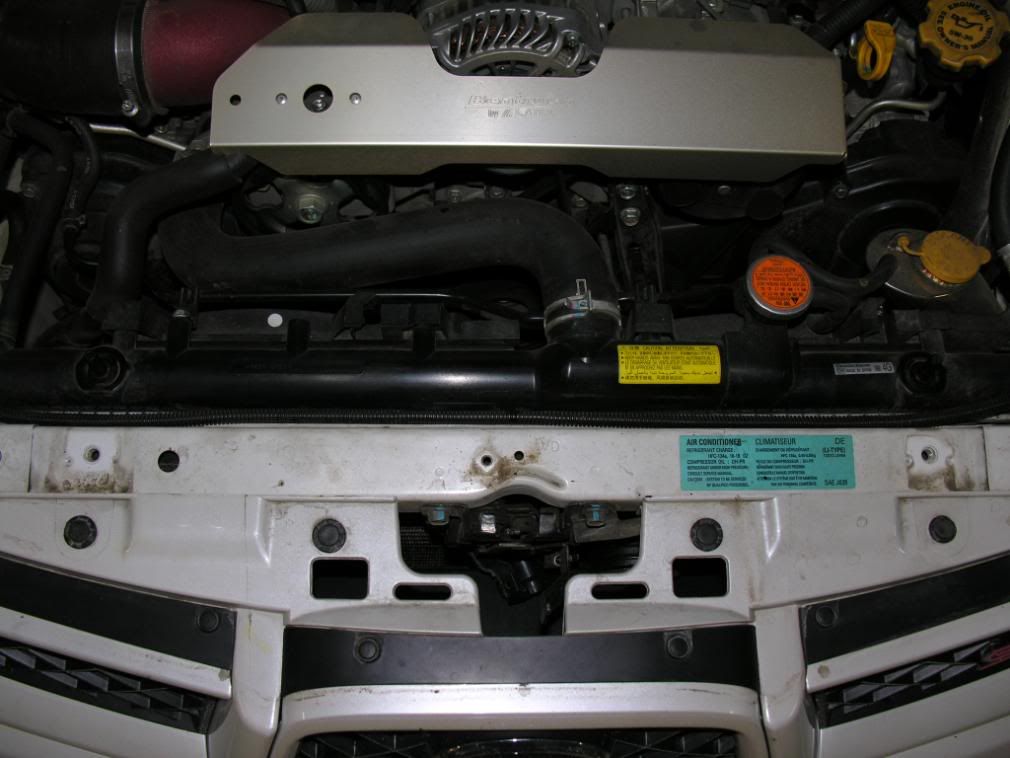
Step 3 - Remove your radiator cooling panel (if you have one) and/or remove the two metal brakets that attach at the top of the radiator.
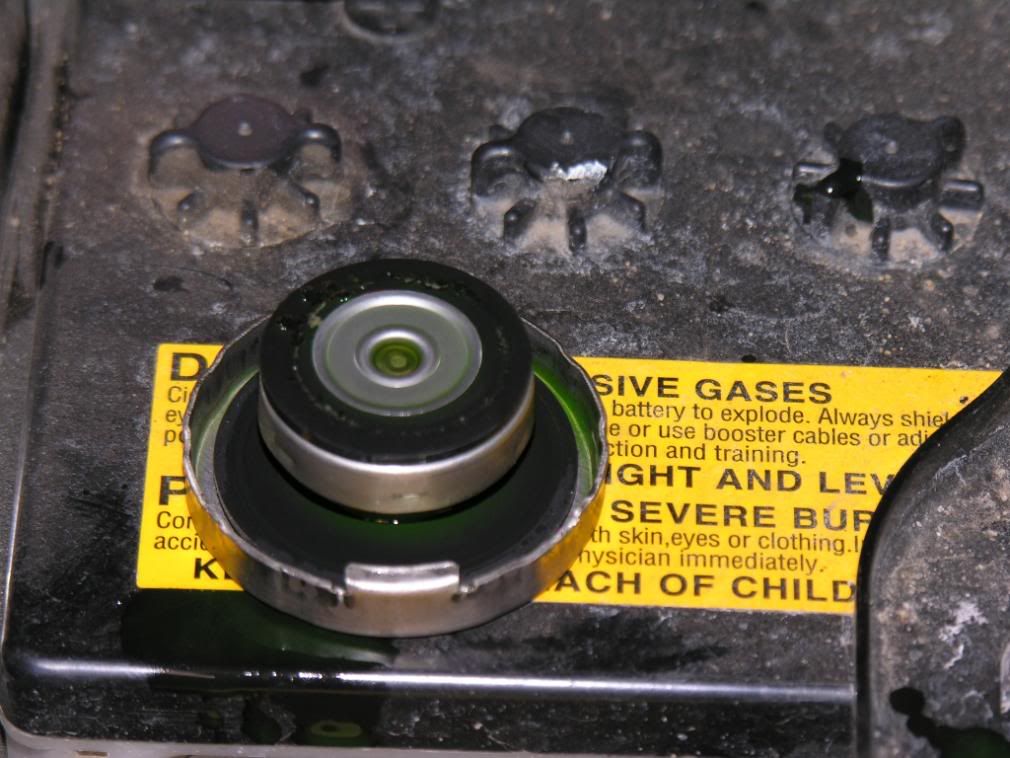
 Step 4 -
 Remove both radiator caps - the cap on the radiator itself, and the reservoir cap.
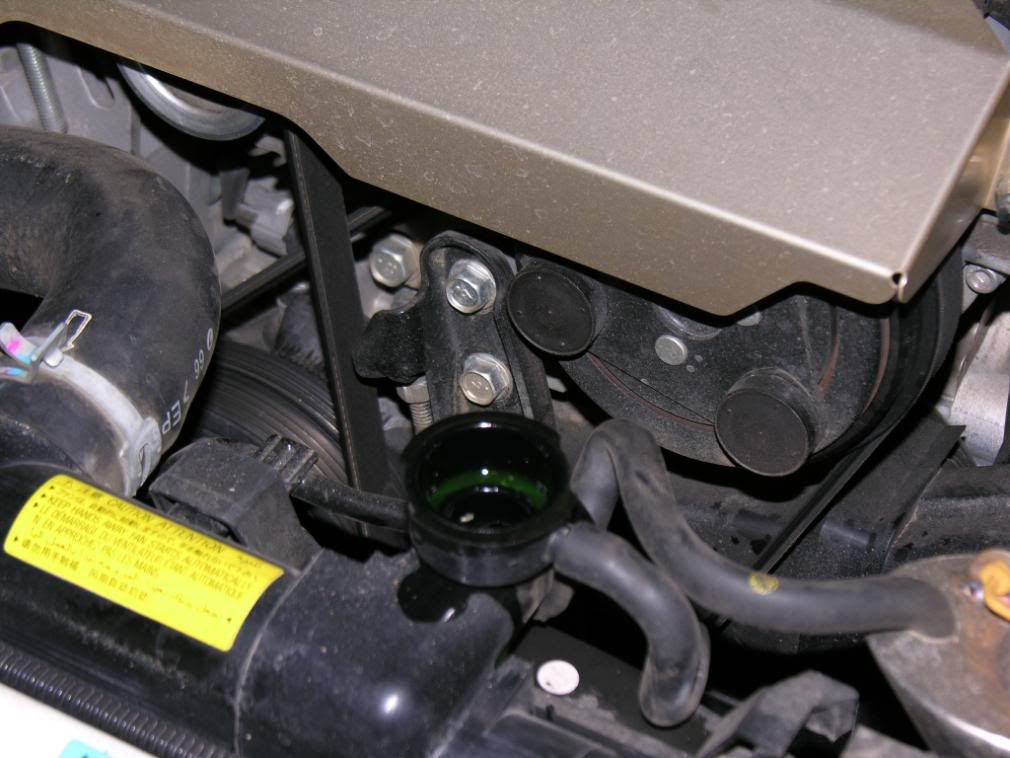
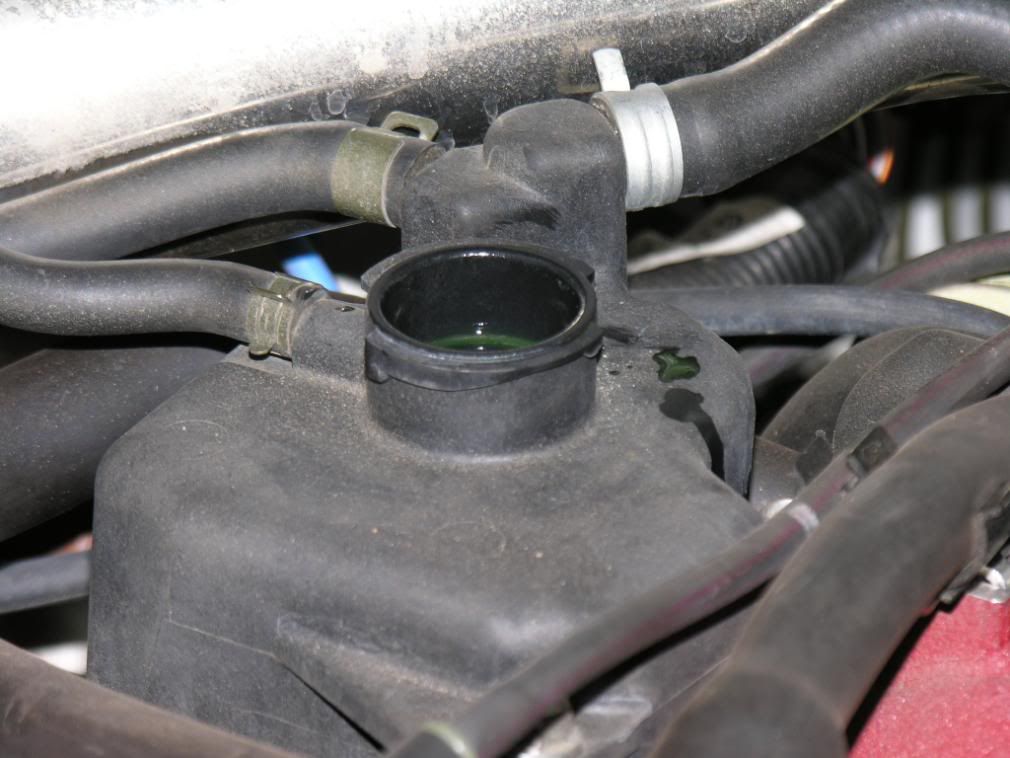
...hate winter... look at the grime
under the cap:
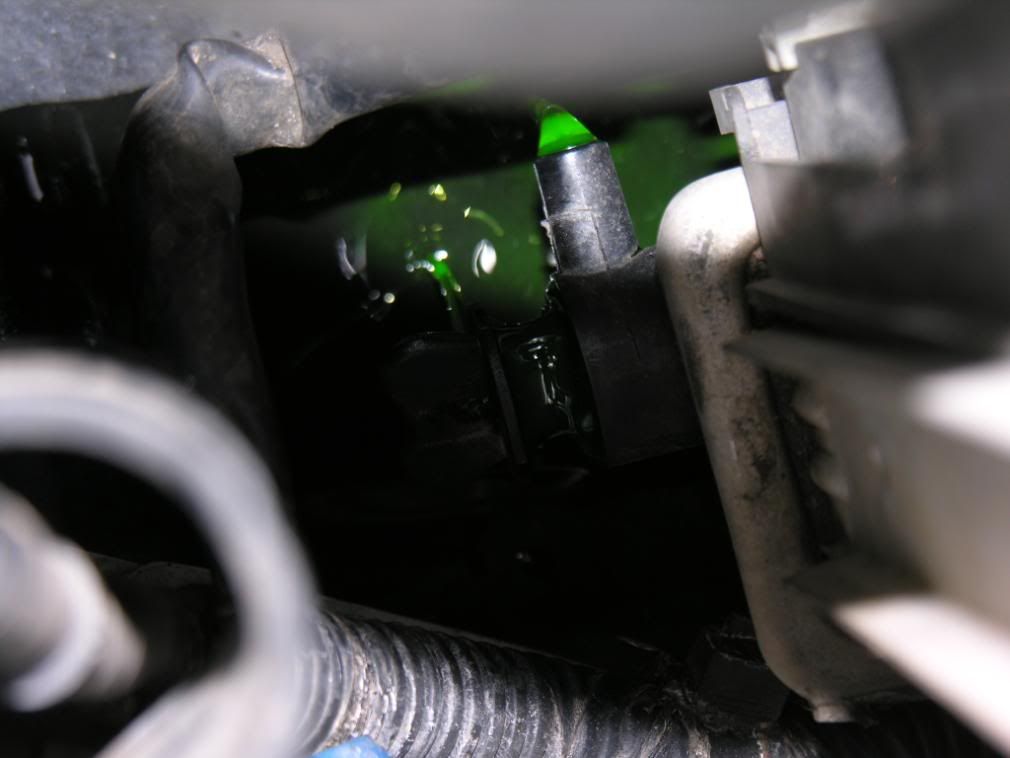
 Step 5 -
Drain the coolant (obviously have something to catch the coolant as it drains):
There are two methods of doing this:
1) Unscrew the pet**** valve and drain from the lower passenger side of the radiator (picture looking from passenger side, looking straight down on radiator), or;
2) Remove the lower driver side radiator hose and be ready for the wild coolant rapids to come thundering out (sorry, not the best pic - looking up from the underneath the car on the driver side)
One thing to note is that when doing the pet**** drain method, ideally you'd have a hose of some sort to keep things clean. In my case, I let the coolant drain over the subframe and into the basin I had waiting. It made for a smoky first start up.
Step 6 -
Now that the radiator is drained of coolant, time to get it ready for removal.
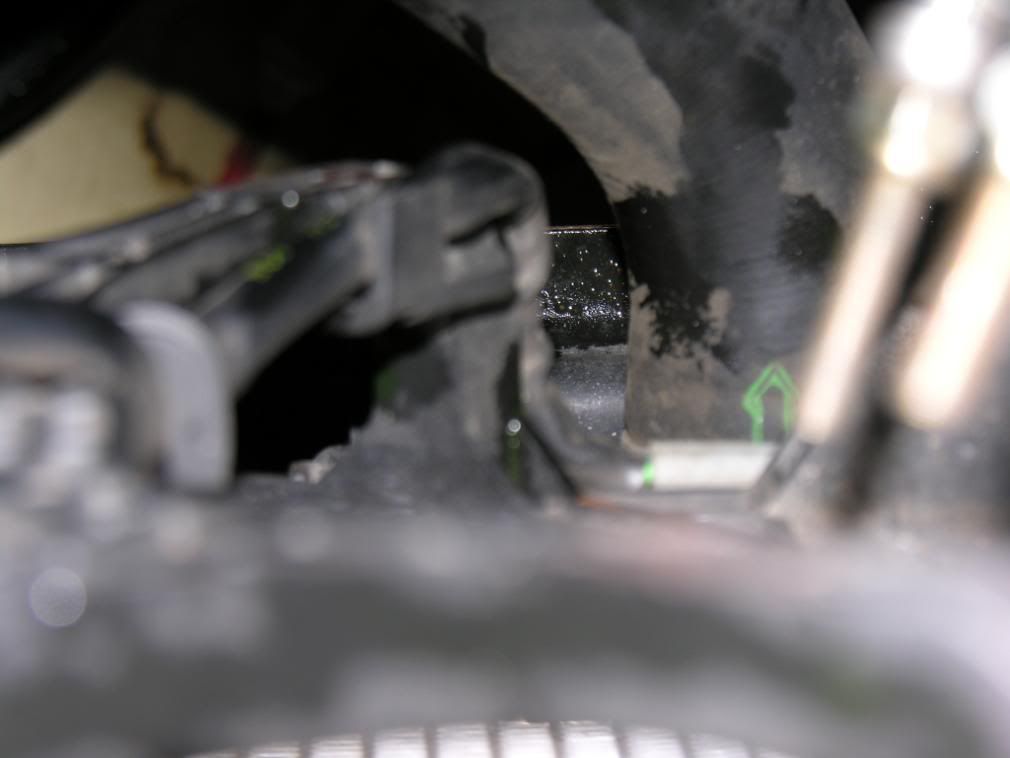
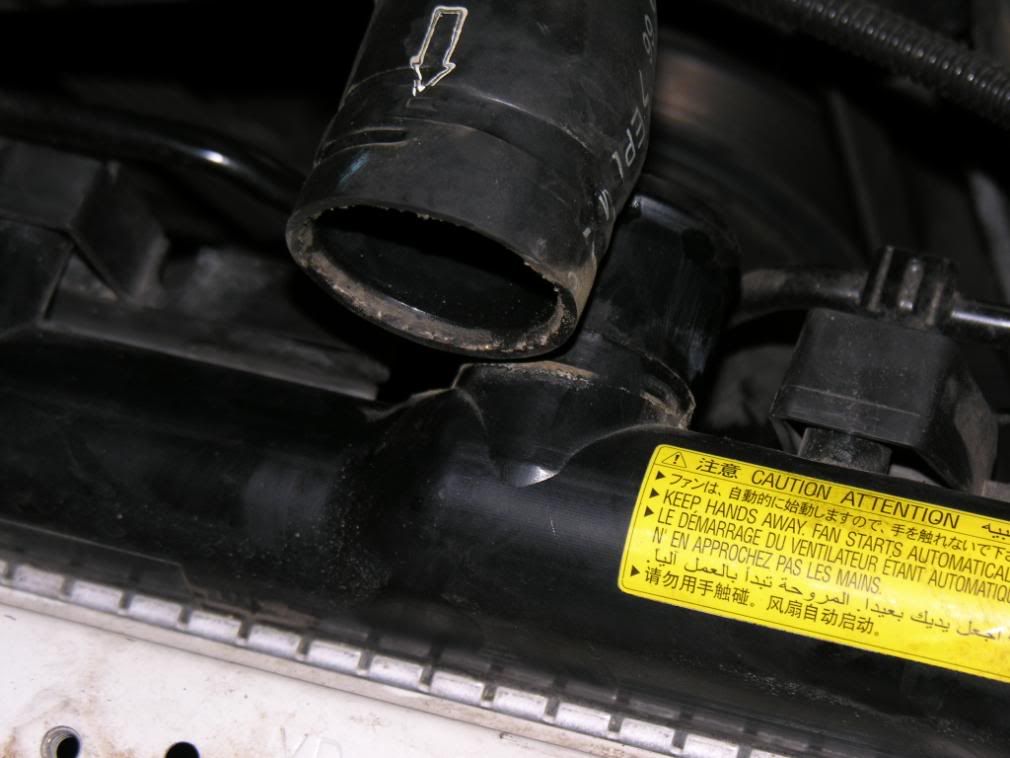
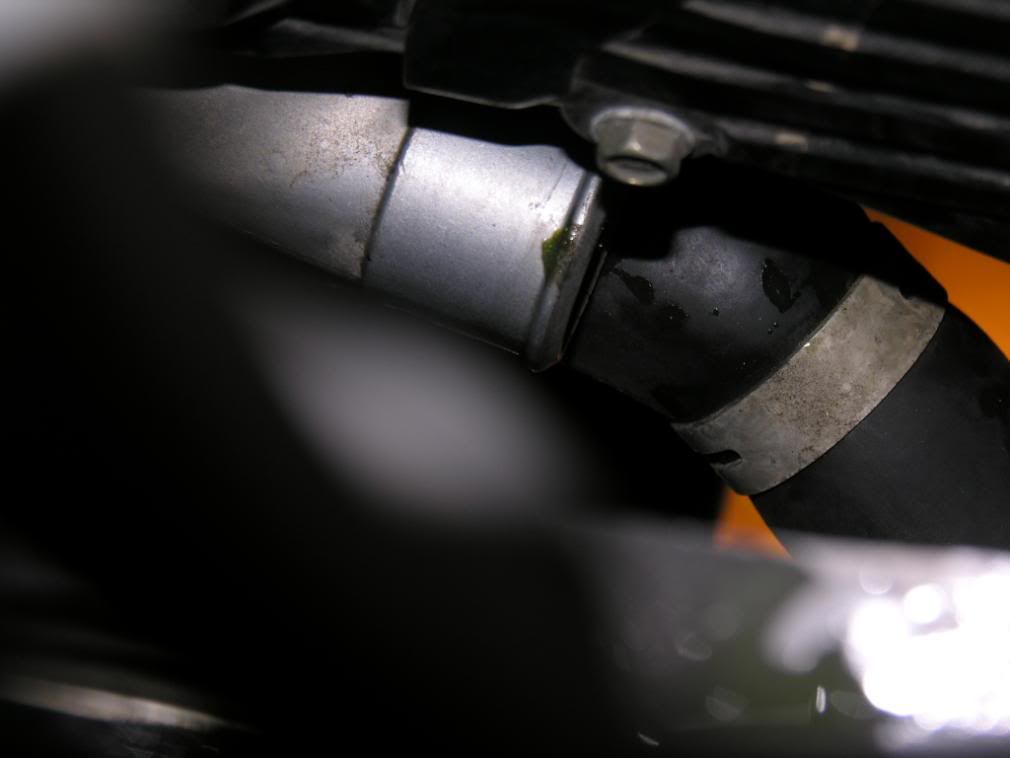
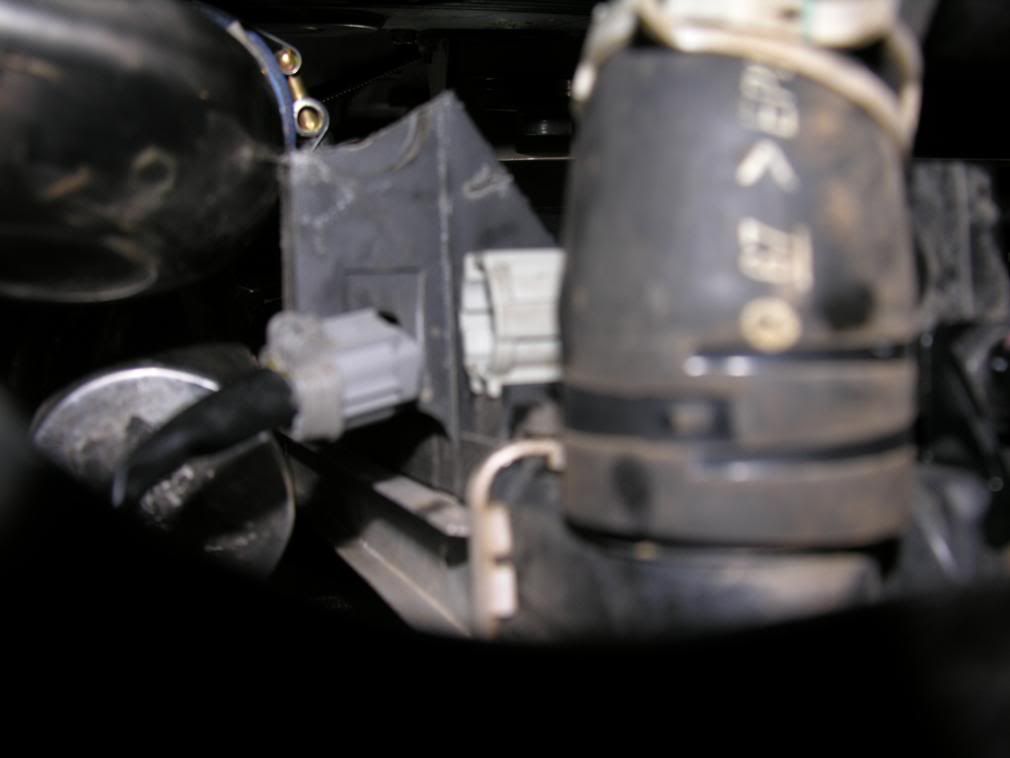
- Remove all coolant lines going into and out of radiator (not all shown in pics):
 Step 7 -
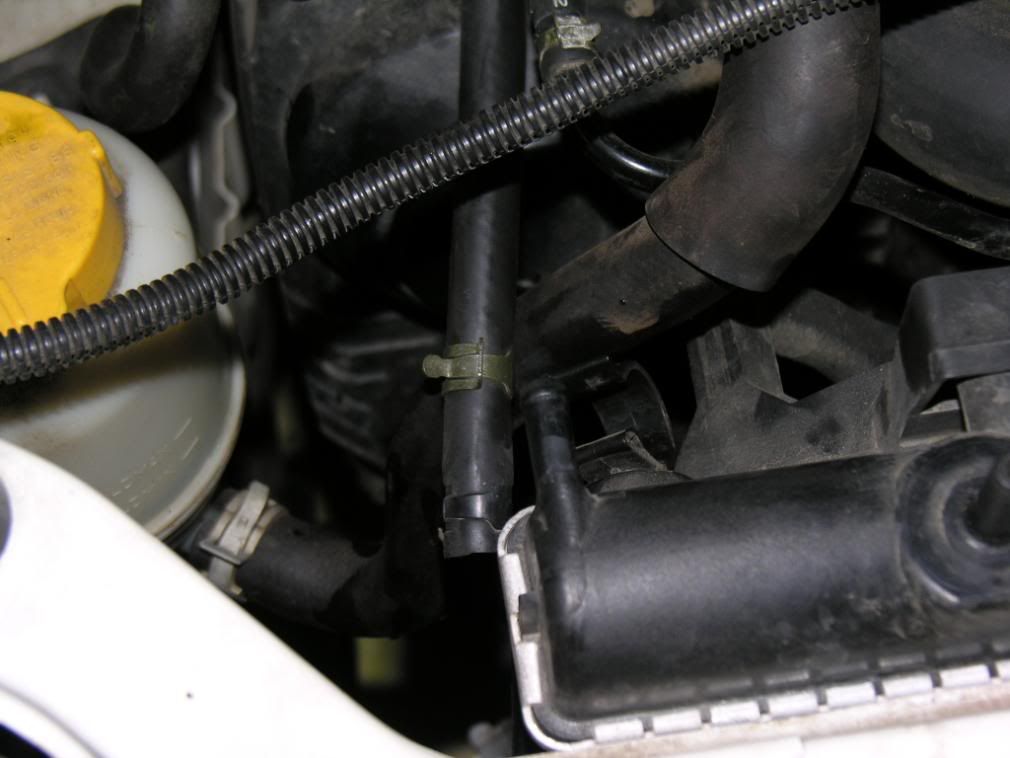
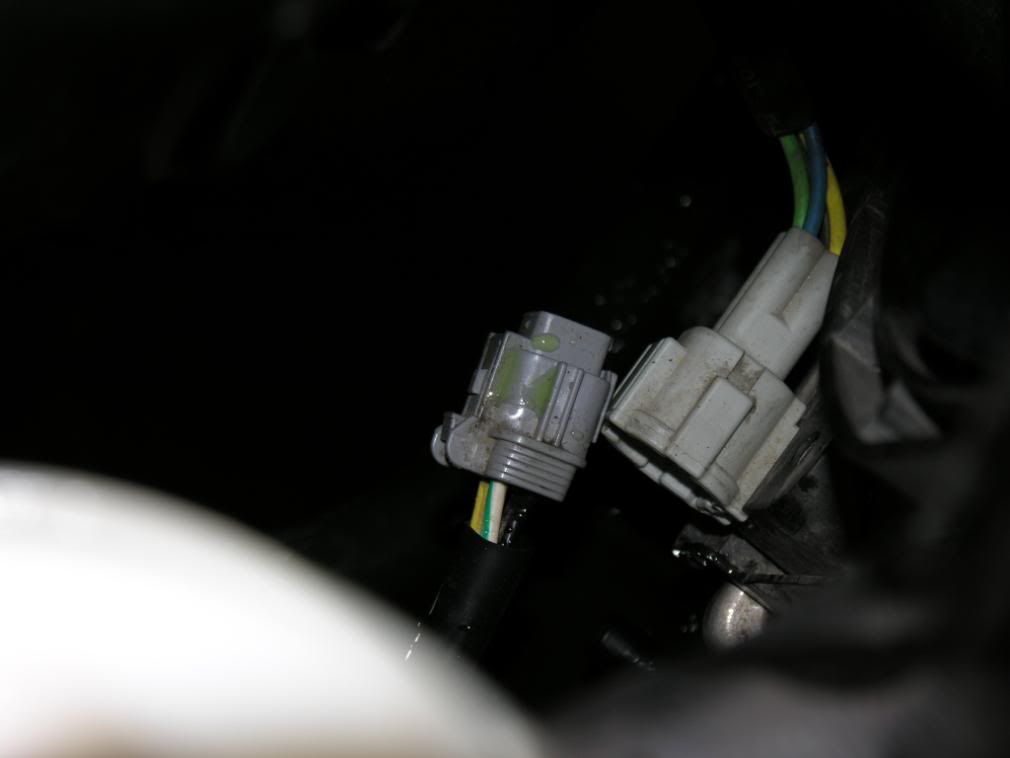
Unclip wiring harnesses for radiator fans, one on each side of the rad.
 Step 8 -
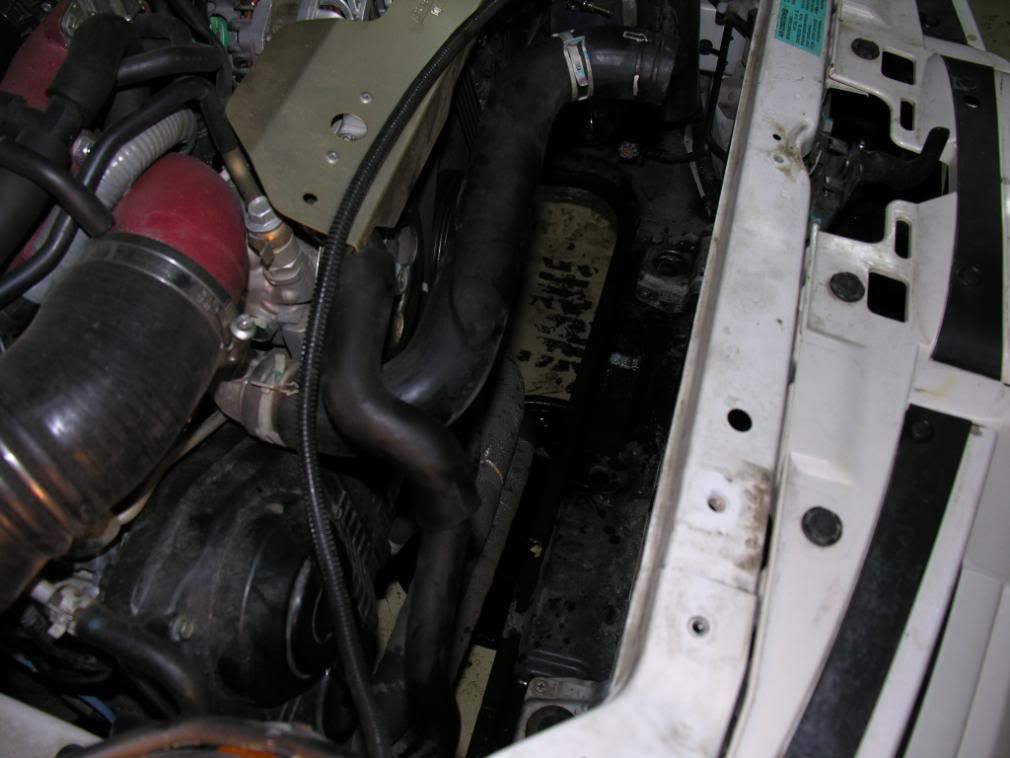
Remove radiator. This is simple enough but will require a lot of wiggling, pushing, pulling, and finessing to get it out. Having the battery out as well as the coolant overflow tank would help, but I didn't need to.
OEM radiator out:

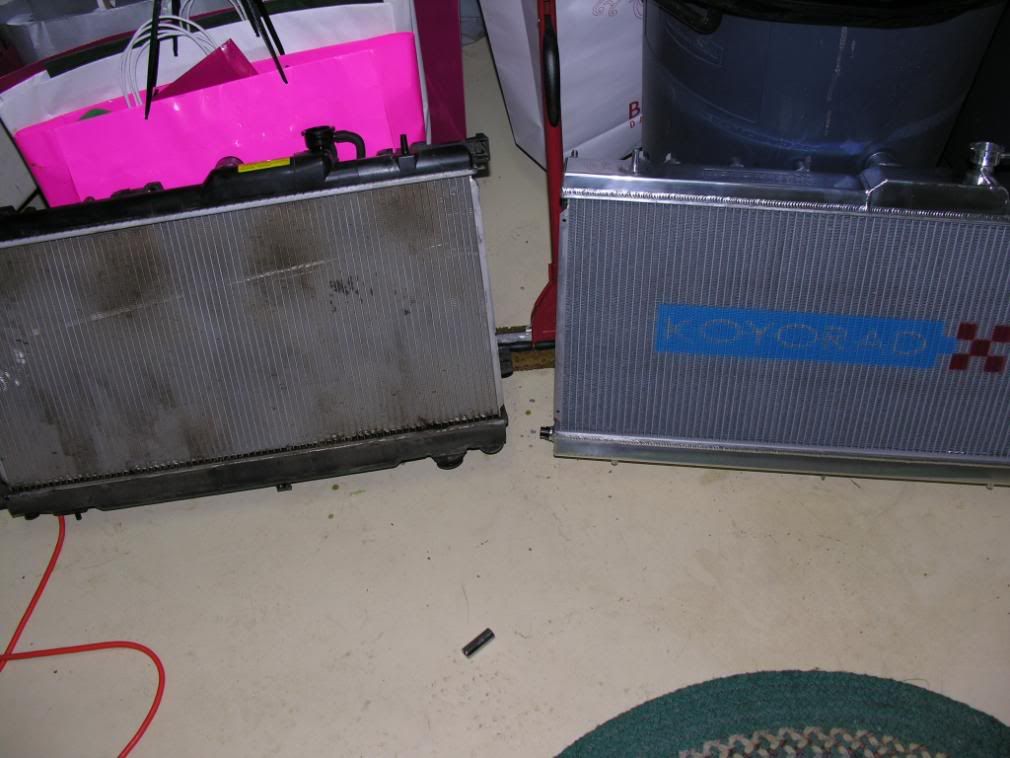
OEM vs Koyo (bigger and thicker
):
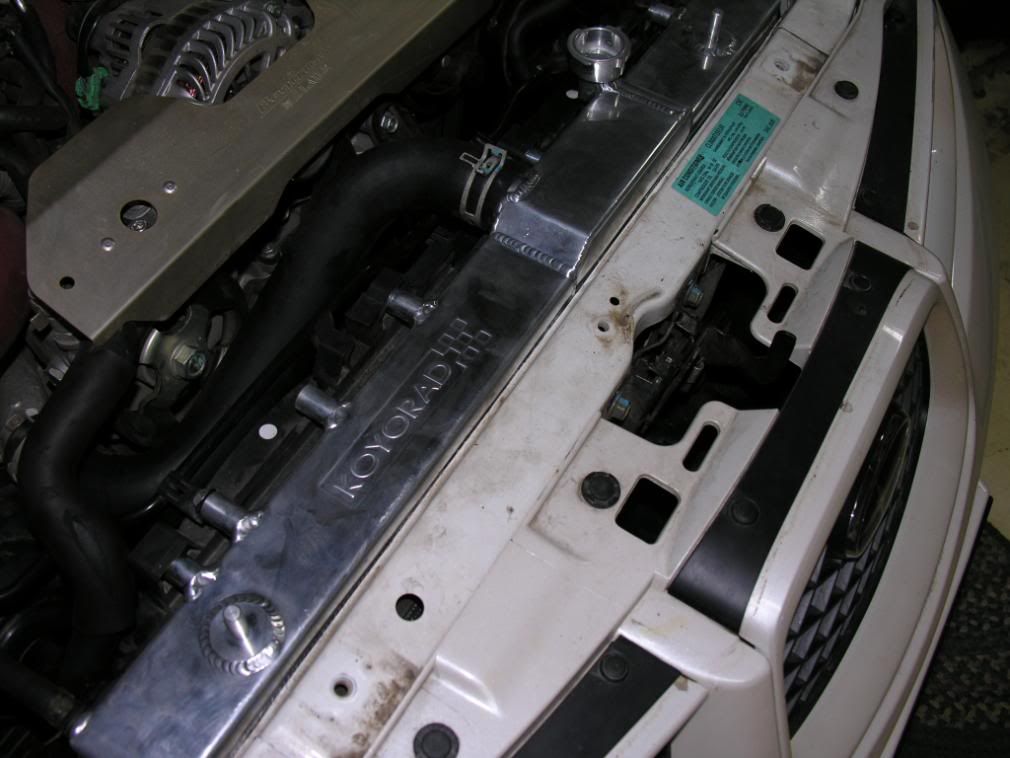
 Step 9 -
Transfer rad fans to new radiator. I used the OEM bolts - some people encourage buying new M6 (IIRC) 15mm bolts instead of reusing the stock bolts since they're like sheet metal screws. I was fine using them and everything went smoothly.
OEM setup:
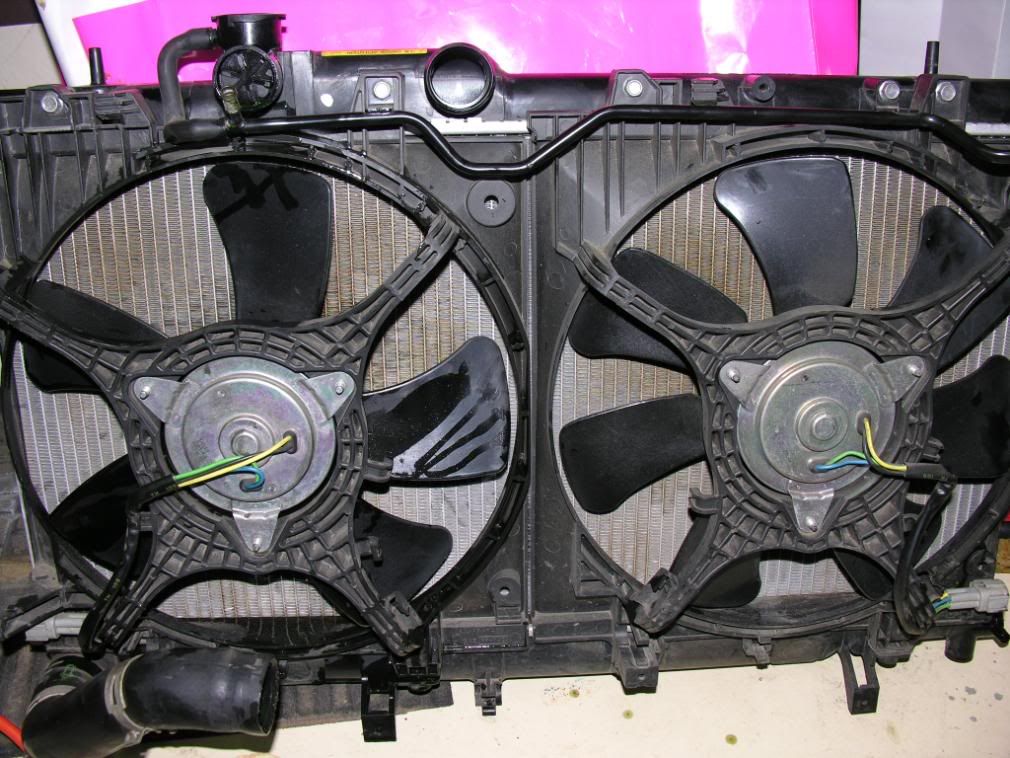
Transfer to Koyo:
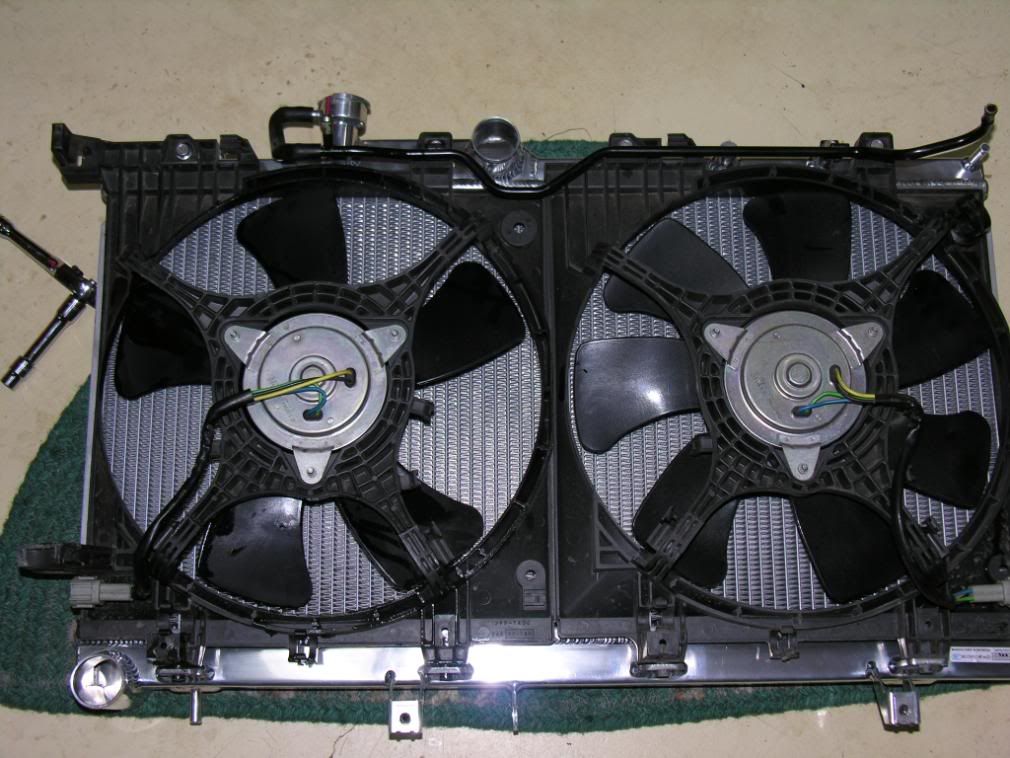 Step 10 -
Install Koyo. Pretty much the opposite of removal. It's a lot thicker than stock so it makes clearance a bit tighter and getting in a bit more difficult too. I had to cut off a few plastic pieces that jutted out of the OEM fans since they were in the way of either the coolant overflow tank or the pulleys and motor.
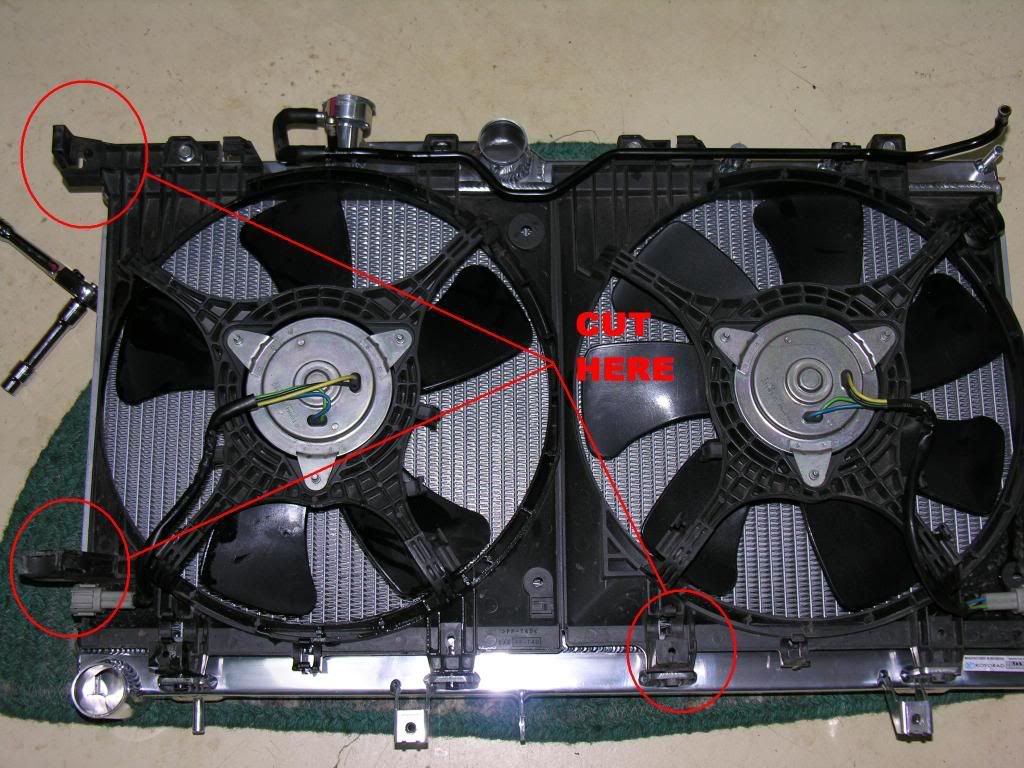
Clearance between rad and pulleys:
 Step 11 -
Re-install all coolant lines and hoses as they were setup originally.
 Step 12 -
 Add coolant mix back into the rad. I followed the [50:50 Subaru coolant: distilled water] mix plus the Subaru coolant additive since I'm in full on winter. I need the antifreeze :tdown:.
- Leave both radiator caps off.
- Pour coolant mix slowly into radiator slowing using a funnel (the slower you go, less air bubbles from bubbling).
- While doing this, squeeze the top radiator hose which will also burp the system a bit while pouring.
- When the radiator is full (the Koyo took about 7L+), fill the coolant reservoir.
Step 13 -
Burp the system. With the caps off, start the car.
- The coolant will bubble and "burp" and foam which is what you want since the air is being purged from the system.
- Revving the motor to 2k was also recommended from the Subaru service manual and forum threads.
Step 14 -
Once the system is burped, add coolant to the radiator and the reservoir so that they're both full.
Step 15 -
Reinstall upper radiator supports, radiator cooling panel, and enjoy the 20-30% higher cooling factor of your new racing radiator
Issues I had:
1) The mess. I really should have had a hose of some sort attached to the drain valve so the coolant would drain through there and not all over the subframe. Sadness.
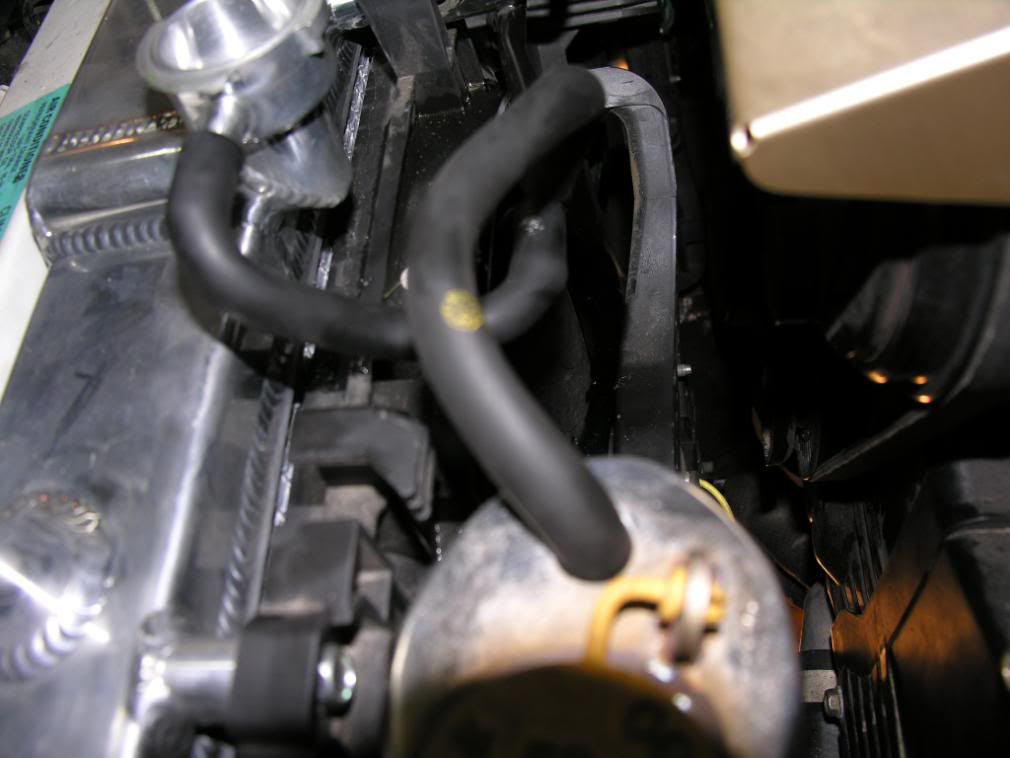
2) Radiator fan rubbing OEM top rad hose. I reused the OEM hoses even though they will end up being a bit too long. They are completely fine uncut though, so buying new rad hoses is definitely NOT a necessity.
Anyway, on first start up, when the rad fans finally kicked in, I thought my motor seized. The sound was like a thousand cats screeching hells fury. It was actually just the passenger side radiator fan that was jammed against the OEM top rad hose since 1) the new rad is thicker so there's less clearance and; 2) the OEM hose is too long.
With some adjusting (mild cutting of upper hose) and the use of a zip tie or two, everything was fine.
I did buy some Samco upper and lower radiator hoses and not only are they higher quality and more durable, but they fit better.
Performance:
It's 0*F here... I don't think I can give a fair opinion of the increased performance in this kind of weather. I'll know more when it's strapped to a dyno.
Well, now I'm running 500WHP and the Koyo is keeping temps down. It works.
Let me know if and where I screwed up, and I'll edit the instructions.
Hope this helps someone


