Author Topic: DIY: 04 WRX Oil Change  (Read 3438 times)

0 Members and 1 Guest are viewing this topic.

Offline xrider

  • WSC Supporter
  • Rivaling ZZ-TOP
  • *****
  • Posts: 1068
DIY: 04 WRX Oil Change
« on: November 22, 2008, 06:17:32 pm »
Well since it took so long to get into subaru city I figured I should just change my oil myself, so I did. To make things easier i went to look for a write up on nasioc and really coudlnt find anything decent. I know this is an easy task but for the less car savy people hopefully I can help out a little bit.

What you will need
1. Oil-4.5L/ Oil Filter/ Crush ring
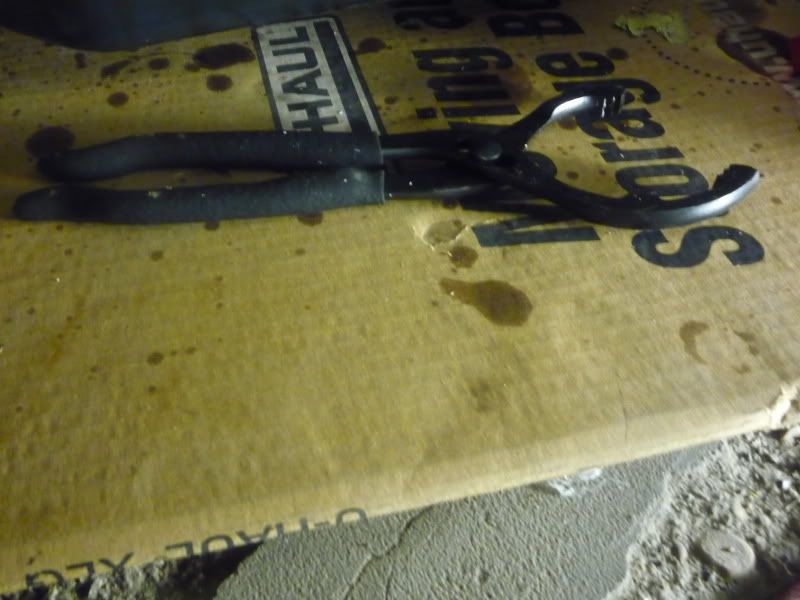
2. Oil Filter wrench
3. Oil drain pan
4. 17mm socket
5. 12mm socket
6. Flat head screwdriver (to pry out stupid clips on splash guard)
7. Jack stands or ramps

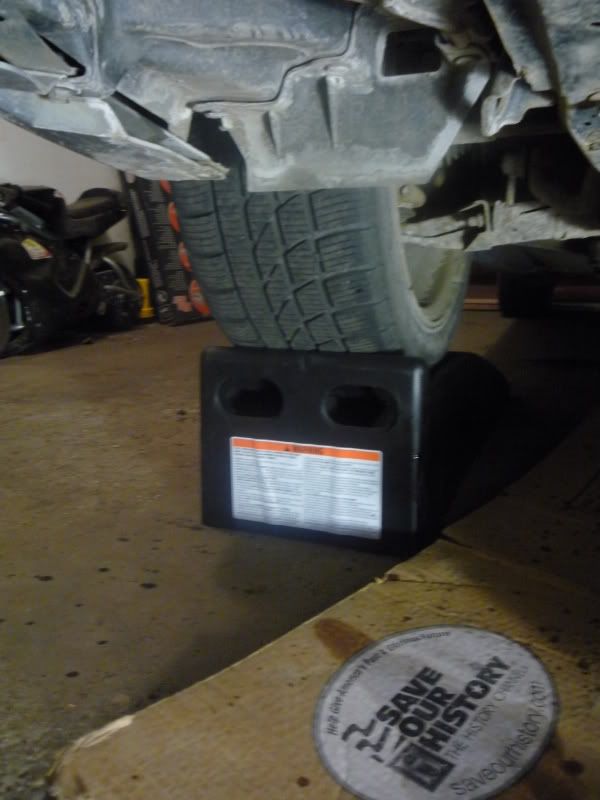
So first off I drove my car up on the lovely new 'rhinoramps' i bought from canadian tire for around $50. saves loads of time and I feel much safer working under a vehicle on these as opposed to jack stands.
-Remember to do this on a level surface so as much oil as possible can drain out.

Next you will have to take off the 'splash guard' I am not sure how many screws/clips there should be because it seems subaru has lost a few of mine over the years haha.
on mine the circles are screws (12mm) and the squares are the clips that are best taken out with a flat head screw driver.
And as always put these in a nice safe place so they aren't rolling around your dirty garage (whoops)

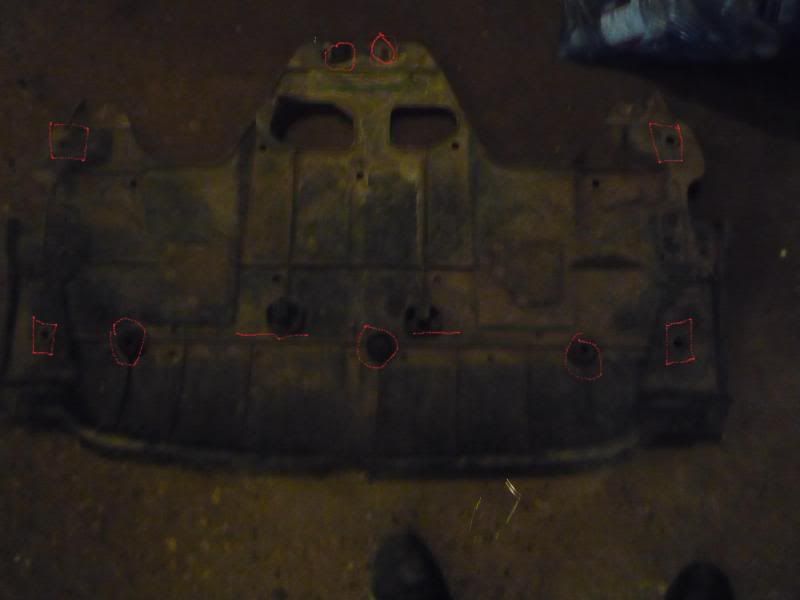
And after you have all the clips/screw out you will need to pull the splash guard back becauase it is hooked on by the two 'hooks' that are underlined (also keep this in mind when putting the splash guard back on)

Now you are ready to start the actual oil change, first make sure your oil cap is off to allow for easier oil flow.


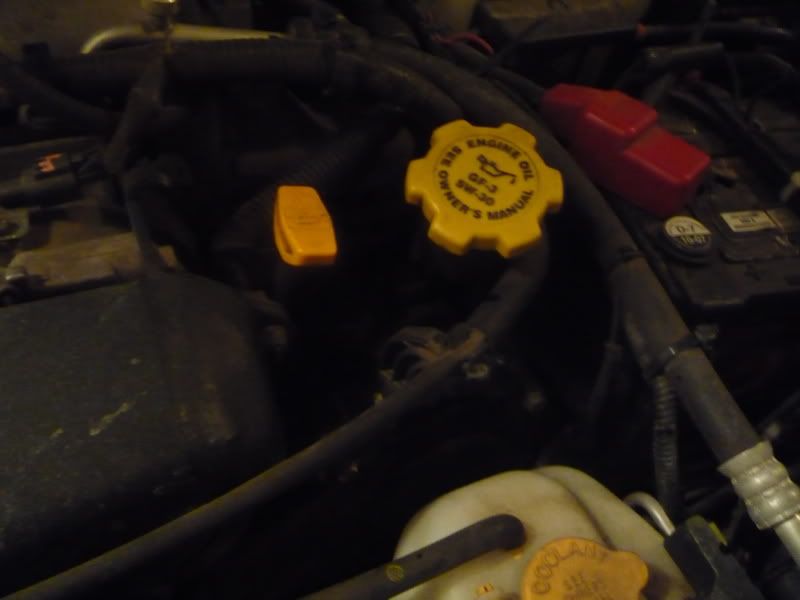
I placed this on the hood latch to make sure it didnt' go anywhere. there is a rubber gasket around the lid that came off when I took this off so just keep that in mind.

Now prepare on the botom for the oil, remember depending how hot your engine currently is this stuff can be HOTTTT. so beware. Also if your vehicle is cold start it for about 10 min to make the oil warm and allow it to flow out much faster.


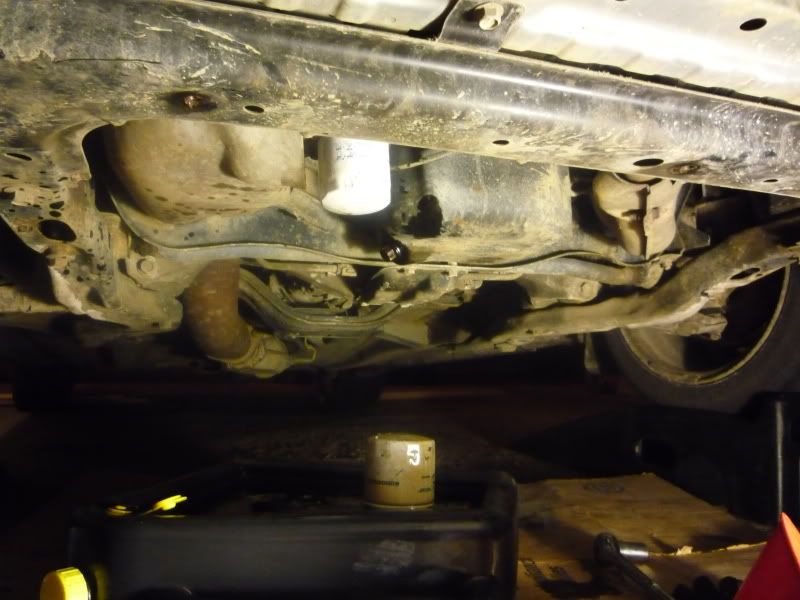
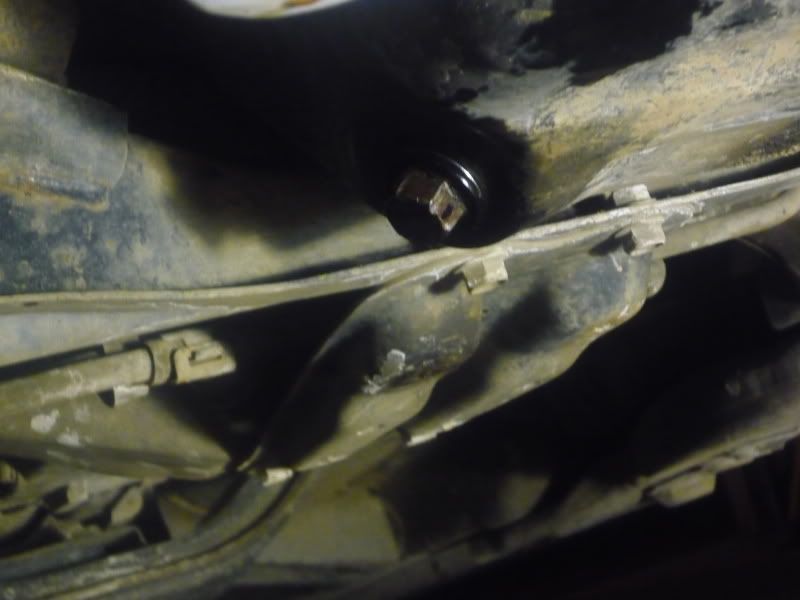
So you will need your 17mm socket next to take off the drain plug, beware the first few seconds the oil shoots kind of far. I placed my drain container as it is seen in the pictuer above and then moved it with the flow until it was at a steady flow.
When taking off the drain plug make sure you dont drop it in the drain pan because that is a pain in the butt.


I allowed the oil to drain for about 15-20 minutes just to make sure as much was out as possible.
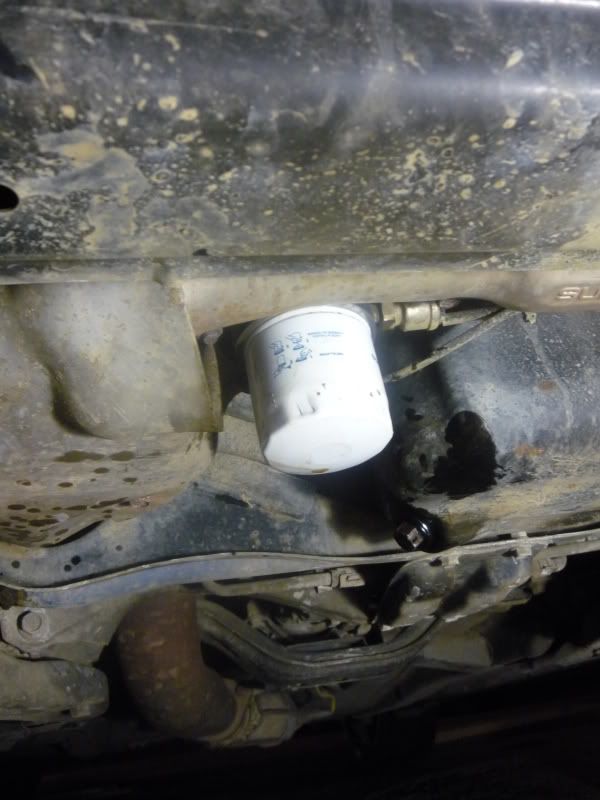
Next will be to take off your oil filter and allow that oil to drain, watch becase there is a fair bit of oil in the filter so I waited until the oil from the drain plug was drained and then moved the drain pan to catch the oil from the filter.
i only needed the wrench (15$ from crap tire) to get the inital turn and then used my hand.


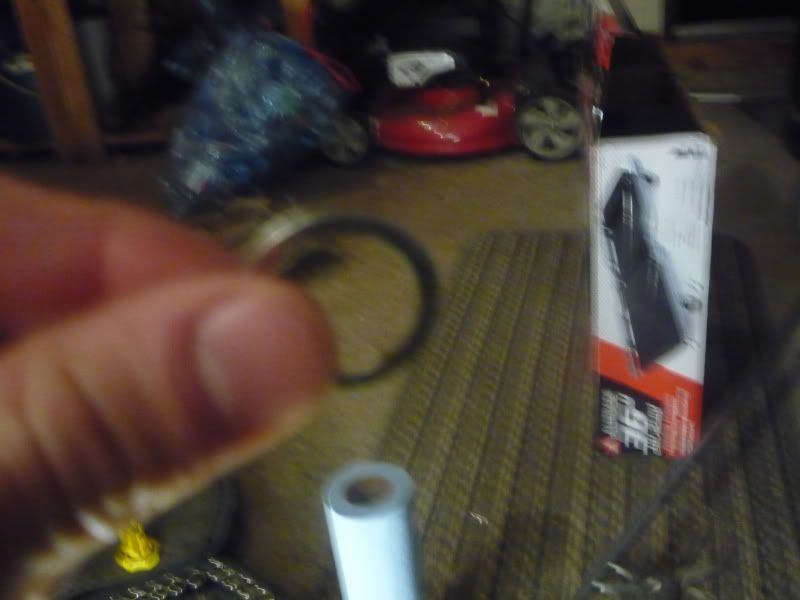
After all the oil is drained the next step is to put the drain plug back in, i cleaned it off and placed the crush ring in some fresh oil just to make a better seal

**DONT forget the crush ring***

I am not 100% sure on the torque specs but I tightened the drain plug pretty tight, but nothing crazy. Hope someone can chime in on sometihng more specific than that haha ;D

Next clean the area where the fliter was and then get your new filter and fill it with oil, and rub some fresh oil on the rim of the filter for a better seal.
Then place the filter back onto your vehicle and once the filter was touchin the metal I tightened it about 3/4 of a turn back on. I have heard people tightening 3/4-1 full turn after contact.

Now you are ready to put that beautiful new oil back in your vehicle.

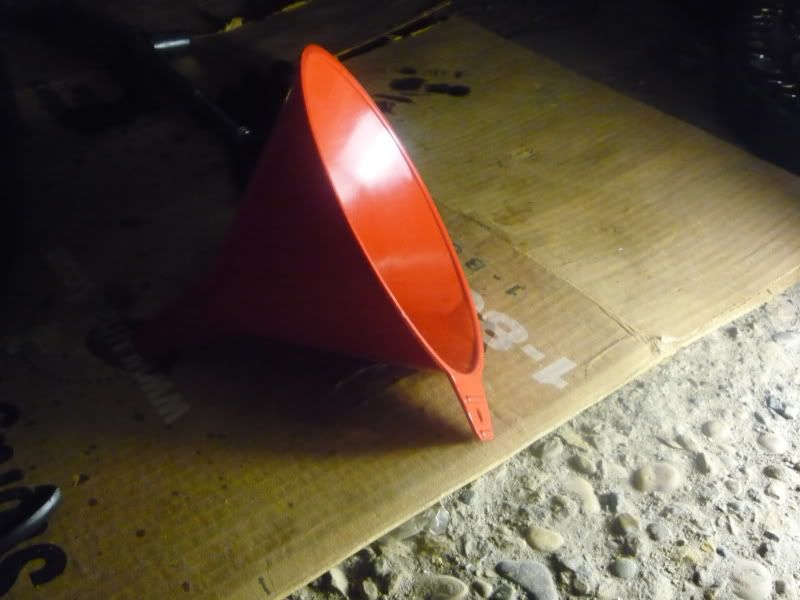
funnel is a for sure
here is the oil I am using

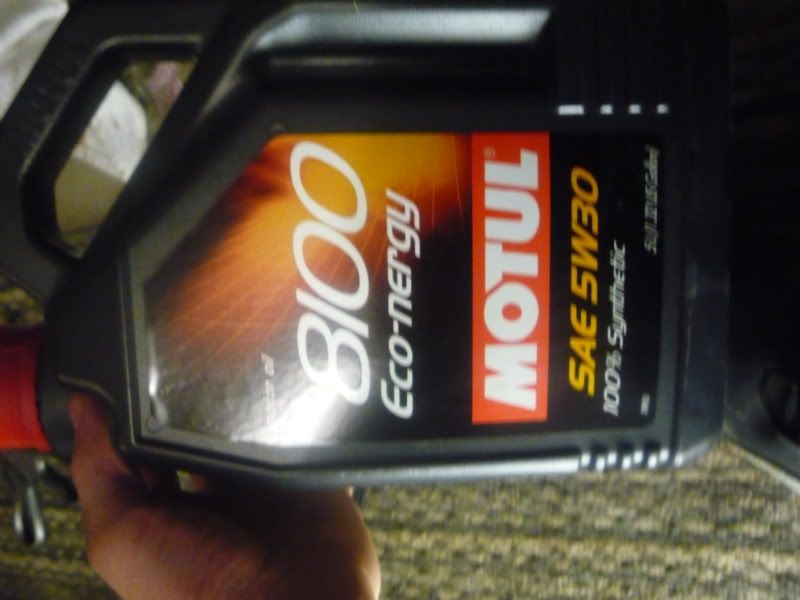
I put 4.5L in as it states in the book but keep in mind this is a guideline depending how much oil is drained. so you will need to start the engine then check but we will get to that.

So once your oil is in go back down and make sure that everything is on tight and well and you can then put the oil cap back and on and start up your engine for about 10 minutes to let the oil circulate, all the while making sure there are no leaks etc.
Now you can bring the car off the ramps so you can let the car sit a bit and check your oil after a few minutes.

And if it is Full you are ready to bring you car back up on the ramps and put your splash guard back on (never fun). Keep in mind the two hooks that will keep the guard in place while you screw the screws and plug the clips. Now you are ready to go out and tear it up, just be sure to watch for leaks for the next few km just to be sure.

Hope this can help someone, if anyone has any imput please go ahead! Take care

-Rob

Added info-
Oil pan plug : 44 N·m (4.5 kgf-m, 32.5 ft-lb)

Oil capacity (guideline):
Non-turbo models:
4.2 US qt (4.0 liters, 3.5 Imp qt)
Turbo models:
4.8 US qt (4.5 liters, 4.0 Imp qt)

Oil filter :

 Tighten it approximately two-thirds of a turn after
the seal makes contact with the lower crank case/oil
cooler (For Turbo).
(Thanks To GrantC and Transp0rt3r)


Offline GrantC

  • WSC Moderator
  • Rivaling ZZ-TOP
  • *
  • Posts: 13908
  • Motorsports is fun.
  • Location: St. Albert
  • Ride: Fender stripes, a high flow cat, yellow high beams, and an exhaust.
Re: DIY: 04 WRX Oil Change
« Reply #1 on: November 22, 2008, 08:35:29 pm »
Thanks for the writeup man!

(NB: the splash guard bolts are 12mm, just to save you from rounding them too much)

Offline pistachoo

  • WSC Moderator
  • Rivaling ZZ-TOP
  • *
  • Posts: 4024
  • Messing with kids' minds since 2001
  • Location: Vancouver, BC
  • Ride: '06 STi
Re: DIY: 04 WRX Oil Change
« Reply #2 on: November 23, 2008, 02:49:34 am »
Nice write up, even if it was about an hour too late for me: I did my first oil change this afternoon (yay me!), supervised by my brother (after all, I was using all his tools, heh).

I also found five bolts and four clips on my 'splash guard'. Those clips are a PITA to take out and put back in. :p

Didn't know about taking off the oil cap for better draining. Will have to remember that next time.

I now know what to get for my brother next time I need a gift idea: he was all over my Fumoto drain valve!

Your tips and pics especially are awesome. Thanks for doing this!

'Sometimes I think the surest sign that intelligent life exists elsewhere in the universe is that none of it has tried to contact us.'
~ Calvin ~

Offline Mase-19

  • Beards Comin in Nice
  • ****
  • Posts: 680
  • Location: Calgary NW
Re: DIY: 04 WRX Oil Change
« Reply #3 on: November 23, 2008, 11:03:42 am »
Fumoto drain valves are definately the way to go. Super easy and no mess. Plus it gets rid of any chance of stripping you oil pan plug threads.

06 WRX Wagon. STG 2. Invidia catless dp, maddad axle back, K&N filter, kartboy short throw shifter, 5000k HID, hella supertones, rally armour flaps

Offline snackers

  • WSC Pot Stick Posse
  • Rivaling ZZ-TOP
  • *****
  • Posts: 9082
  • More uneven camber than the Westerner lot
  • Location: Deadmonchuk
  • Ride: Bucket of bolts and sadness
Re: DIY: 04 WRX Oil Change
« Reply #4 on: November 23, 2008, 06:11:17 pm »
Cool beans on the writeup.
I shoulda done that too when I put my fumoto in a month ago.
There are some differences for the 08s (4 bolts, 2 plastic clips, and the 2 hangers on the back)
Plus, there isn't enough room to get the oil filter wrench up in there, and around the filter.

Offline pearl boxer

  • WSC Supporter
  • Rivaling ZZ-TOP
  • *****
  • Posts: 4881
  • Location: Edmonton
  • Ride: will be teh fastest one day
Re: DIY: 04 WRX Oil Change
« Reply #5 on: November 23, 2008, 07:06:20 pm »
I don't use ramps when doing my oil change, although it is nice to use them to elevate the car.  But if you want to get every last drop of oil out, use jack stands and when draining the oil, take the drivers side jack stand out and lower this side of the vehicle down to the ground with a jack (obviously).  Being that the drain plug faces the drivers side, it will be as low as it can go now, and therefore you get as much of the old oil out as possible.  Works for me anyways.

Offline Transp0rt3r

  • Patchy Faced
  • ***
  • Posts: 461
  • Location: Calgary SW
  • Ride: "stinky diesel" :P
Re: DIY: 04 WRX Oil Change
« Reply #6 on: November 23, 2008, 07:50:39 pm »
Excellent write-up !! Here is the torque specs , if anyone is interested :

Oil pan plug : 44 N·m (4.5 kgf-m, 32.5 ft-lb)

Oil capacity (guideline):
Non-turbo models:
4.2 US qt (4.0 liters, 3.5 Imp qt)
Turbo models:
4.8 US qt (4.5 liters, 4.0 Imp qt)

Oil filter :

 Tighten it approximately two-thirds of a turn after
the seal makes contact with the lower crank case/oil
cooler (For Turbo).


Offline xrider

  • WSC Supporter
  • Rivaling ZZ-TOP
  • *****
  • Posts: 1068
Re: DIY: 04 WRX Oil Change
« Reply #7 on: November 23, 2008, 09:24:24 pm »
Cool beans on the writeup.
I shoulda done that too when I put my fumoto in a month ago.
There are some differences for the 08s (4 bolts, 2 plastic clips, and the 2 hangers on the back)
Plus, there isn't enough room to get the oil filter wrench up in there, and around the filter.

ahh i hear so much about this fumoto valve, sounds like it would make things a lot easier but Im still not sure about it.
yah i had very little room for the wrench, just enough to get it at an angle and loosen it up since my greasey oil covered gloves dont have much grip lol
hope writeup helped someone :D

Offline Transp0rt3r

  • Patchy Faced
  • ***
  • Posts: 461
  • Location: Calgary SW
  • Ride: "stinky diesel" :P
Re: DIY: 04 WRX Oil Change
« Reply #8 on: November 25, 2008, 12:36:53 am »
Does anybody remember oil filter number ? (Brand = Wixx) Autovalue told me it is 51365 - but I looked at it and it looks ... well ... tiny :) . I told them that at it might be tranny oil filter. They double checked through catalogue and Tranny oil filter and Engine oil filter have the same number ???  I am confused ...

Offline GrantC

  • WSC Moderator
  • Rivaling ZZ-TOP
  • *
  • Posts: 13908
  • Motorsports is fun.
  • Location: St. Albert
  • Ride: Fender stripes, a high flow cat, yellow high beams, and an exhaust.
Re: DIY: 04 WRX Oil Change
« Reply #9 on: November 25, 2008, 12:41:21 am »
The oil filter is fairly tiny...  It's not like a truck filter or anything.

Offline Transp0rt3r

  • Patchy Faced
  • ***
  • Posts: 461
  • Location: Calgary SW
  • Ride: "stinky diesel" :P
Re: DIY: 04 WRX Oil Change
« Reply #10 on: November 26, 2008, 12:21:34 am »
Yeah ... I looked it up today under the car - and yes it is fairly small . Compared to my dad's VR6 Jetta it is just a puny ;D .. lol Thnx Grant !!

Offline xrider

  • WSC Supporter
  • Rivaling ZZ-TOP
  • *****
  • Posts: 1068
Re: DIY: 04 WRX Oil Change
« Reply #11 on: November 30, 2009, 08:55:18 pm »
lol I look at this write up every time i change my oil because I always forget how much oil goes in :S

Offline ArjayAquino

  • Beards Comin in Nice
  • ****
  • Posts: 734
  • Location: Calgary
  • Ride: 2015 STi base
Re: DIY: 04 WRX Oil Change
« Reply #12 on: March 29, 2010, 09:04:20 am »
just ordered my fumoto drain valve  :D http://www.qwikvalve.com/F-105-20mm-1.5.html
"It even smells of man...Burnt clutch, just splash it on before you go out for a curry and a fight." -Jeremy Clarkson on the STi

Offline wingless

  • WSC Supporter
  • Rivaling ZZ-TOP
  • *****
  • Posts: 6081
  • testing, testing, 1,2,3...!
    • Shane
  • Location: Tuscan Hills, Calgary
  • Ride: 2018 WRB STi and 2000 JDM Forester STi
Re: DIY: 04 WRX Oil Change
« Reply #13 on: March 29, 2010, 09:26:12 am »
Another good idea is to fill the oil filter about 3/4 to almost full before installing it. This will help get oil into the system a bit quicker. Not really sure if it matters, but it's a habit I started years ago and just do it as a caution anyway. Also dip your finger in teh fresh oil and run it around the edge of the filter seal to help seal it!
__________________________
Signature

FS: 2014 BMW 320i x-drive 2.0 turbo awd. PM for details

Offline gd8

  • Beards Comin in Nice
  • ****
  • Posts: 840
  • Location: Calgary
  • Ride: 04 WRX, 08 XT
Re: DIY: 04 WRX Oil Change
« Reply #14 on: March 29, 2010, 01:43:00 pm »
Looks like you have an oil filter sndwitch plate for your pressure reading?  I don't think you can actually use the wrench you showed in the picture.  The new filters are smaller and its really recessed in the engine.  In that case I use a filter cap wrench.

Offline wingless

  • WSC Supporter
  • Rivaling ZZ-TOP
  • *****
  • Posts: 6081
  • testing, testing, 1,2,3...!
    • Shane
  • Location: Tuscan Hills, Calgary
  • Ride: 2018 WRB STi and 2000 JDM Forester STi
Re: DIY: 04 WRX Oil Change
« Reply #15 on: March 30, 2010, 10:41:31 am »
If you ever get a filter that's just stubborn punch a hole in teh bottom with a screwdriver... oil will drain out so remove it fast. Let drain for about 2-3 mins... then punch the screwdriver into the bottom side of the filter and you'll have more leverage. Not the cleanest/best way, but works in a pinch.
__________________________
Signature

FS: 2014 BMW 320i x-drive 2.0 turbo awd. PM for details

Offline snackers

  • WSC Pot Stick Posse
  • Rivaling ZZ-TOP
  • *****
  • Posts: 9082
  • More uneven camber than the Westerner lot
  • Location: Deadmonchuk
  • Ride: Bucket of bolts and sadness
Re: DIY: 04 WRX Oil Change
« Reply #16 on: March 30, 2010, 10:47:47 am »
If you ever get a filter that's just stubborn punch a hole in teh bottom with a screwdriver... oil will drain out so remove it fast. Let drain for about 2-3 mins... then punch the screwdriver into the bottom side of the filter and you'll have more leverage. Not the cleanest/best way, but works in a pinch.

I do that every time to drain the oil from the filter. It prevents the oil from coming down the sides and all over your hands while unscrewing it.
I also had to do the screwdriver thru the side method on the very first change, due to the gorilla that puts on the first filter.

http://www.westernsubaruclub.com/smf/index.php?topic=12475.0