This is a fairly long video, but I go quite in-depth with the DIY process for wiring & installing some (
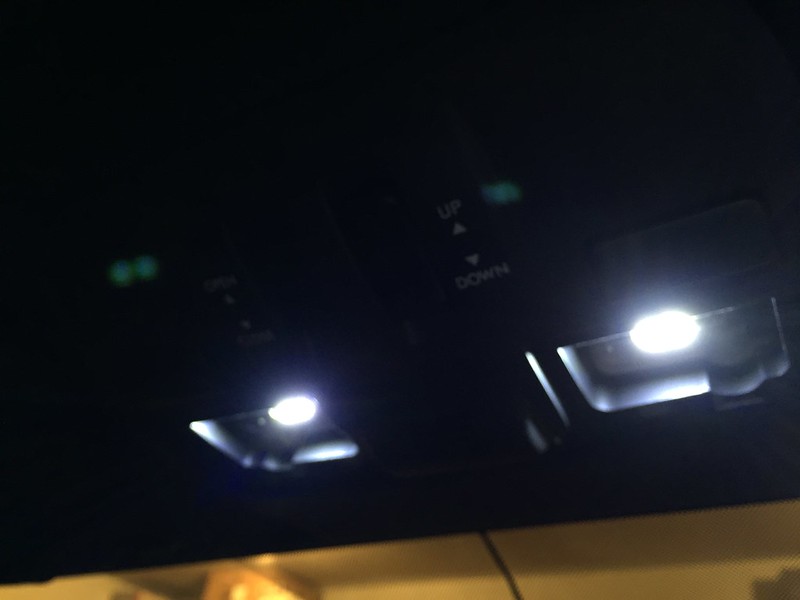
relatively cheap) $8 LED's to illuminate as courtesy/ puddle/ footwell lighting whenever the doors are opened or the car is unlocked. These ones fade in and fade out very smoothly (see video) and are fully waterproof. I'm very happy with how this turned out and wanted to share!

I believe you could also follow similar to this process for any other Subaru, too!
Note: The OEM Subaru Kit from Subispeed is $192.91, and is a plug-n-play to the dash illumination. It is dim-able this way, but remains on whenever you are driving (
which I didn't want!)
These are the LED's I ordered. They were $8usd ea.
http://www.oznium.com/led-modules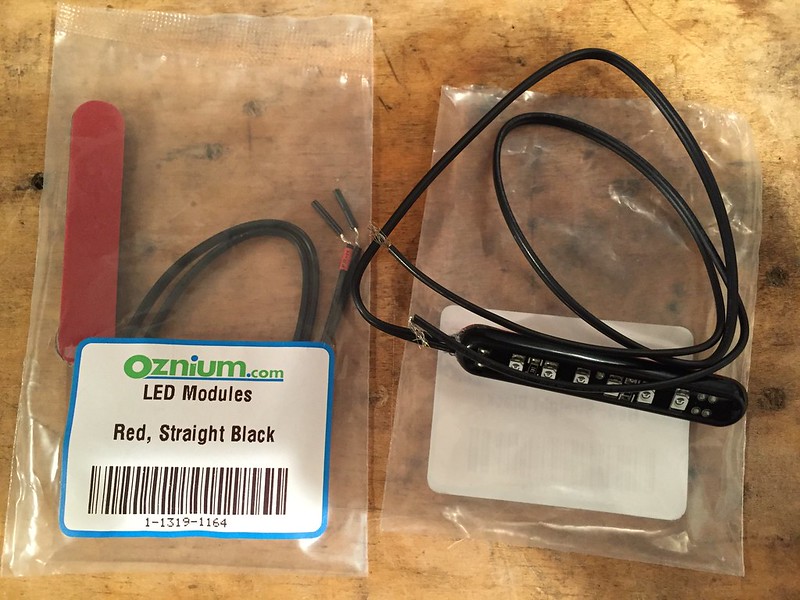 Untitled
 by
Spencer, on Flickr
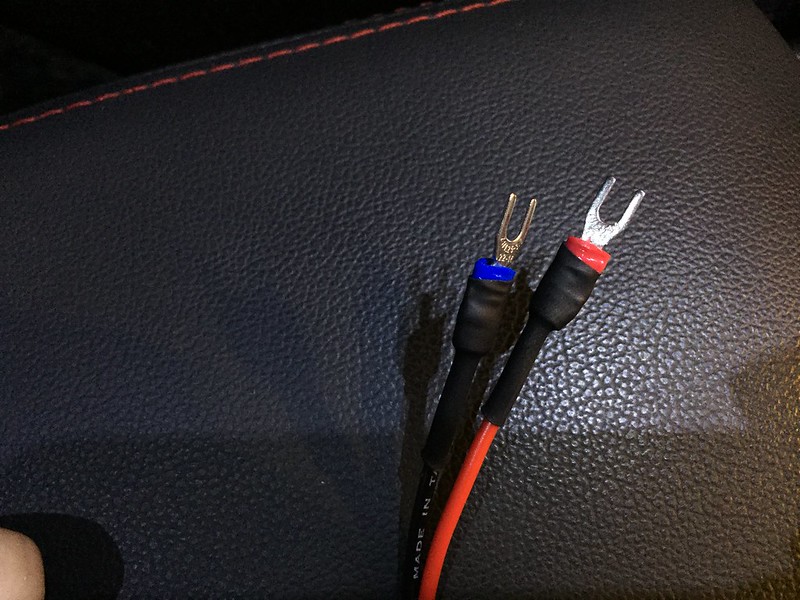
I then used the smallest wire I could find, which was only 18gauge.. but whatever, it'll do the trick! I crimped + heat shrink wrapped some
flat prong connectors to the ends..
 Untitled
 by
Spencer, on Flickr
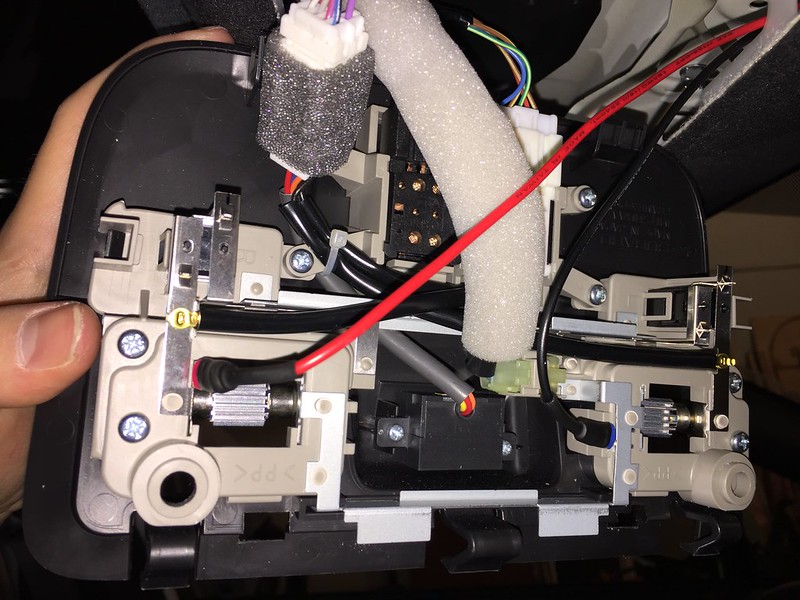
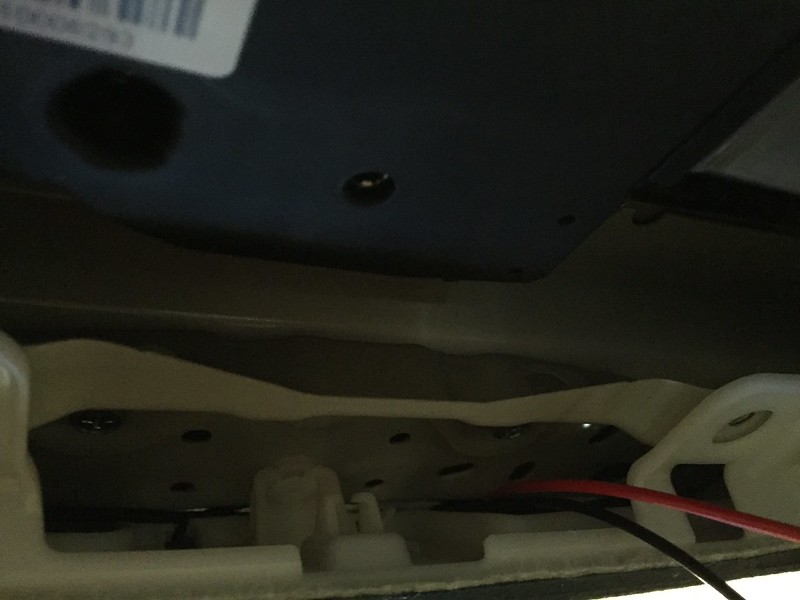
Removed the cover to the front map lights. Remove the 2x phillips screws from behind (near the actual bulbs).
 Untitled
 by
Spencer, on Flickr
Here's where I wedged the flat connectors into, they were a pretty good fit, fairly snug..
 Untitled
 by
Spencer, on Flickr
You can connect these differently than I did. The way I did it above allows for the driver side map light to be turned on without the footwell lights coming on. If the passenger map light is turned on, the footwell lights come on then. You can try different setups to see how you might want the lights to act..
After that, I simply ran the long length of wire up through the top of the head-liner (roof) across to the passenger side where it came out above the A-pillar. You can just pull "outward" on the top of the pillar to undo the clips, although the clips hang in place (so it's still "on" the car)..
 Untitled
 by
Spencer, on Flickr
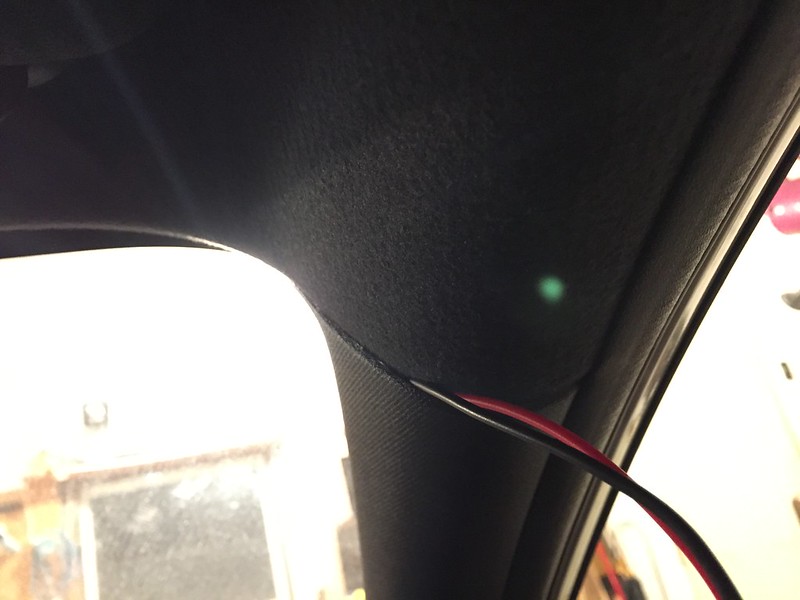
Ran the wire across the pillar,
at the top (be careful here, there's an airbag behind there so go across at a point with the least potential obstruction to the airbag for obvious reasons).
 Untitled
 by
Spencer, on Flickr
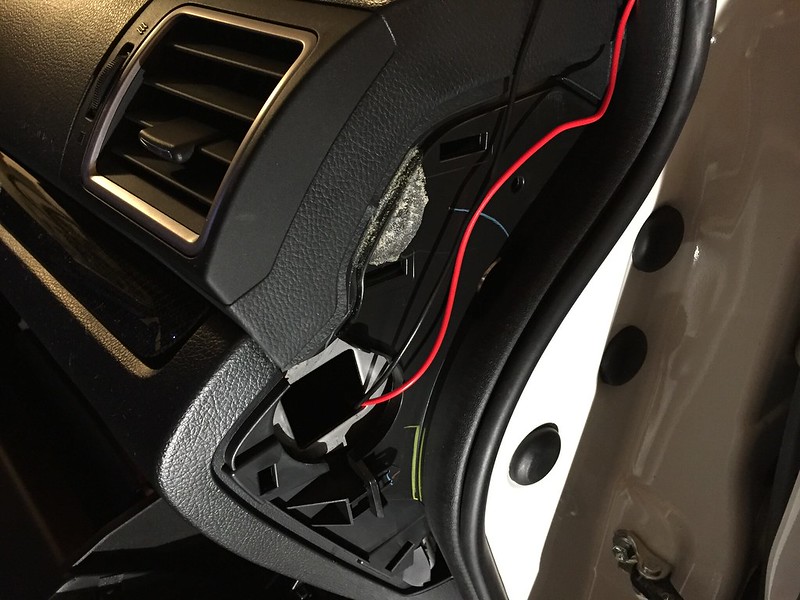
Run the wires down the pillar and pop this side panel off. Just use your hands and firmly pull from the top - there's about 4 clips behind that just come out fairly easy (easier than the pillar)..
 Untitled
 by
Spencer, on Flickr
Run the wires through the hole, (I put some electrical tape around the wire to protect it a little from "rubbing" while driving on the metal edge..) Don't know how effective that'll be but better than nothing haha..
 Untitled
 by
Spencer, on Flickr
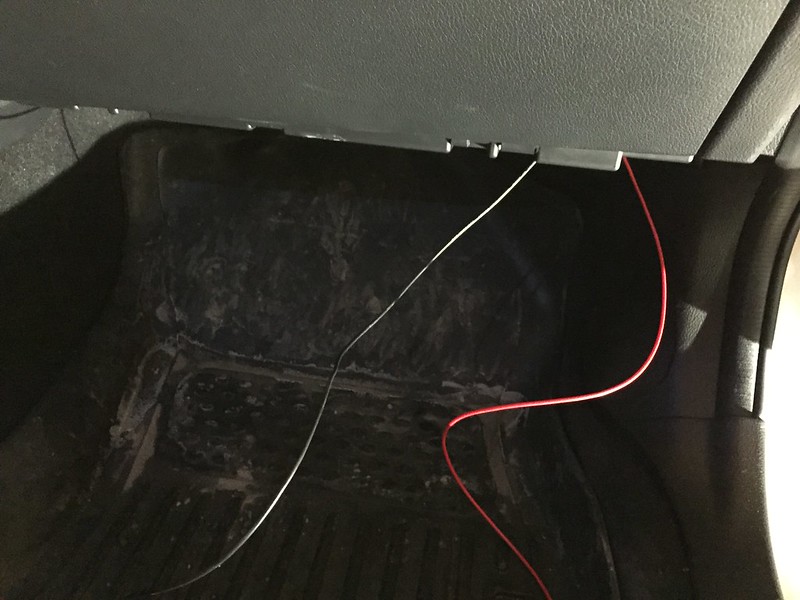
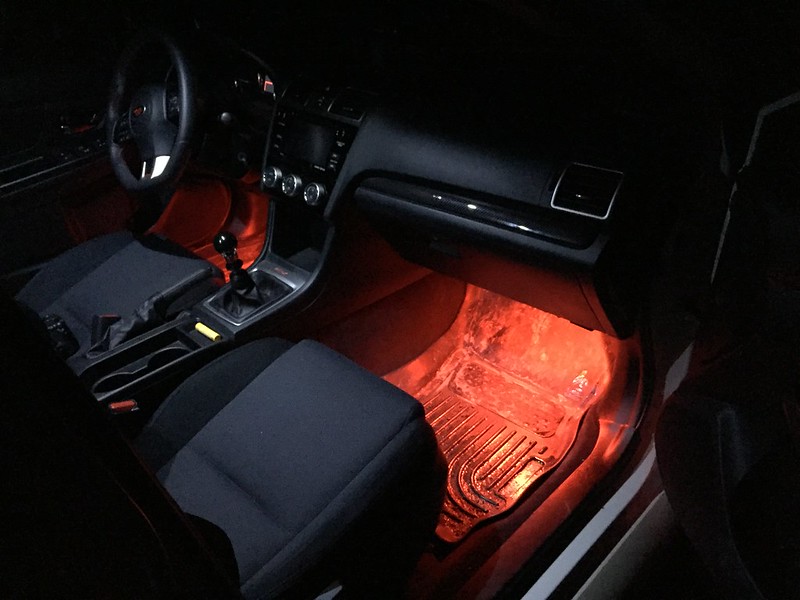
Your 2x wires now run from the top map light, to the bottom of your passenger footwell. I didn't take photos of this process, but you will need to run this wire across the
middle to the drivers side. I then spliced each of the 2 LED's into the wire (+) and (-) sides. Then, peeled the 3m adhesive backing off and stuck them in place on the under-side of the dash (there's a spot for them, with holes, I believe where the OEM kit would go). Zip-tie all wires up to keep them from hanging down and you're good to go!
 Untitled
 by
Spencer, on Flickr
The husky liners are filthy, but this photos provides some gratification seeing all of the dirt & grime the mats have saved from ruining my carpet lining!


