Morimoto 4TL-R Retroquick : Subaru Impreza 06-11 & WRX 08-14
"Update", as of Jan/06, "The Retrofit Source" has installation instructions
https://www.theretrofitsource.com/media/custom/upload/File-1483651961.pdf Install instructions (courtesy of "The Retrofit Source")
There is some things that have to be modified. (Like slim black bracket, needs one corner ground off and long kit screws have to go in the opposite way or you will never get the nuts on(new projector has to have screw head area ground slightly, not much, but slightly), but I'll put modification instructions in my pictorial thread here.
Will update as I do the job.
The Difference between OEM Halogen And New Quick Retrofitkit.
There is now install guide here:
https://www.theretrofitsource.com/media/custom/upload/File-1483651961.pdf There is a package called the retrofit package, designed to fit this particular vehicle I will refer to it as "Trk"
Follow instructions and remove wiring harness, lower mounting bracket, bulbs, high beam rubber seal and last but most importantly remove the 5or6 screws from the back that hold the front lens on. Pre-heat oven to 200f degrees
(Do not put the baking sheet in oven to pre-heat or parts of your light will melt Put light in oven making sure none of the lens touches the stove walls. Put tin foil on baking sheet. Make sure light is centered in oven not to close to elements(I recommend upside down as the center bracket holder can melt easily) Wait 8 minutes and remove(use gloves) work your way around lens little by little gently lifting the tabs that secure lens to housing, prying apart lens with various flat screw drivers. You might have to put back in oven for 1 minute if your not fast enough, its not really that hard to do.
Was told by Prolightz to never touch inside of lens, there is a film that will permanently leave a finger print. Set lens aside.
At this point I would go around housing channel with small flat screw driver and make a space for new seal to fit into. There's no need to remove any old adhesive. do this while it is warm and soft. is supper sticky and hardens fast. remove excess if it would prevent new sealant from sitting partially in.
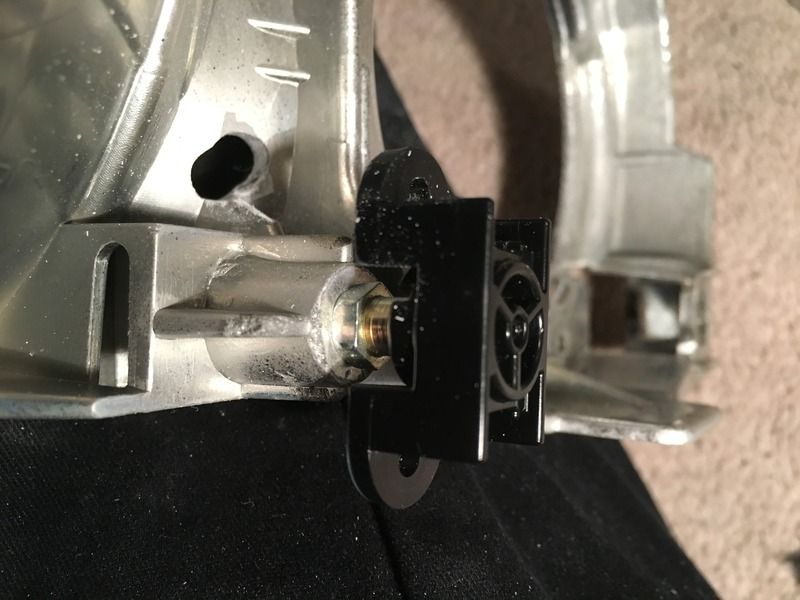
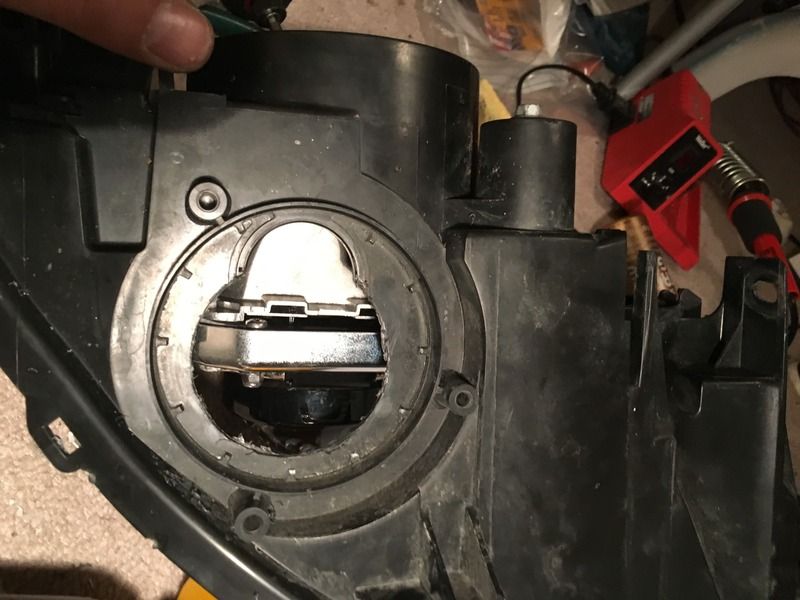
Remove reflector from housing, there are 3 pivot points, 2 ball studs, it seemed easier for me to push tabs in and remove ball mount stud bracket than to try and pry ball studs apart.

Might have to grind away side of housing to access release tab of one ball stud bracket(can't see when together)
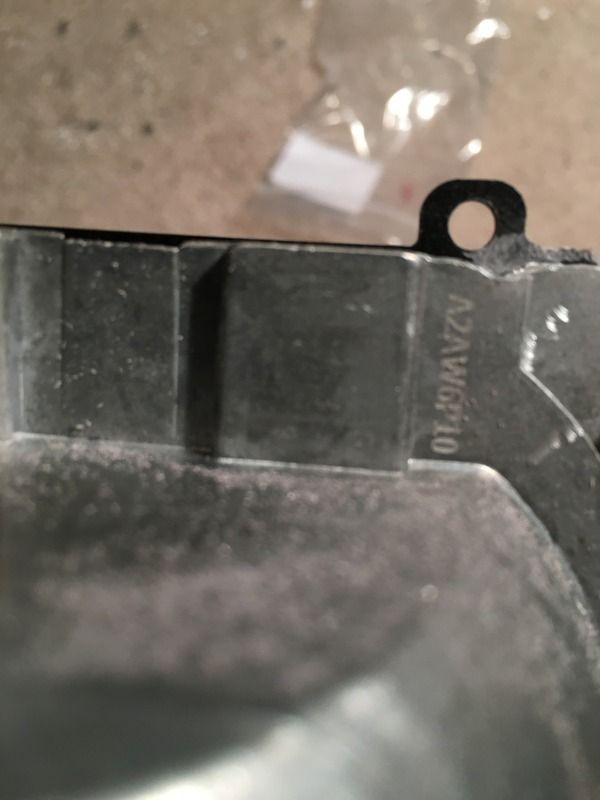
There is a place where there are 2 screws holding reflector on, you have to drill through reflector housing to access inner most screw( eyeball drill hole) you can't see hole when all back together.
Remove reflector assembly from light housing.
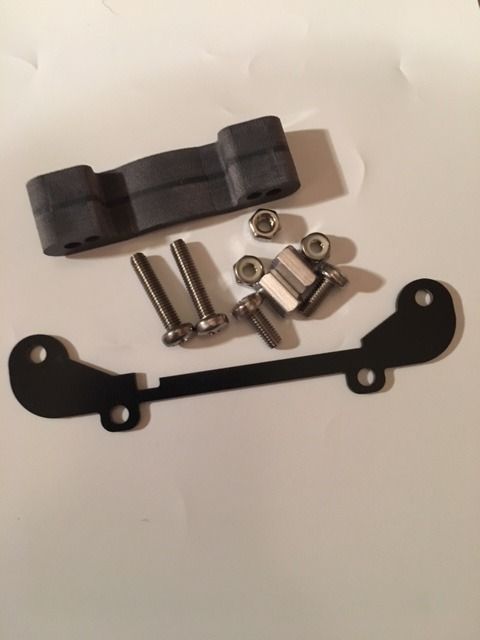
First off, the M7.4x20mm (2 long screws in Trk)
need to be installed in the opposite direction or you'll never get the nuts on. Still had to grind away a little material in projector where the screw head went.

(they grey you see is ground away black paint from black retrofit bracket/
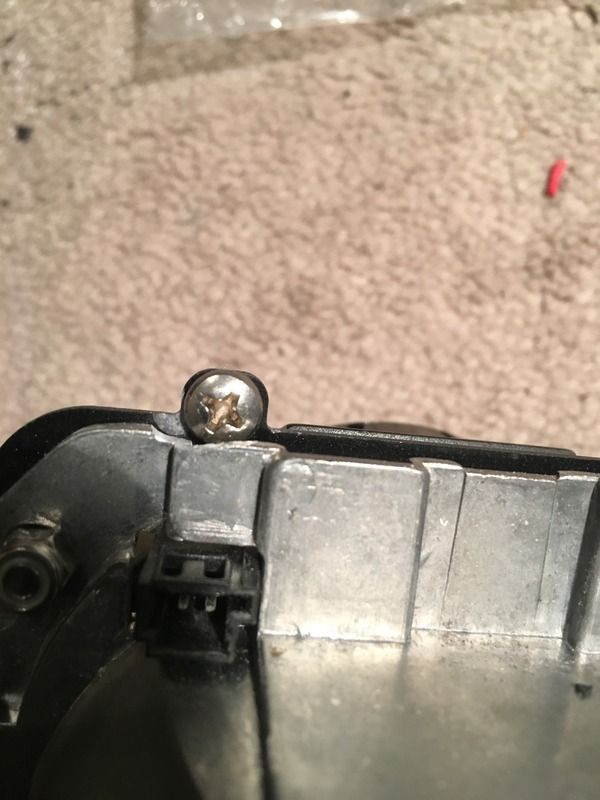
(The Nut would never have fit the way its pictured in the install guide)
Use OEM screws to mount gray spacer to new projector, leave slightly loose so it can be adjusted to fit projector reflector
I'd leave the long spacer nuts just ever so slightly loose so screw can have a little wiggle room(your going to put the other nuts on the front.
This is a bit tricky, the short screws from TRK need to be tightened just enough that you can(with some effort move it and install new projector making sure all holes line up. Projector may not sit perfectly down but there is a lot of adjustment to these lights. Remove new projector and tighten short TRK screws(can't do it when projector is installed).Use oem screws from front of reflector at top and tighten up until almost tight. Install lower TRK nuts on front side of OEM reflector. Tighten each screw and nut snug, these are nylok nuts so you don't have to worry about them coming loose, don't over tighten!!
Drill 60mm hole with hole saw so ballast seals properly as per Polightz recommendation.
 Install inner most screw first
(the one you drilled the hole to access,
You can't get it in once the reflector is back on). Install reflector back onto housing, 2 ball stud brackets snap into place, make sure reflector is properly set onto bracket.
Screw 2 bracket screws, one you'll access from the hole you drilled.
Wipe away any finger prints from new projector and reflector housing.
Push all new adhesive strip into groove of housing, push in as far as you can into groove.
Line up outer lens onto housing and center as best as you can, use locking snaps as a guide to center. lens will stick to housing. pre-heat oven to 200f (
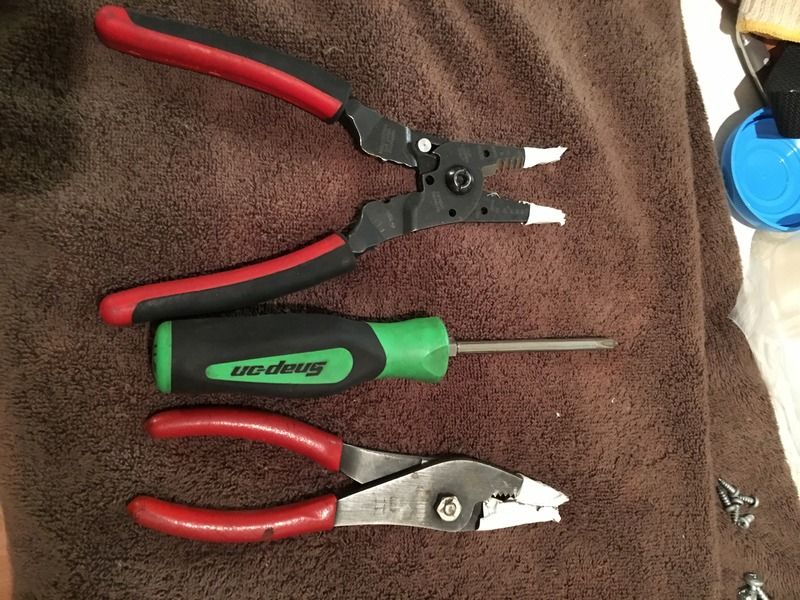
again don't preheat your baking sheet) put light back into oven, wait 7 minutes. Remove from oven and working around slowly squeeze lens back into housing working a little at a time side to side/bottom to top. Use plyers(taped ends to prevent scratches in lens.
Locking tabs should come together again, then use rear side initial screws for final set. The roll of adhesive they give is plenty enough for a good seal.
Install new ballast after removing connector one screw closest to ballast inner plug
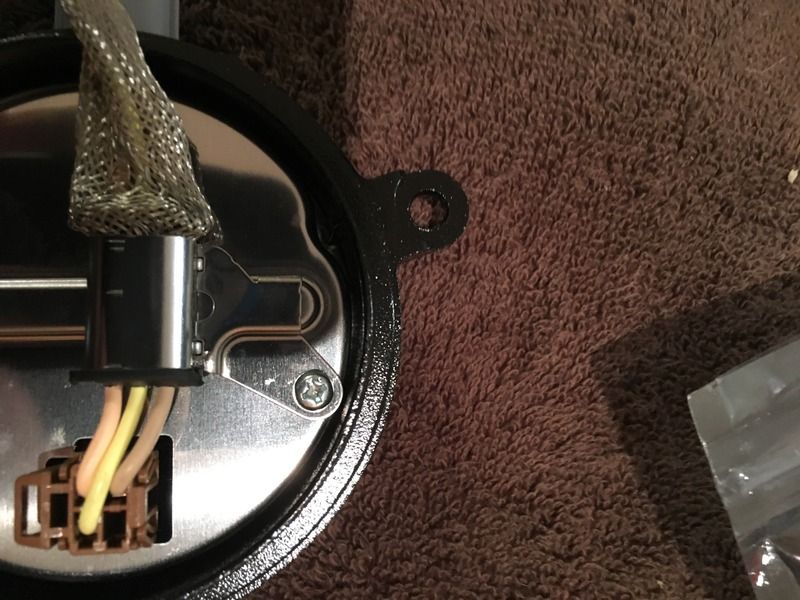
Feed ballast harness through light and reconnect to ballast and reinstall screw closest to ballast inner plug. Ballast O-ring is a tight fit, I recommend Vaseline, tighten 3 new screws a little at a time making sure seal slips in properly.
Use the high beam harness and feed though light between high beam housing and its outer seal.. Plug into new projector(might put a strip of black tape on high beam housing to protect new harness. harness will stick through high beam rubber seal(might want to silicon this shut for a proper seal . Build bi-xenon connector wires into plug(polarity doesn't matter.) This plugs into high beam connector. If you bought the Y-splitter(I suggest you do because you'll retain you high beam for drl and night time high beam) then assemble that way.
Install HID Bulb and lock ring, be careful. bulb only goes in one way, then install new locking cap(its a bit fidgety, careful with bulb lock ring, it will fit
Subaru service manual instructions
I thing the easiest way is to pull up-close to a wall as possible, mark an x at the the brightest point on the wall. back straight back so you headlights are10 feet away form wall. your left beam should be in the same place and 1 inch lower than your x. Subaru says the the lights should be the same distance apart and slightly pointing downwards to keep from binding on coming traffic and the 20-25 feet in front of you well lit.
Subaru service manual. Some might want to adjust the right slightly out to the right.
Send a message if you want to do this and wouldn't mind having some extra help


