I have also posted this in the Modification Ideas forums:
From the first WRX I owned, to the last one I've built I always found the placement of the pedals, wheel, and other driver controls were in a strange position. The pedals have way too much travel, and if I adjust the seat to match them the steering wheel felt way too close. After having experience with several other cars that just seemed to fit me properly (ST205, FRS, LGT) I decided I have to do something about this.
I adjusted the pedals to be much more precise and added spacing under the clutch to make the bottom limit much higher, as well as pulling up the brake and gas pedals. This just left the steering wheel which still felt too close by a large amount. I though about getting an aftermarket wheel with a short hub, but I didn't want to change the stock wheel. Then I started to think about how a steering column is made and how they are designed to collapse in an accident. Using a spare as a test subject, I found both the shaft and housing has the ability to compress about 1-3 inches with a little pressure. So here we go!
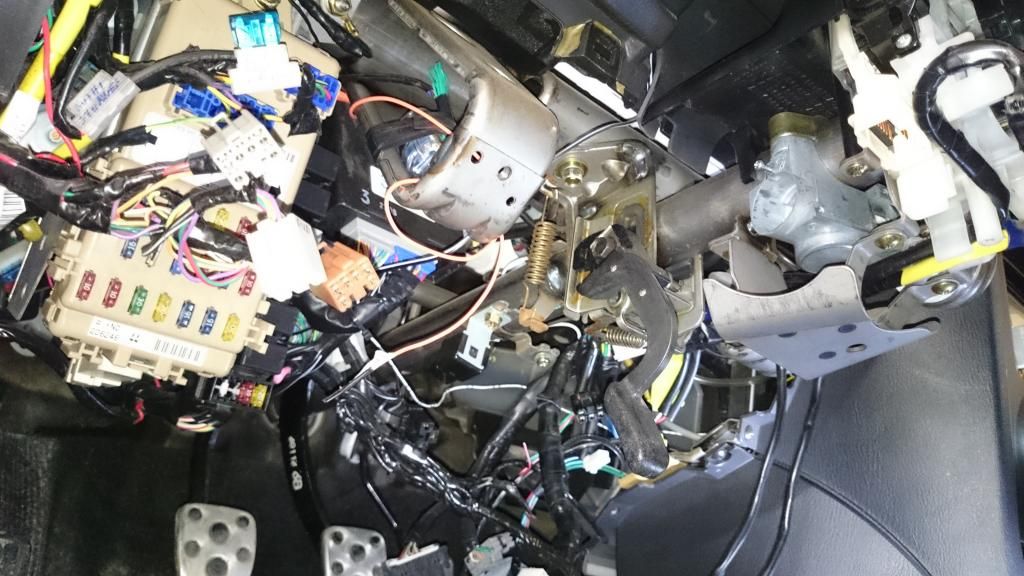
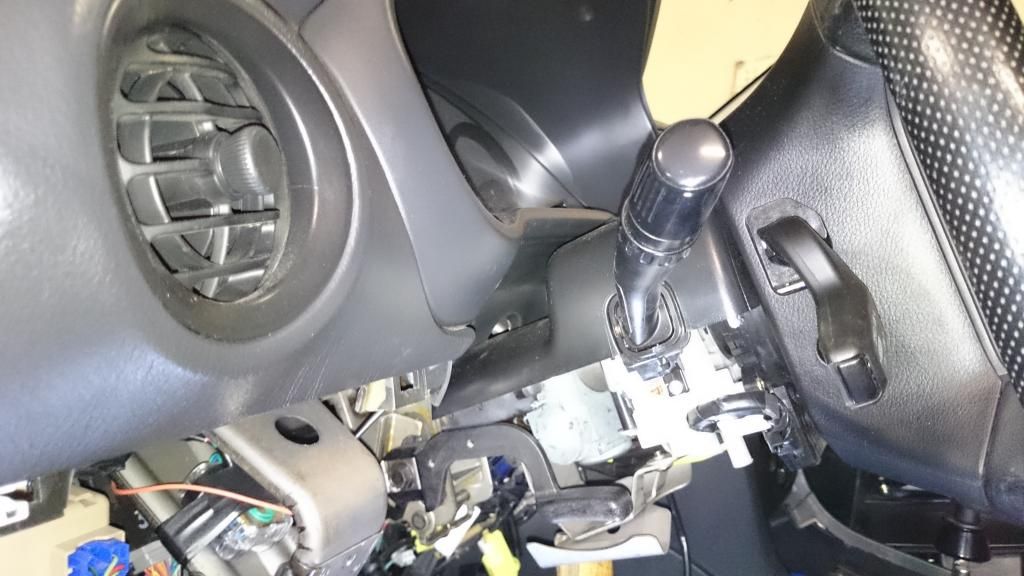
First to get at the column, which is covered by a melange of wires. You can leave the flashers and wheel attached though.
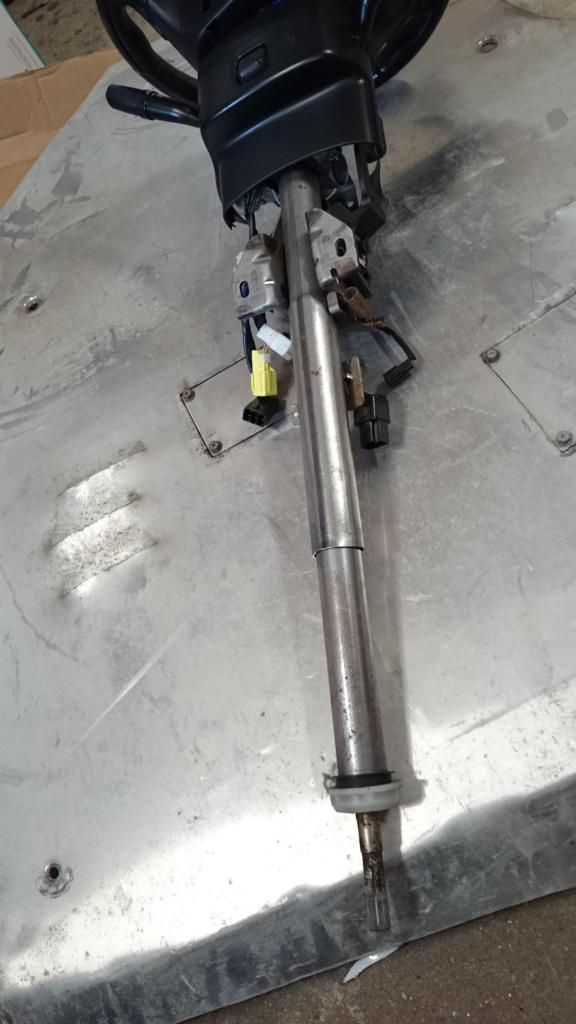
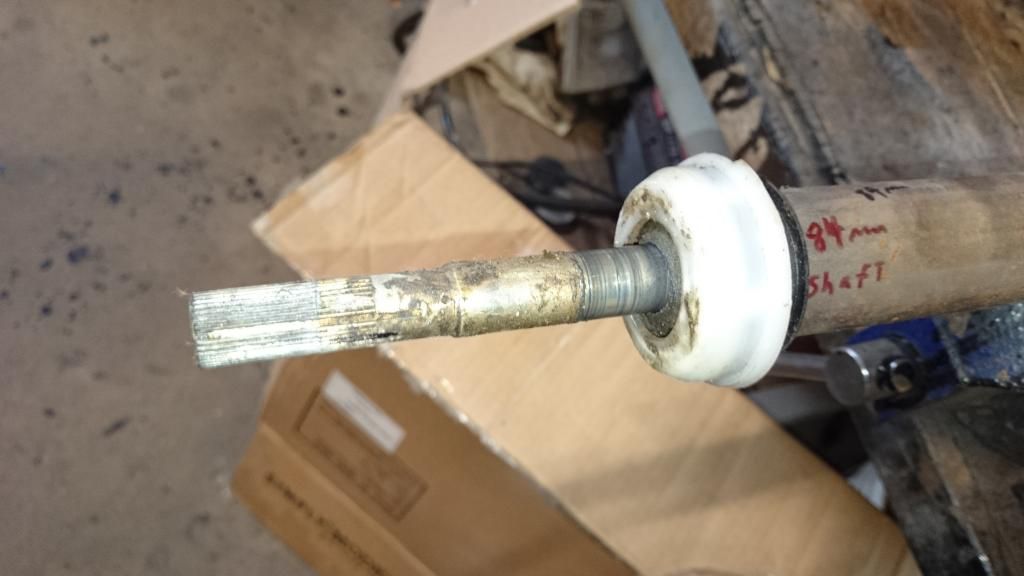
Once it's out, you can see the sleeve of the housing. It can move up and down.
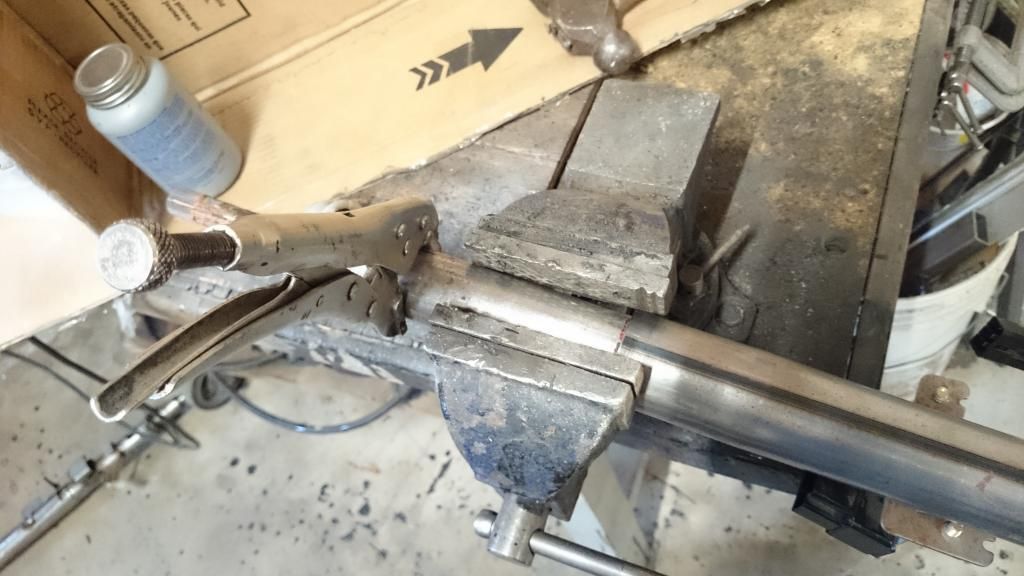
I marked about a 1 - 1.5 inch distance from where the sleeve was sitting and the applied pressure to the lower section until it compressed to the line. You can see from the wear marks on the shaft how far it has moved.
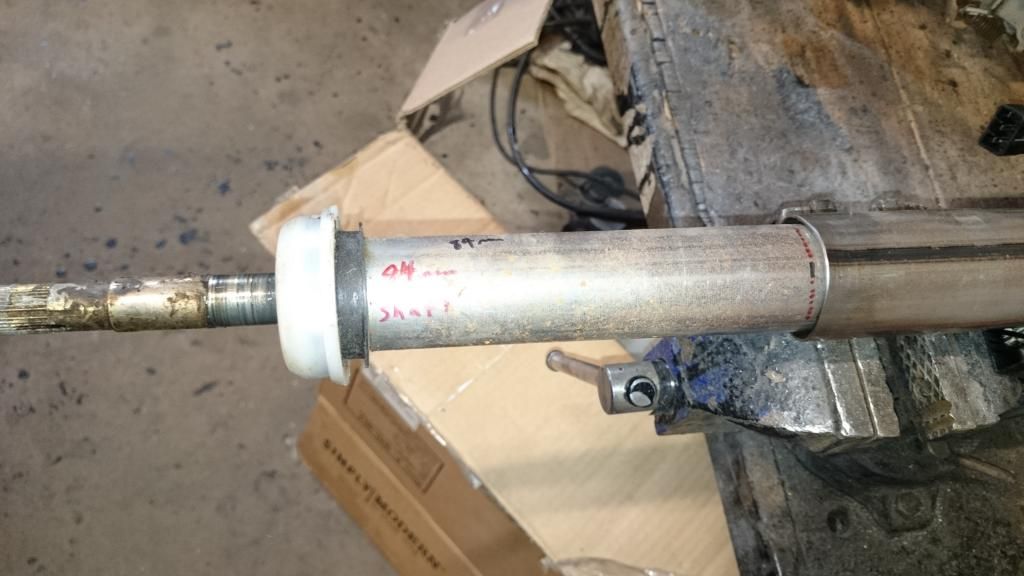
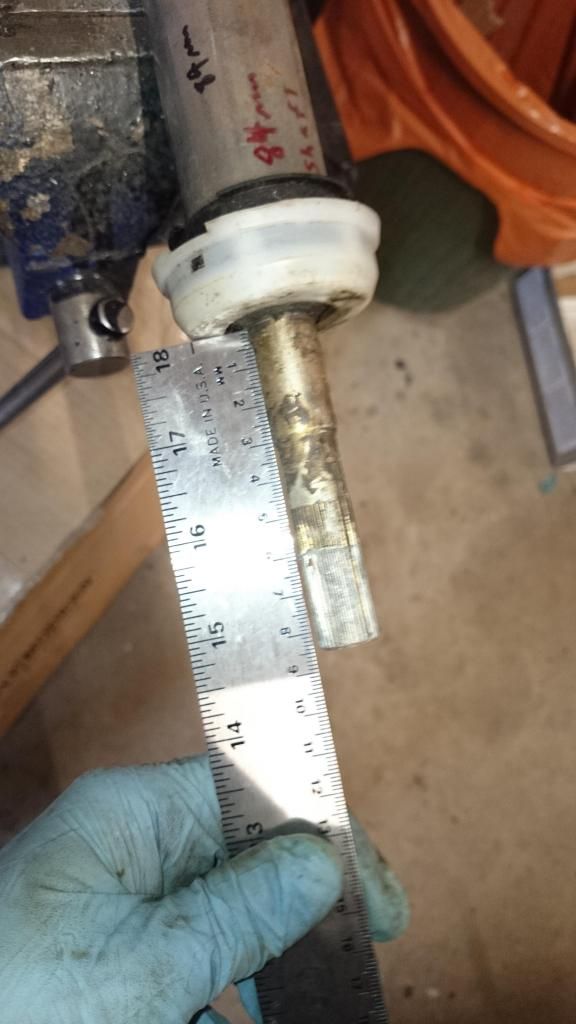
I measured the shaft stickout length to be 84mm before I compressed it, so I hammered it in to be 84mm again. Use a rubber hammer, or something soft to avoid damaging the splines.
Back to original stickout
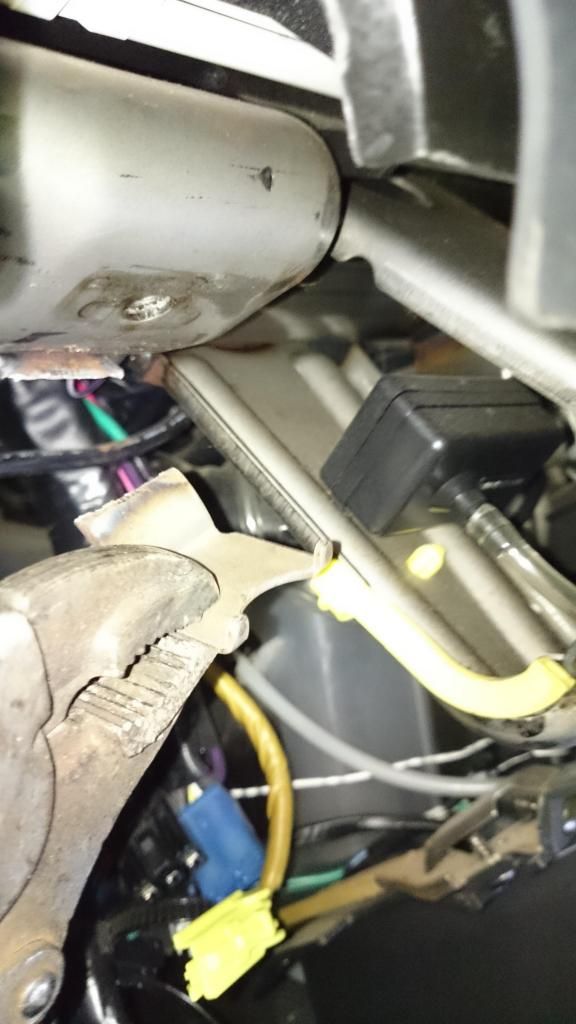
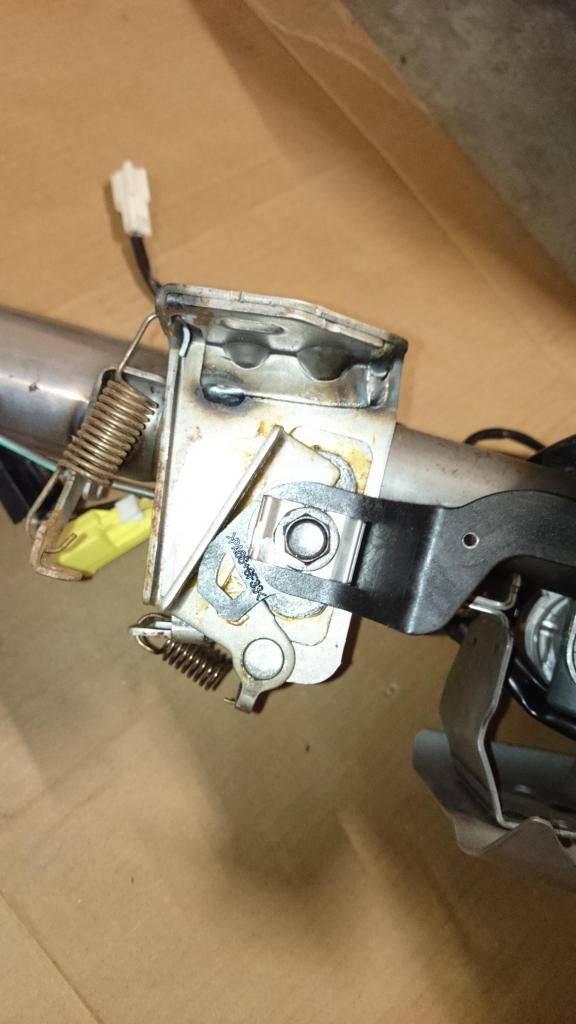
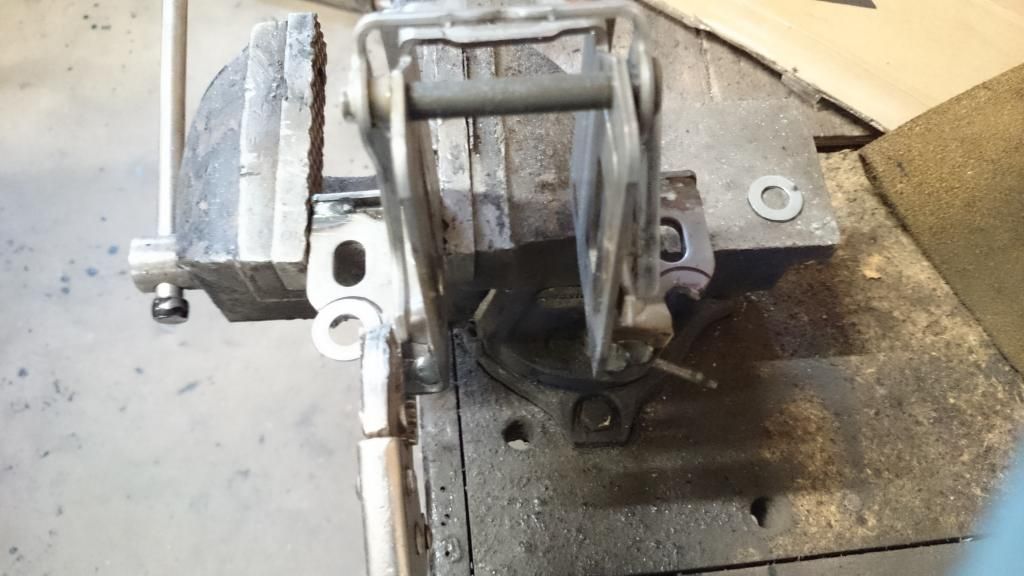
Now that the column and shaft are the desired length, I have to reposition the mount holes. Before I can test fit though, I need to remove this little hook-bracket. Vise grips rip it off easily.
Because I am moving it so far back, my new mounts are actually half off the bracket. If you only move it a little, you could just elongate the current holes.
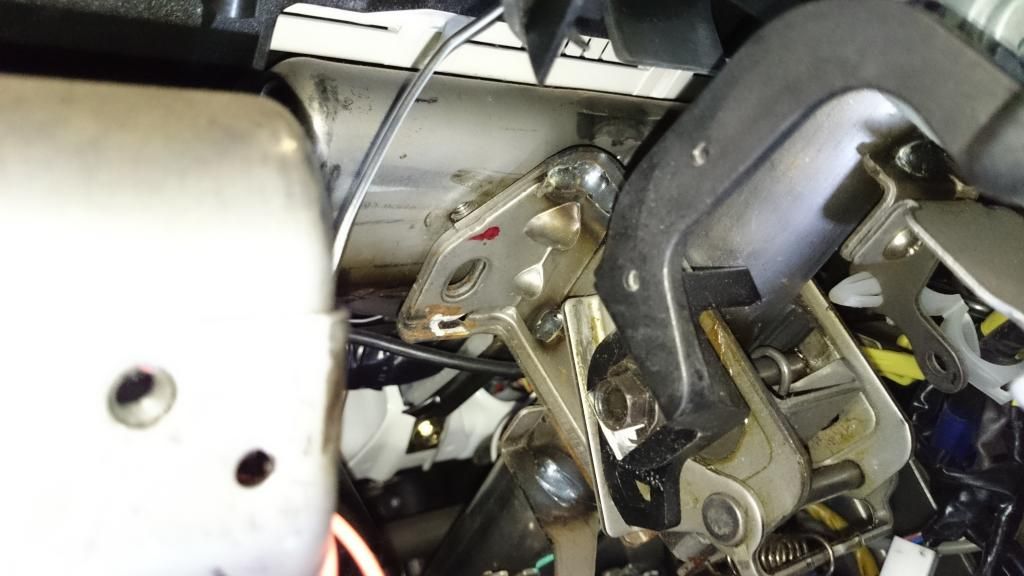
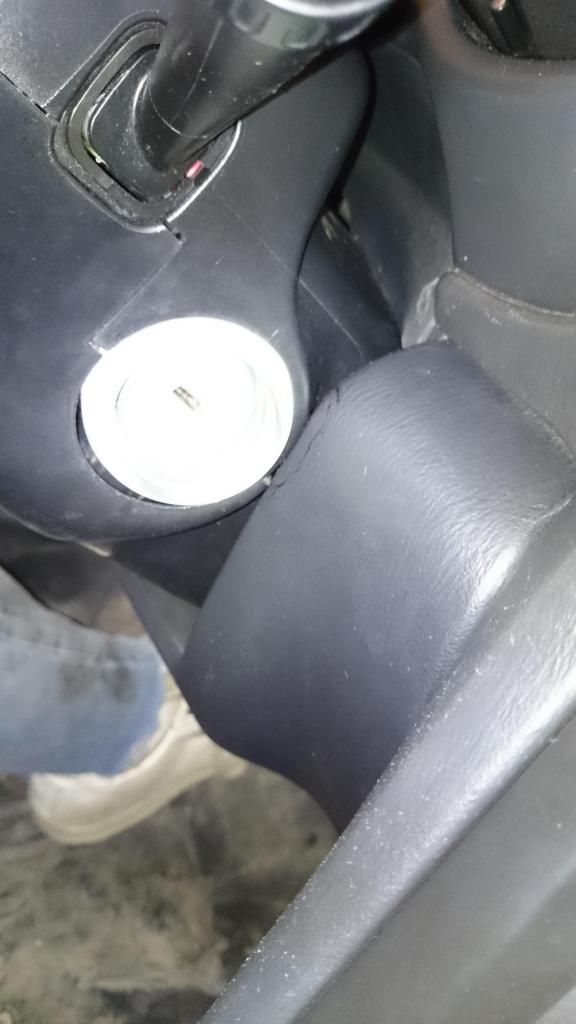
This is how close it will sit to the dash now. Note: moving it this far inboard will slightly limit the amount of up/down travel you have.
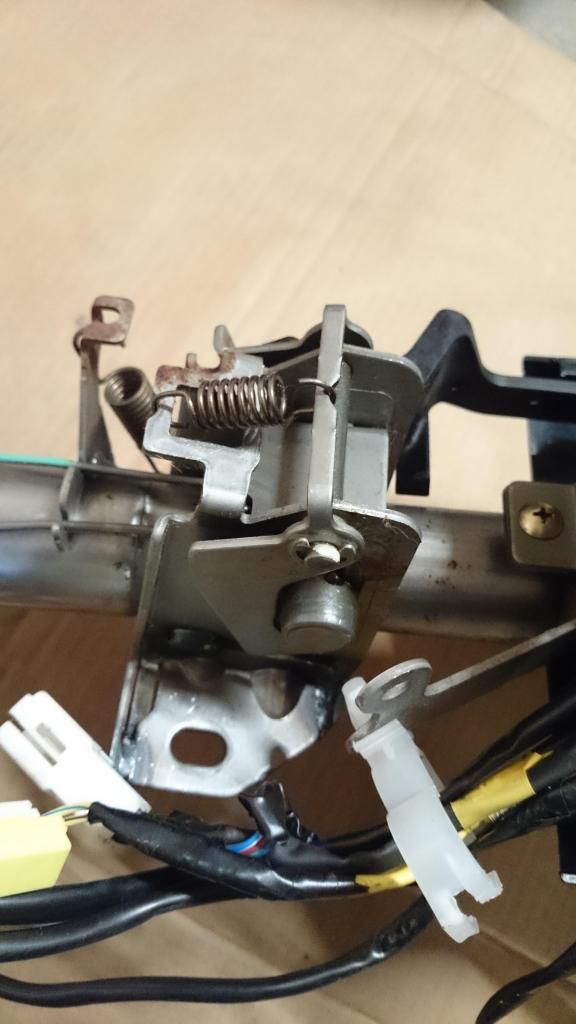
Now to remove the adjustment bracket. Just one bolt and a couple springs. Be careful, both this bolt and the nut beneath have reverse threads. You must turn clockwise to loosen.
Removing all the springs makes this easier.
All apart. Now we can start cutting new holes.

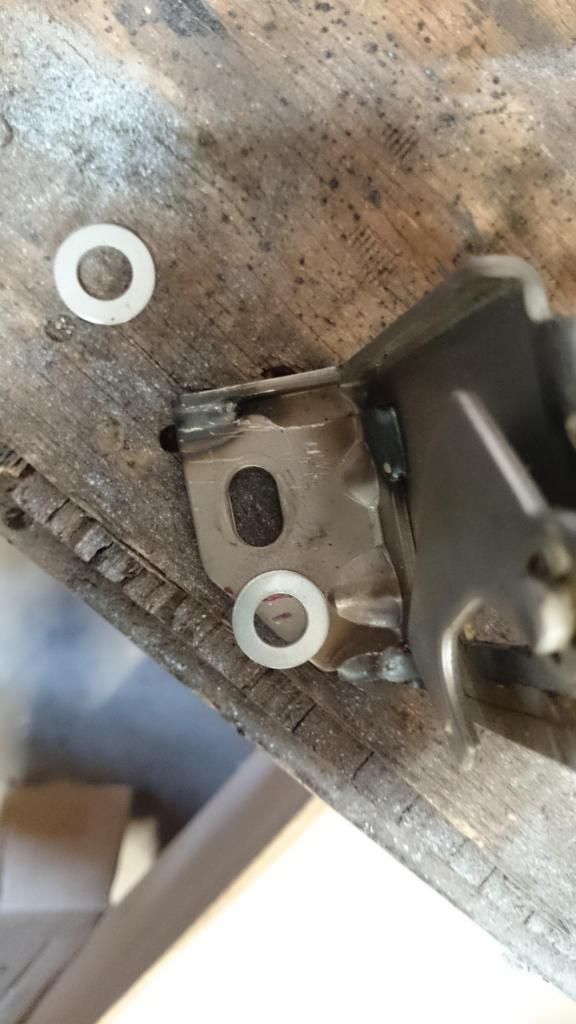
Since my positioning sits so far off the bracket, I will be welding on some washers and extra bracing.
Clamp and align. I forgot to take a picture of the welded result, but it's nothing special. Just more solid.
When you go to mount it in the car with your new holes, you may need to fine tune the length in or out. If you happen to push the housing in too far it's not that hard to get back out. I used vise grips and a slide hammer technique in the vise.
Assemble everything as usual. When you are disconnecting the shaft from the steering rack, I suggest you only remove the u-joint from the shaft as it has only one way to fit back in. This means you won't screw up your alignment. Also, it helps to let the key lock the steering wheel in place to keep it from turning and ruining the airbag clockspring.
Sits much closer now!

Again, because I moved it so much closer, I have a little interference with the panels. It fits good enough for now, but I might cut out this little section whenever I take it off for other maintenance.
Everything as it should be!
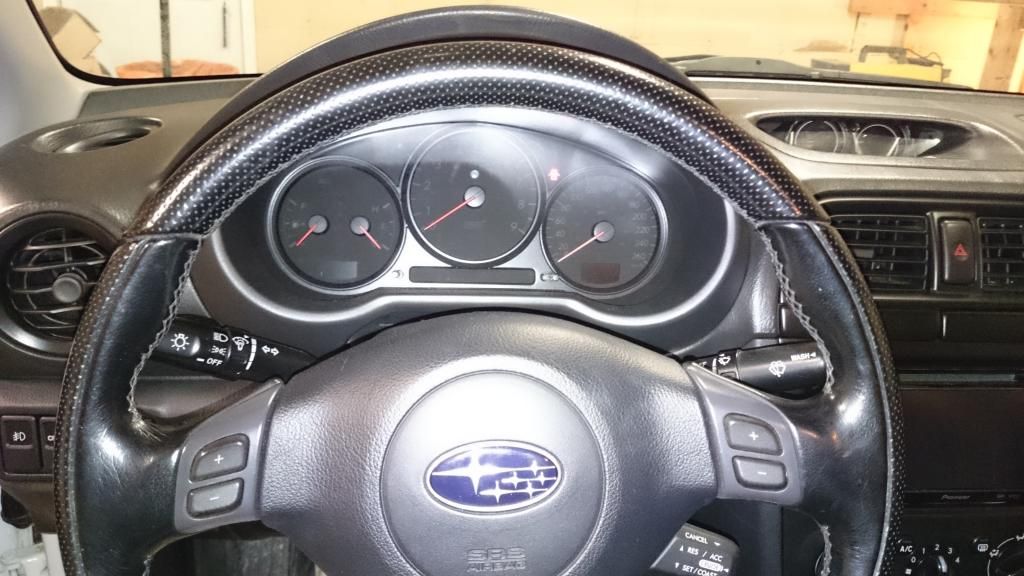
The car feels so much better to drive now, I can be in a seating position that is comfortable and control things with minimum input. Much easier to rotate the wheel 90 degrees left with my left hand.
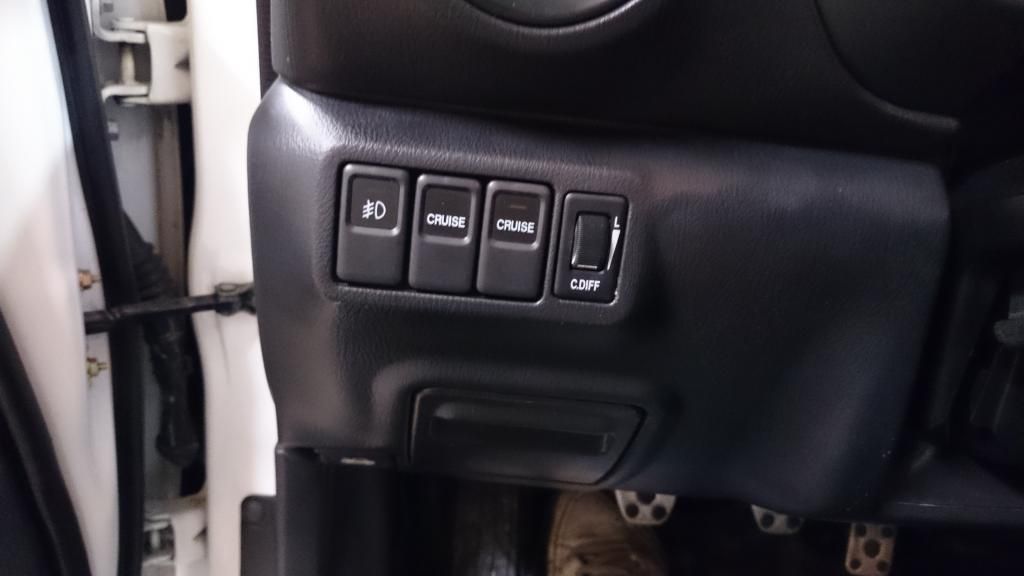
As an additional feature, I relocated the DCCD wheel so my heated seat switches could be together.