I upgraded my standard 175lph fuel pump to a Walbro 255lph fuel pump to accomodate my big turbo build. I have to say I cheated pretty badly on this one. I bought a pre-modified pump housing with a Walbro already installed in it. Otherwise, because of the changes to the '08+ Impreza's fuel pumps compared to earlier MY's, there's a lot more involved. For one, the assembly has to be 'cracked' open, you need to dremel away at the inside of it to fit the Walbro, then you have to be relatively innovative to get the parts back together. So, for me, a couple extra bucks for the pre-modified assembly was the ticket.
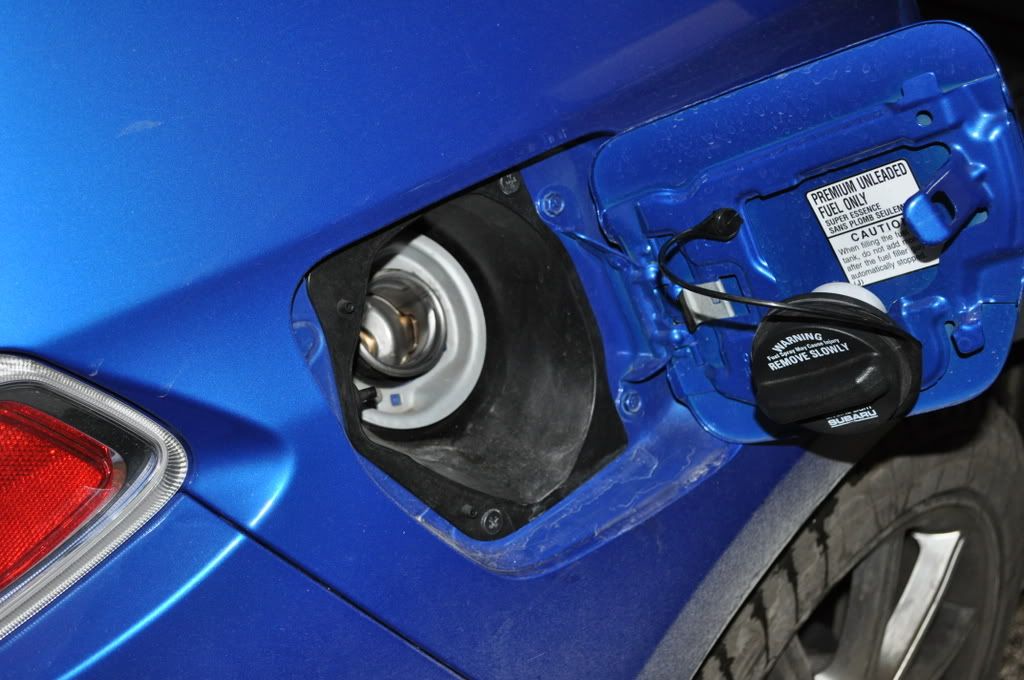
Step 1: Pop off the gas tank cap to relieve some pressure. You should only have 1/4 of a tank of less when doing this install. You don't want more... you'll see why once you pull the pump out.
Step 2 (optional): Pull the fuel pump fuse, start the car, and allow it to run until it dies on it's own from lack of fuel pressure. This way, you know there's no pressure left in the lines = less mess when pulling the fuel lines.
Step 3: Remove the rear seat. It's easy enough since the seat is held in by three clips. Pull from the front of the seat up and back at each corner and finally in the middle. The seat will pop right out.
- see the three metal clips
- see the female connection for seat clips (bottom of pic)
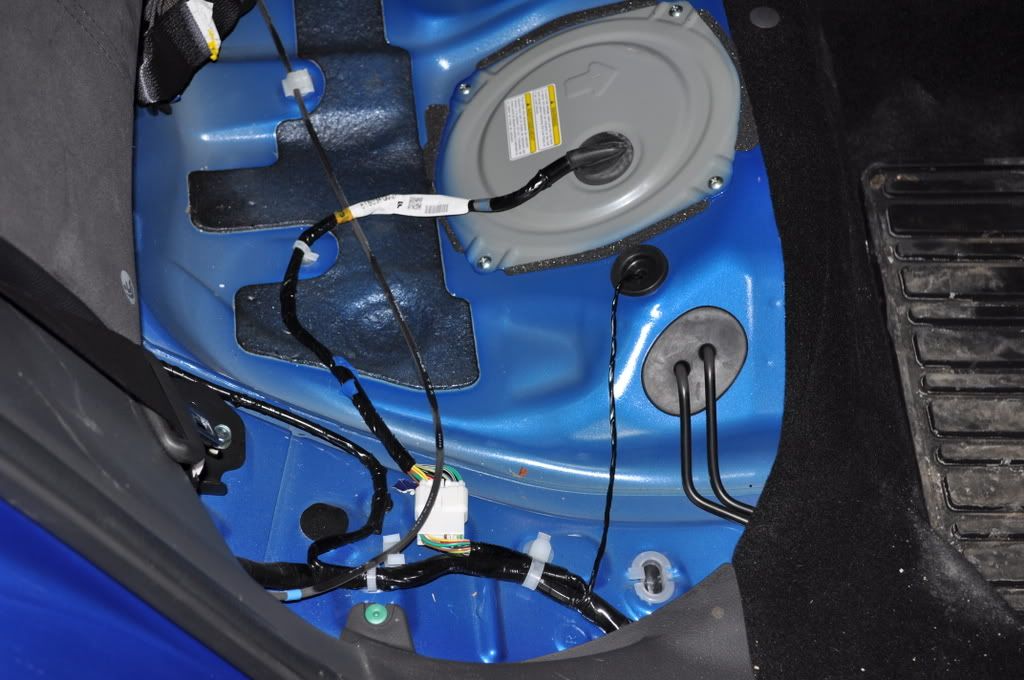
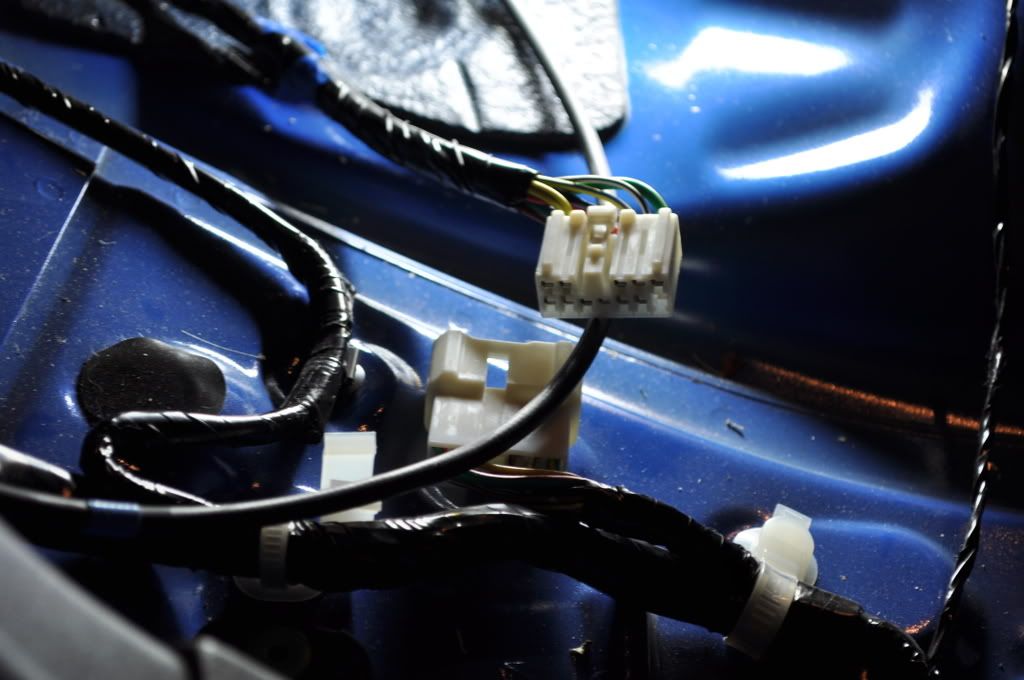
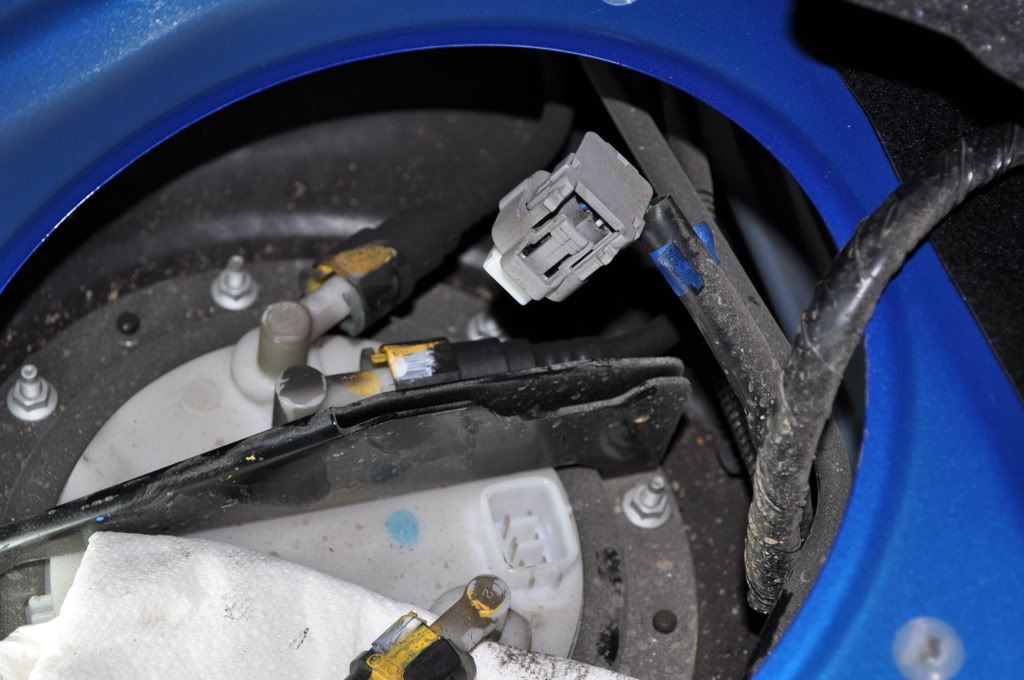
Step 4: Disconnect the fuel pump wiring harness.
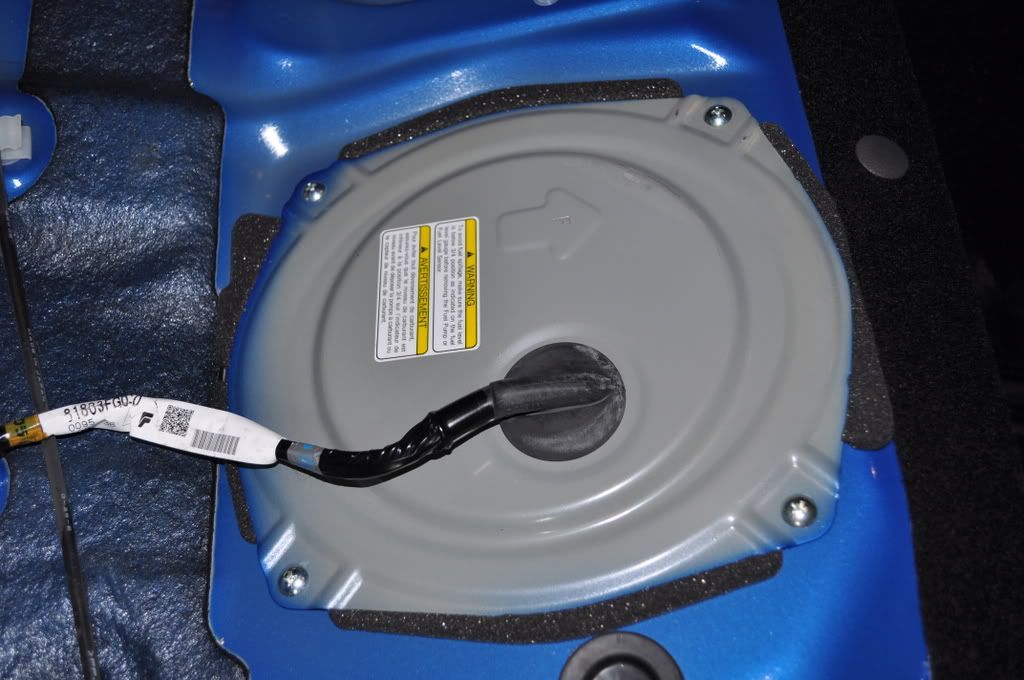
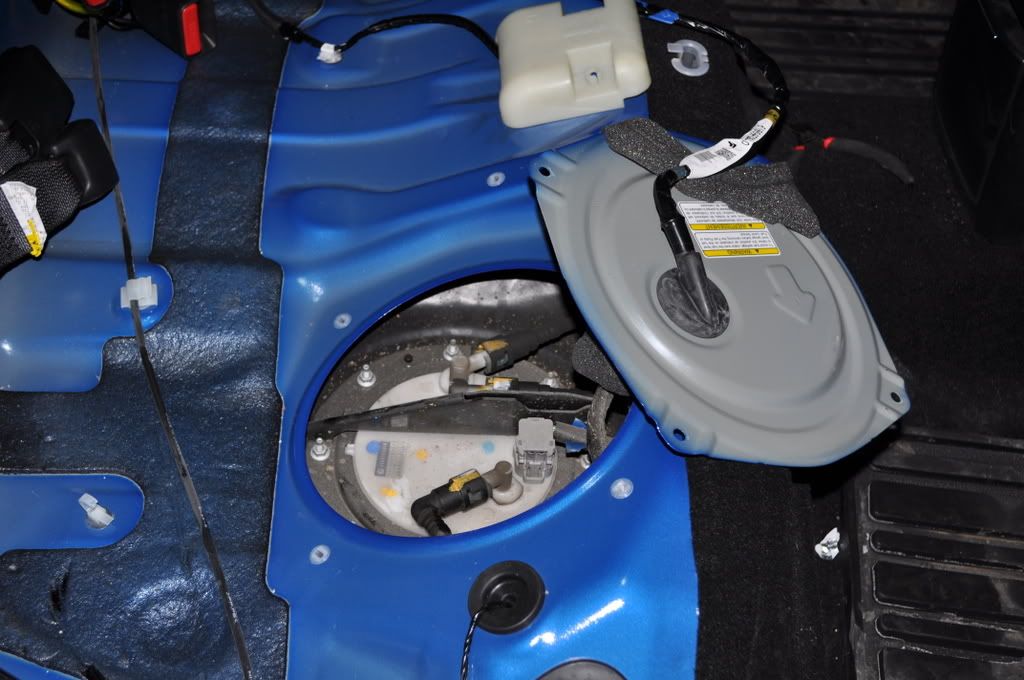
Step 5: Unscrew the 4 x Phillips screws holding the fuel pump concealing plate. Put the plate off to the side for the time being.
Step 6: Unplus harness on top of fuel pump.
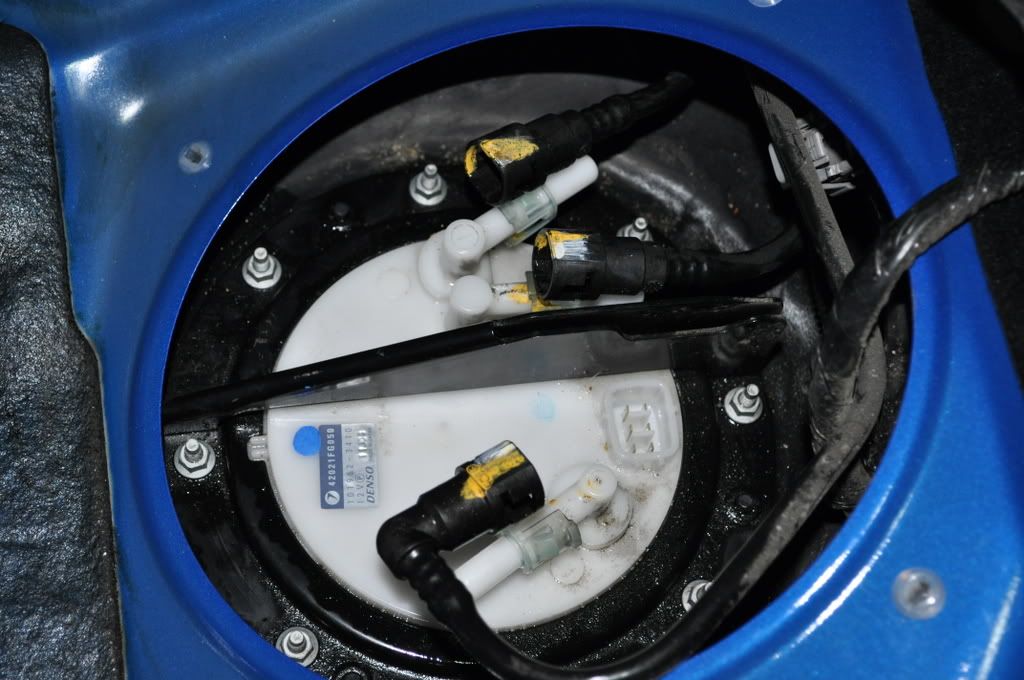
Step 7: Remove fuel lines. Make sure to have paper towels, rags, shop towels... whatever to catch the gas because you will spill some during this step. To remove the lines, simply squeeze the plastic line clip together and slide the hose off.
Step 8: Remove 8 x 8mm nuts.
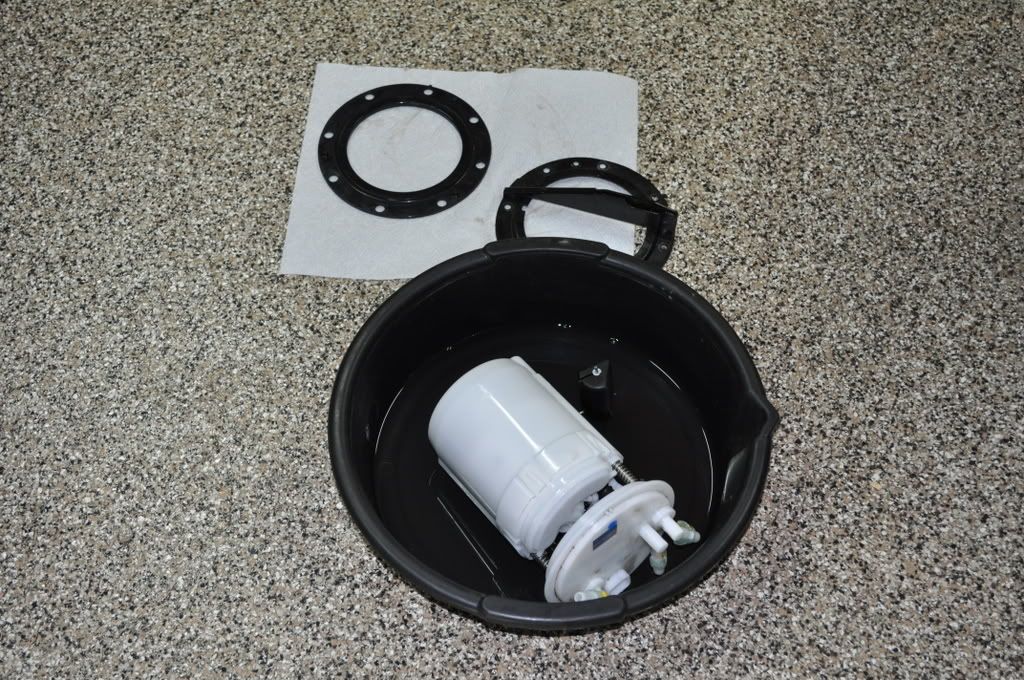
Step 9: Remove OEM fuel pump by pulling off securing plate first, then pulling out the entire pump assembly. Be sure to have a clean bucket with you in your back seat to catch the pump since there is still going to be fuel inside of it. Also, be very careful of the float arm getting bent. I suggest tilting the pump towards the driver side of the car, then pulling up and out.
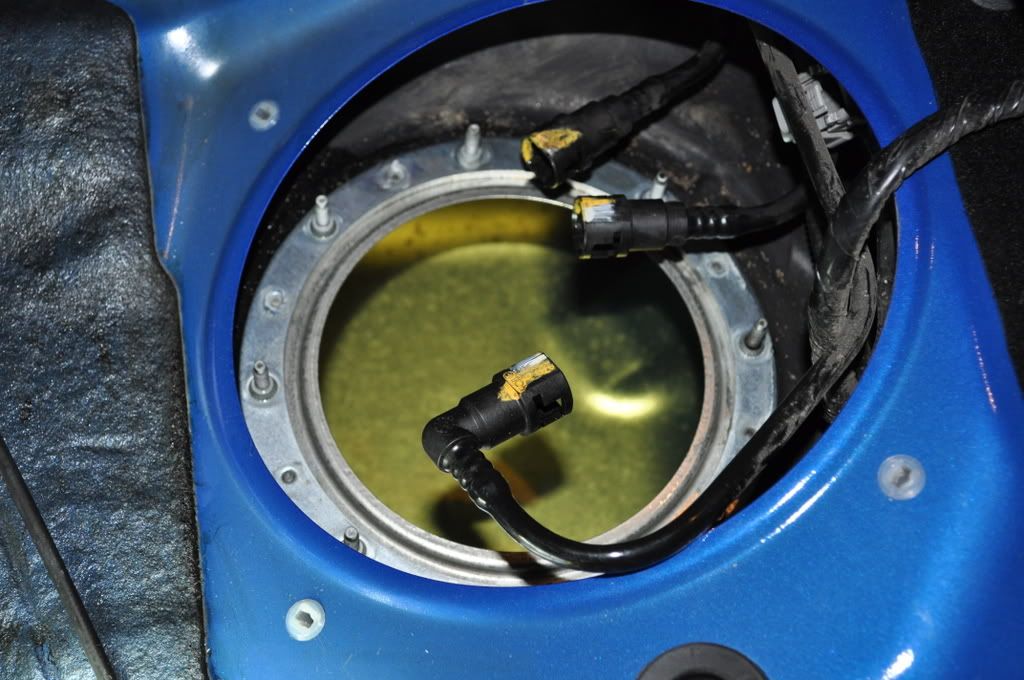
Step 10: Remove large O-ring and remember the orientation of it. There are three little rubber tabs that stick up that much be aligned correctly with the securing plate.
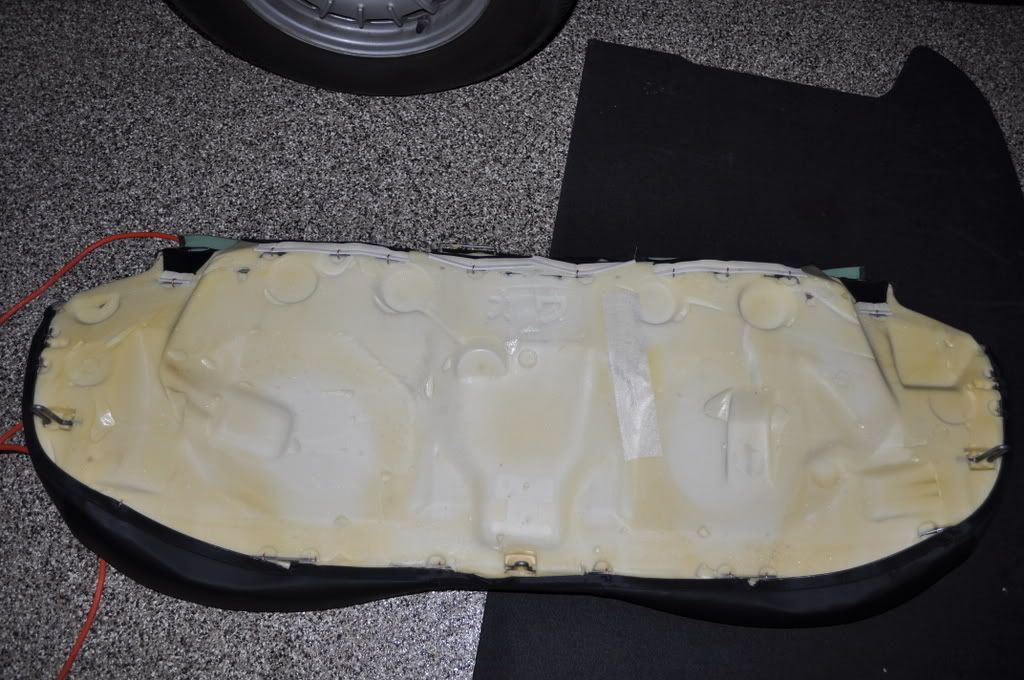
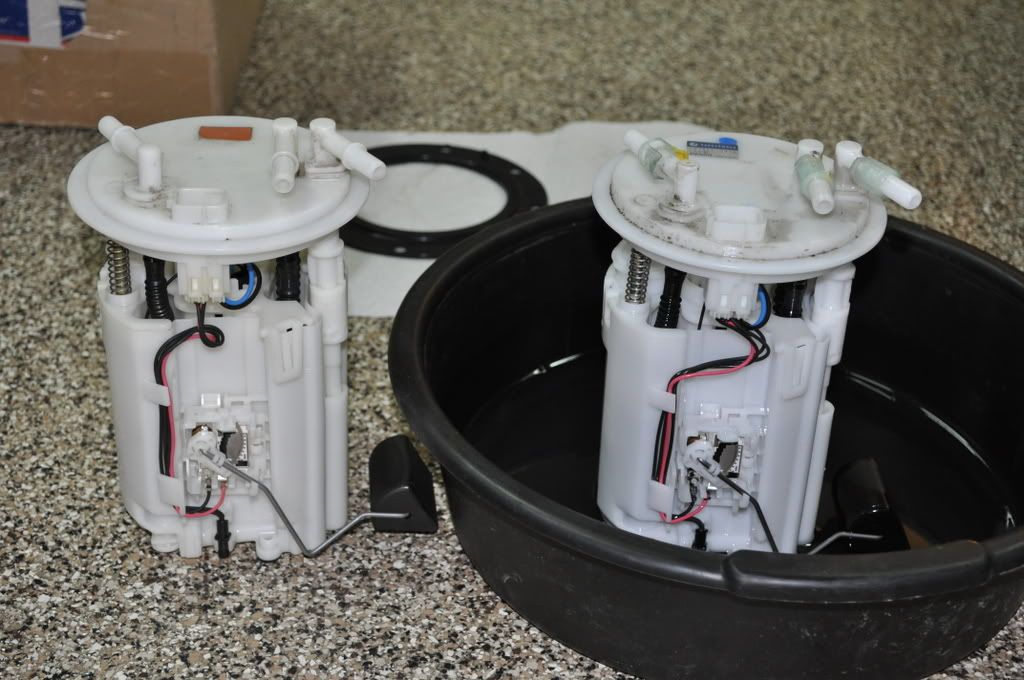
Comparison:
OEM LGT fuel pump assembly w/ Walbro installed (left) versus OEM '08 STI fuel pump and assembly (right). Can you spot the difference?
Step 10: Transfer O-ring to new pump. As in #10, note the proper orientation of the O-ring.
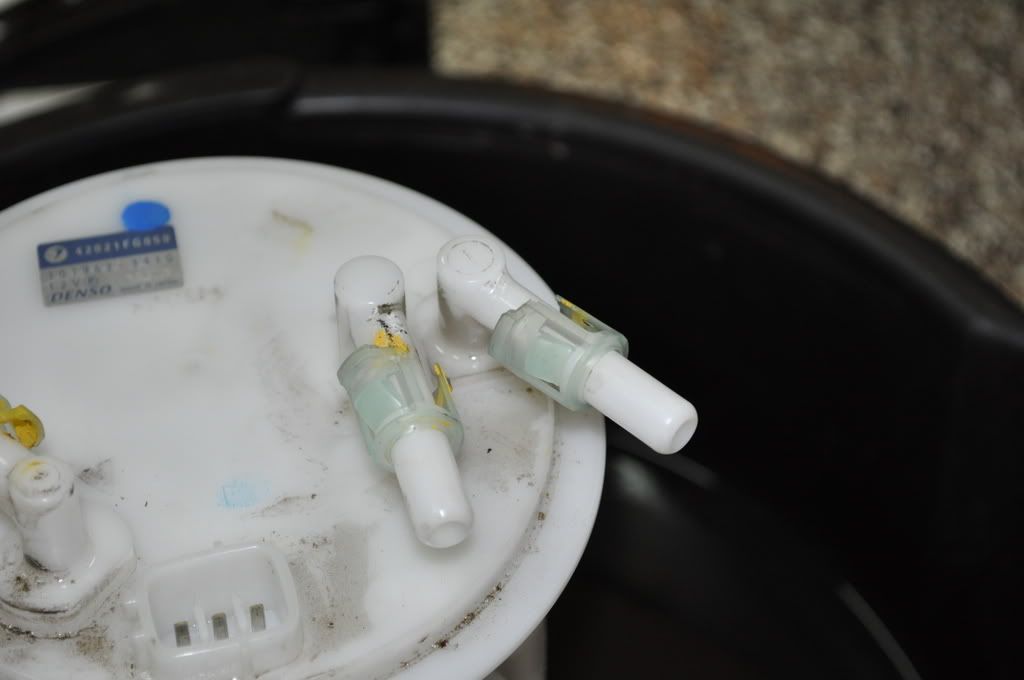
Step 11: Transfer line clips to new pump. To remove the clips from the old pump, simply take a flat head screwdriver and pop the clips off. Don't do it with only your hands since you'll likely break them. A flat-head allows you to get behind the clip and pop it up naturally without having to bend them.
Step 12: Install new pump. Do not install the concealing plate yet.
Step 13: Once the pump, lines and connectors are reinstalled and the pump is secured with the securing plate, you can now fire up the engine. Prime the fuel pump first by turning the ignition to "on" without starting it. Once the pump re-pressurizes the lines, start the car.
Step 14: Look for leaks. If all is well, install the concealing plate, reinstall the back seat and you're good to go.


