So I decided to get a short shifter. The shifter in this DIY is the GroupA Adjustable SS for the 08+ WRX.
Here are the install notes.
(All of the pictures are clickable for bigger versions)
CN: Remove center console and tray. Remove stock shifter. Replace with new short shifter. Replace tray and console. Win.
Tools:
2x12mm wrenches
Philips screwdriver
Flathead screwdriver, medium and large sizes
Snapring pliers, or a small pair of bent needle nose pliers (if using needle nose, make sure they have TEETH. You'll see why)
Spray White lithium grease
Short shifter (if adjustable, then hex key to adjust the length of shifter)
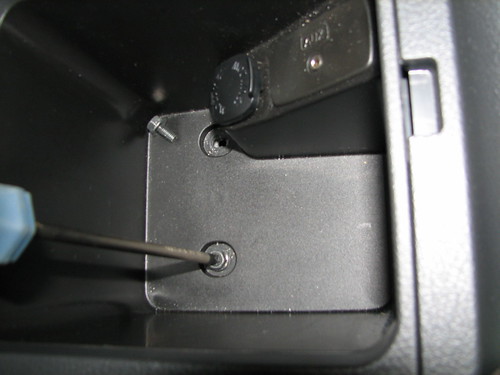
Open center console to expose the screws holding it down.

Remove screws.
Unclip the ebrake boot from the center console. Use a large flathead to get the first clip undone near the shifter. Once the first one is up, the rest will undo just by pulling it. They
will break if you pull them too hard the wrong way. But you'll figure it out when you see it.
Now you will see the last screw holding the center console in place.

Unscrew it.

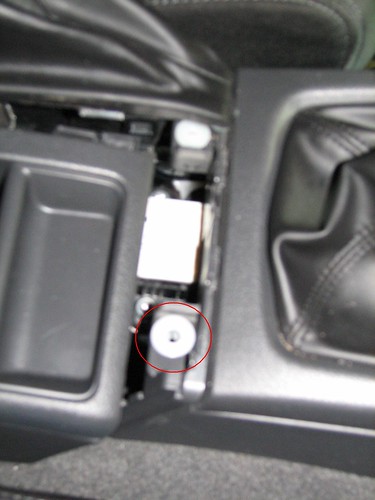
There is a white clip holding the console down. Pull up. Make sure the center part of the clip stays attached to the console, and doesn't fall down somewhere. It slides out easily.
Remove the shift knob.
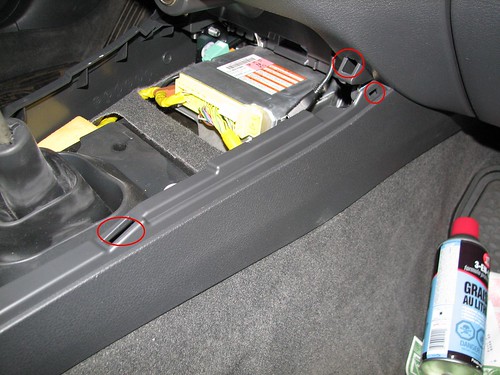
Now remove the shifter boot and tray. It is clipped down at 6 points (see red circles). Lift UP on the back section (the side towards the console). Once this part unclips, then get your fingers in between the console and the tray, and pull OUT to get the center clips undone. Then pull the front section OUT to unclip from the dash section. Then pull towards the back of the car, to unsnap it.
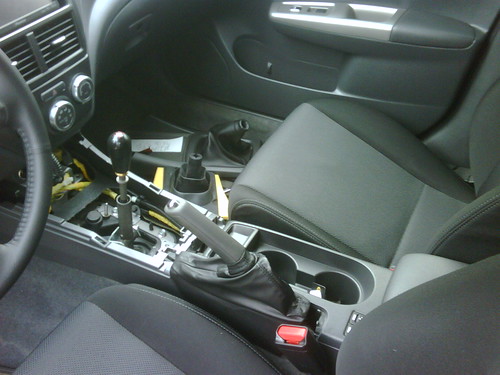
Your center console should now look like this:
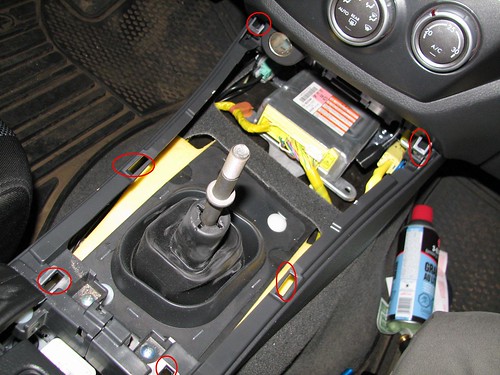
This picture should help you figure out which directions to pull the tray at which points.
There are two plastic "screws" of sorts, that screw onto 2 posts. Use a large flathead screwdriver to get them off, or just pull them straight up over the threads.
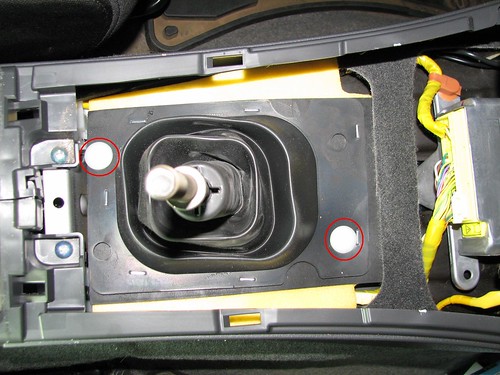
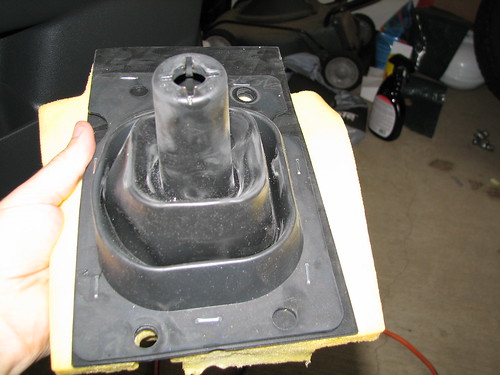
This is what you are taking off:
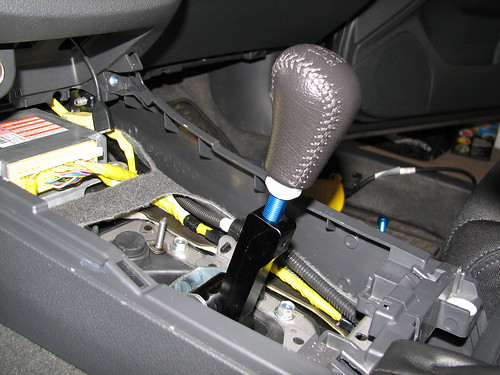
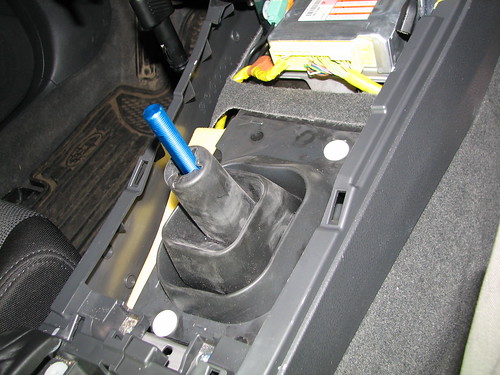
Now that the rubber boot is off, you should see this:
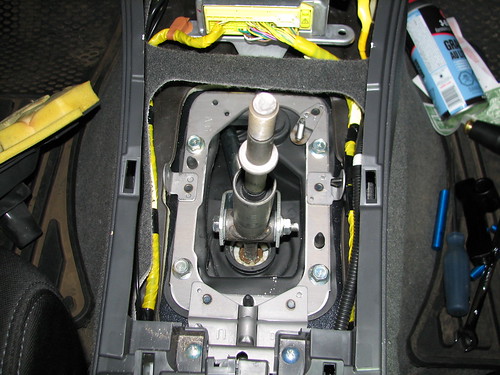
Use 2-12mm wrenches to take off the bolt holding the shifter to the linkage.

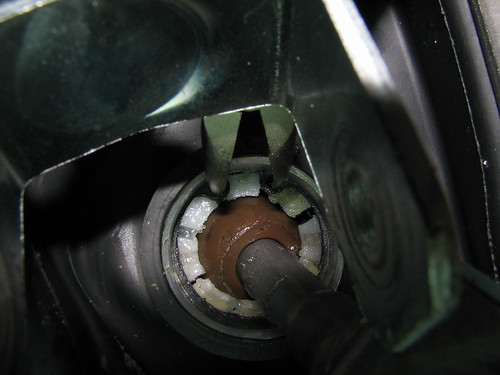
Now you need to take off the snap ring. You will see the two clamp points here at 12 o'clock and 1 o'clock:
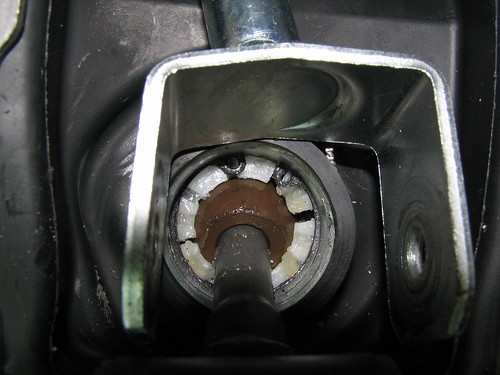
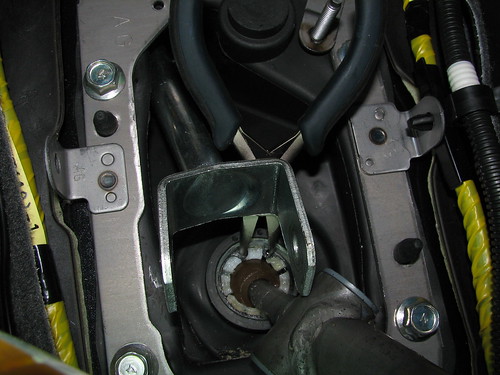
Use the pliers (snap ring or bent needle nose) to pinch the snap ring and remove.
Once the snap ring is out, pull the shifter straight up. The whole white plastic bushing will come out, and you will be holding this:
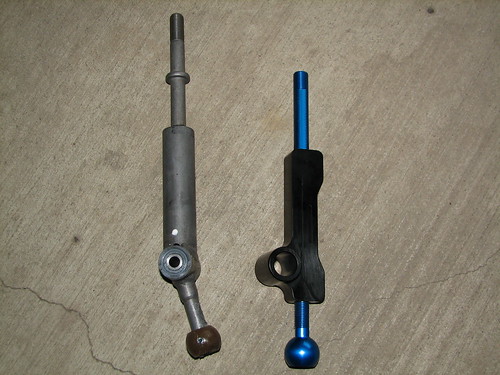
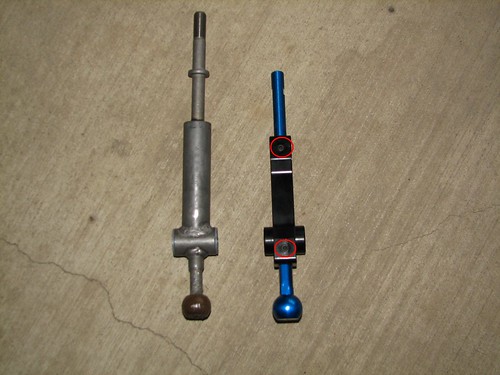
Here is the stock shift arm and the GroupA adjuster for comparison.
At this point, adjust the bottom portion of the shifter to set the throw length. The "taller" you make it, the "shorter" the shift throws will be. Make sure you dont make it TOO short. I started by making it the same length as stock, and then went a few threads extra.
Tighten the hex screws TIGHT! (red circles show the adjusting screw positions) Mine came loose just after the test drive.
Remove the center pin and plastic spacers from the stock shifter. Use a flathead to push them out.

Put the spacers and pin into the new shifter. Also put the snap ring around the end (this will be easier then doing it after spraying the grease on).

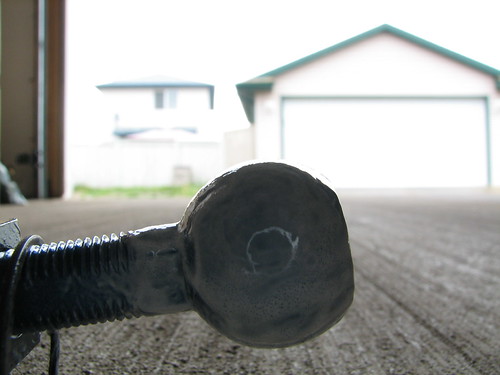
Spray the ball of the shifter with the white lithium grease. Be generous. You can't use too much.
Put the white bushing on the shifter ball. Make sure the O-ring stays on there, and holds it all together.

Put the bushing/shifter back into place.

Use the snap ring pliers (or needle nose) to put the snap ring back into place, to hold the white bushing in place.
Then line up the linkage with the pin on the shifter.

Put in the bolt, and tighten it all up with the 2 12mm wrenches.
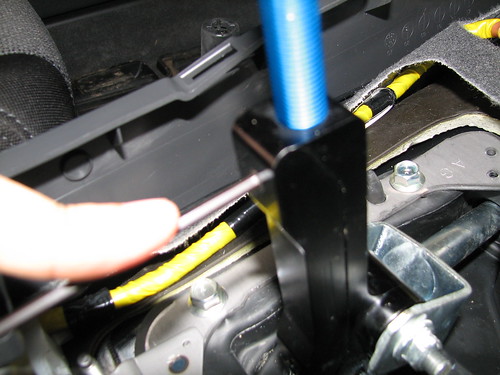
Now that the shifter is in place, adjust the top portion to set the height. This is personal preference. You could make it so low, you have to reach your whole hand into the cheerio bowl to shift.
Tighten the top adjusting screw.
Put your shift knob on, and sit in the drivers seat to get the feel of the proper height of your shifter.
The next step is optional, depending on your shifter, and your preferences.
Put the rubber boot back on the shifter. I removed mine after a few days, as the rubber boot in combination with the leather boot got in the way of shifting into 2nd gear.
Put the tray back over the shifter, and then the knob.
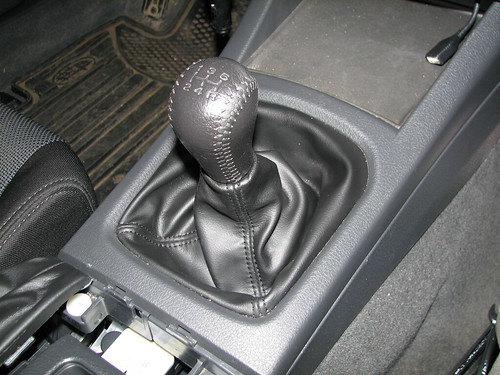
Put the center console back on. Don't forget to reach down the side of the ebrake boot and clip it back into the console before clipping the top portion.
Now, the cereal bowl.
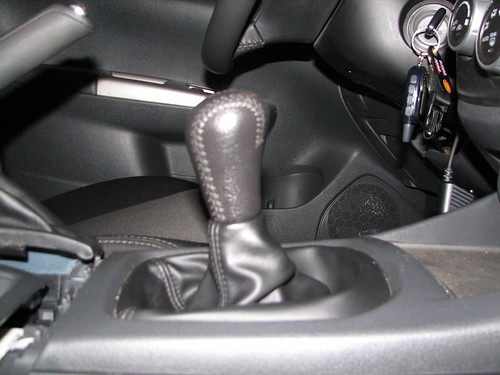
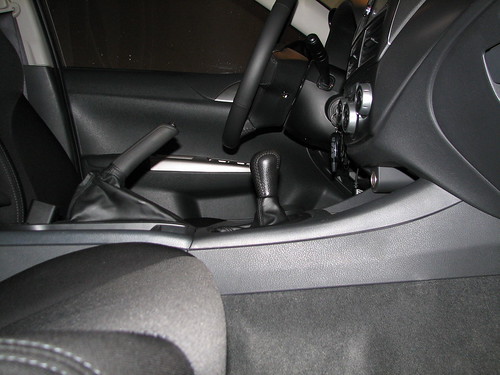
Now you've got a short shifter!
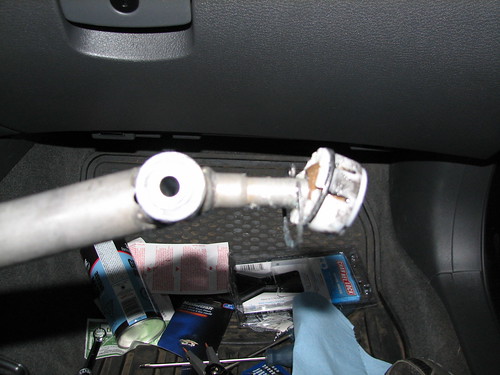
FYI... if you think your needle nose pliers will do the job, and then you discover that they don't, this is what it will look like when you have to drive to crappy tire to get the proper tools, without any covers or boots on your shifter.