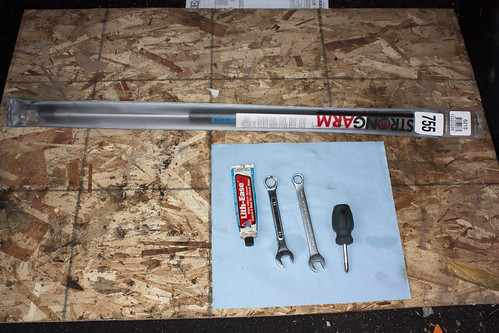
Hatch Strut replacementreplacement:Strong Arm @ partsource p/n: 6215 ($50cad/ea)
turbo strut @ NAPA p/n: ALT 1073008 ($82cad/ea)
OEM (something) @ SGP p/n: (unknown) ($79usd/ea)
Est. Time:
15-20 mins per strut. If you do both in one shot about 30-35 minutes.
Tools:phillips screw driver
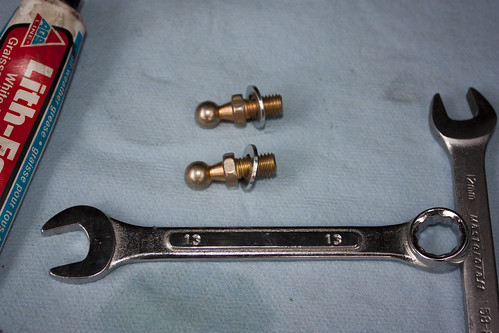
12mm wrench
11mm wrench (maybe)
13mm wrench (maybe)
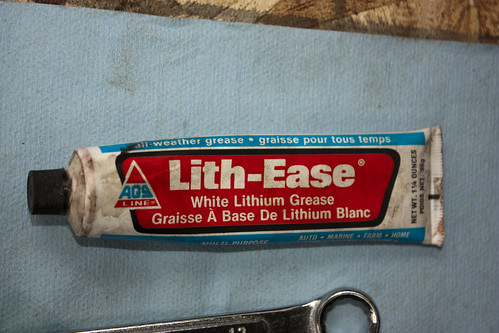
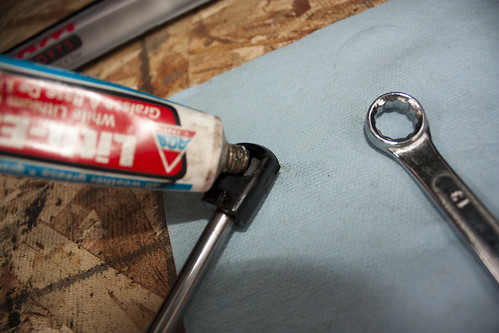
Optional:lithium grease or other lube
 Steps:
I picked the strongarm struts because they were the cheapest and the only ones with a lifetime warranty. The only thing I've noted is that the size of wrench needed varied for all 4 fittings (hence the maybe for the 11/13 mm wrenches. The instructions say this is best done with 2 people but really "using your noodle" you can do it alone. I did, *AND* took pictures!
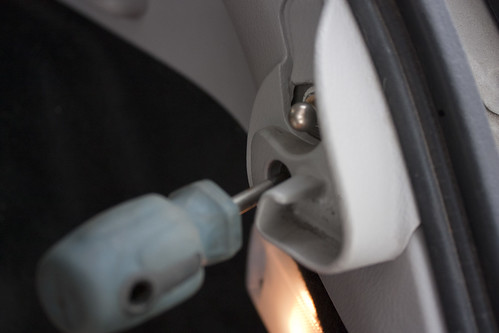
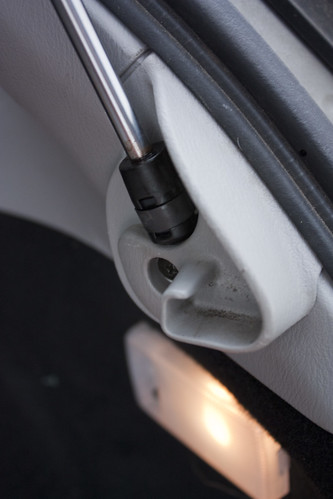
It's easier to start by removing the cargo cover support using a phillips screwdriver to remove
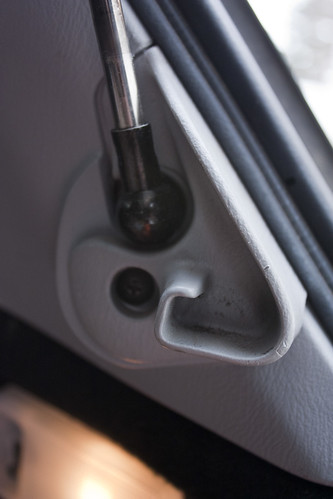
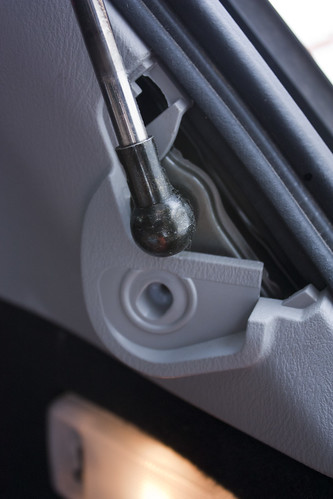
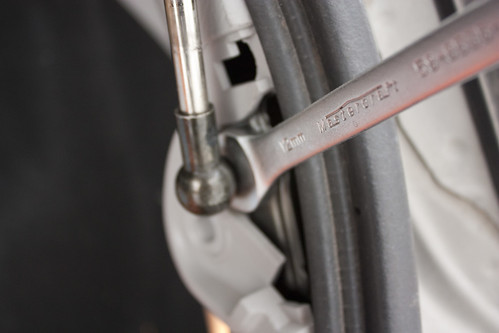
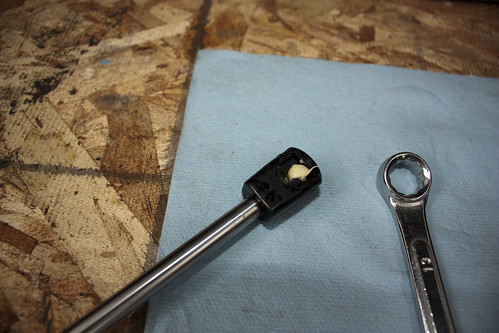
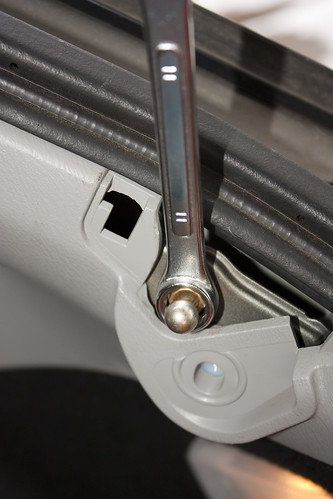
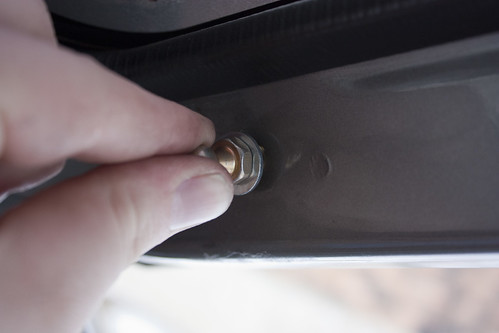
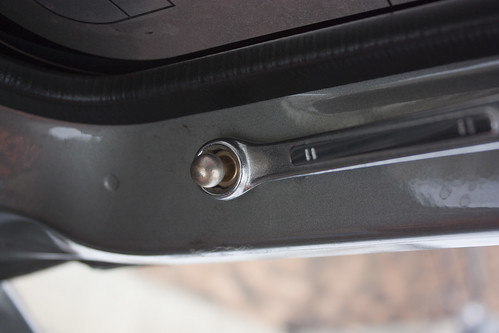
Then using a 12mm remove the pivot ball assembly that attaches the strut. I started at the bottom since I figured it'd be easier to undo the second one while it's hanging down from the hatch than the other way around. I tried both ways. I was right. Undo the bottom one and then the top one.
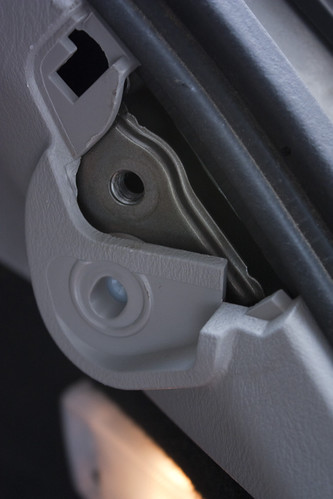

(optional) If you're going to grease the female receptacle of the strut now is the time to do this. Then set it aside.
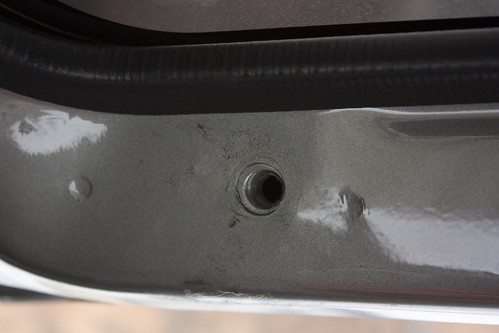
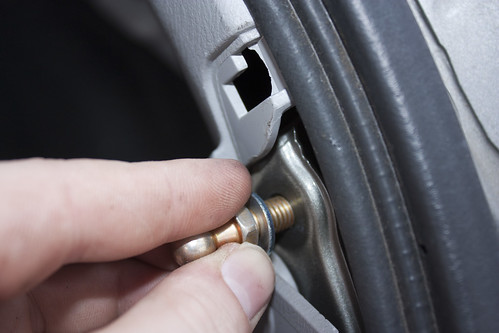
Now take the assembly male posts and screw them into the applicable holes (doesn't matter which/where) and make sure the washer is in there. Tighten to a similar point as removal was

Almost done. reinstall the cargo cover support. Believe me - it's easier to do it this way than after the strut is installed
Finally we install the strut. I found it easier to install bottom then top but either way works so you can actually choose here
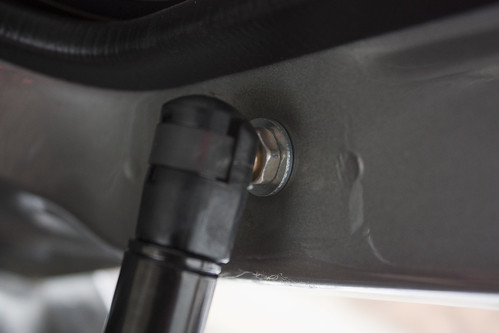
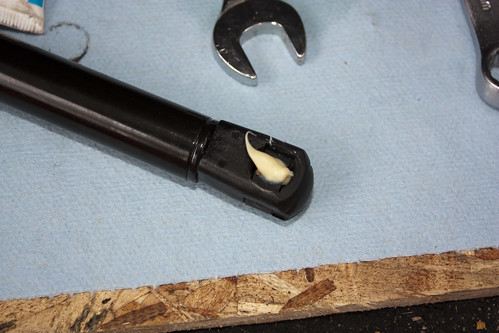
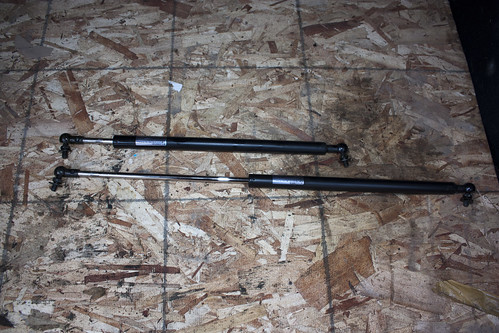
Here's what a blown strut will look like versus a good strut. Note the fluid that had leaked down around the mounting assembly

cleanup, and done!
Revell in the awesomeness of a hatch that opens and closes properly!
Pat yourself on the back for doing it yourself and not giving in to "the man" (or some such nonsense)
disclaimer: this guide is for entertainment purposes only (hah!) and I will not be held responsible for you screwing this up on your own car. And no, I don't know if it will work on any other wagon/civic/forester/honz car/random car.


