So I did this mod a week or so ago and thought I'd make a little how to for it since it seems more difficult than it is.
The point of this mod is to get better light output and a sharper, more colorful cutoff than stock, and all it costs is an afternoon of your time and $55!
First you need the following:06-10 STI
TSX-R Projector Lenses from Retrofit Source:
http://www.theretrofitsource.com/product_info.php?products_id=135Oven + Mitts
Flat and Phillips Head Screwdrivers
I assume you know how to remove your headlights, if not, search Nasioc or IWSTI, there are several threads about it...
Then you need to bake and take apart your headlights, I used this walkthrough:
http://www.iwsti.com/forums/how-install/116337-diy-painting-angel-eyes-2006-7-wrx-sti.html (I also painted my headlight bezel's black at the same time, but that's not what this tutorial is all about...)
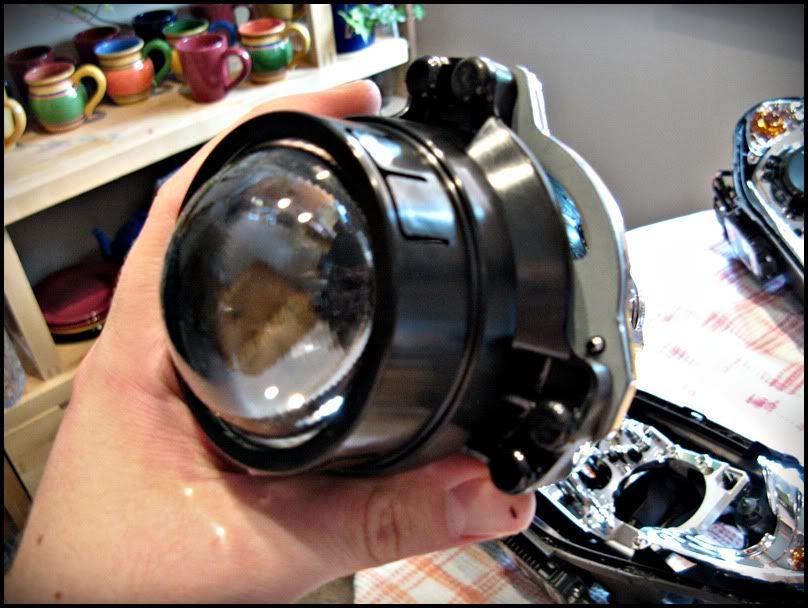
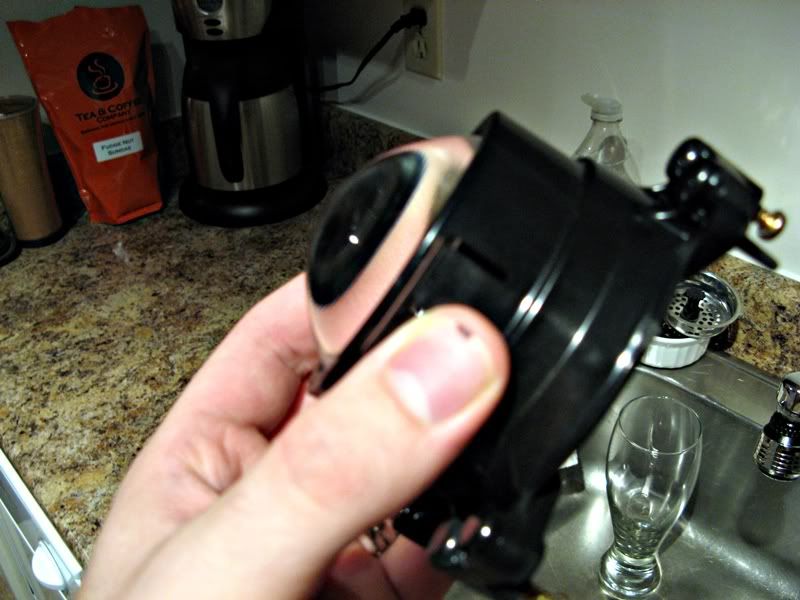
Follow that to the point where you have the clear headlight lens and bezel seperated from the rest of the light. like so:
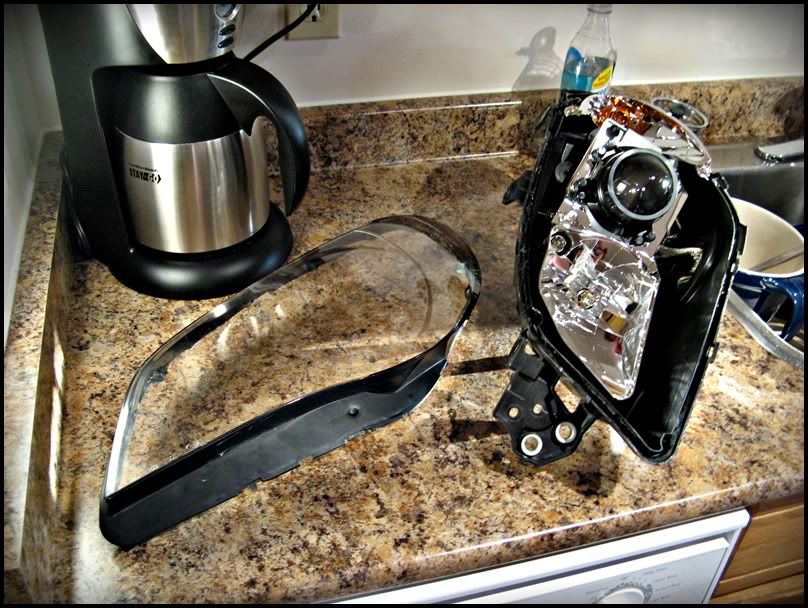
Now is an excellent time to clean the inside of the lens, mine had water stains from previous condensation that was in the headlight.
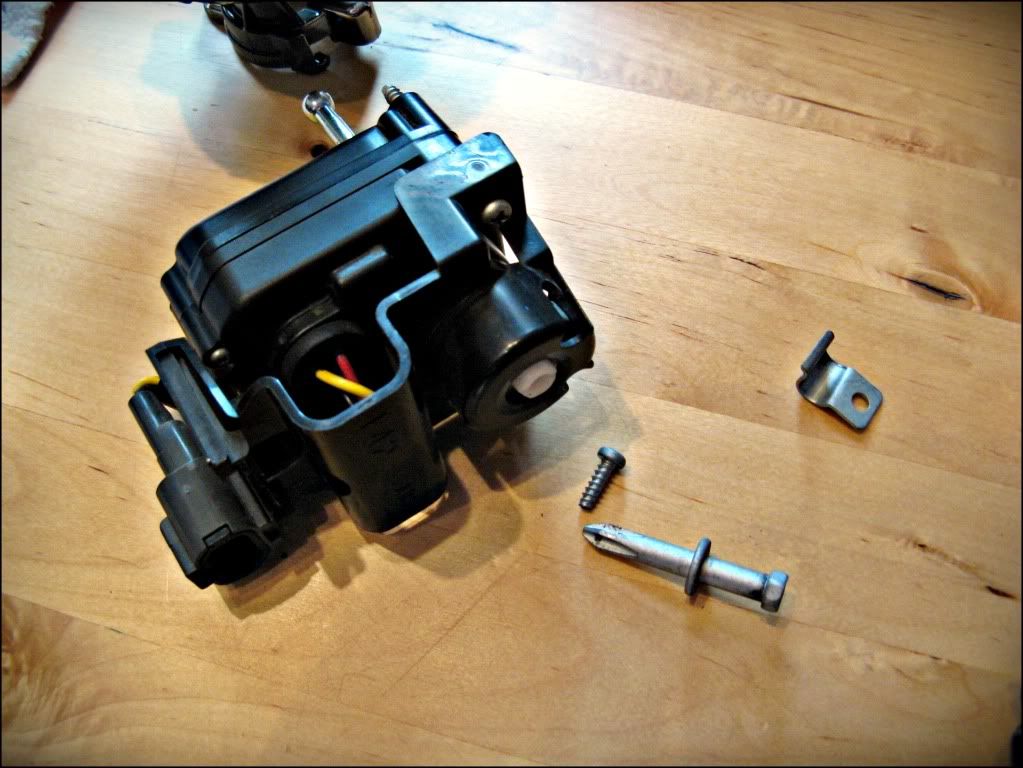
First order of business is to remove the high beam bulb (don't touch the glass) and place it somewhere you'll remember. Then remove the height levelling motor from the back.
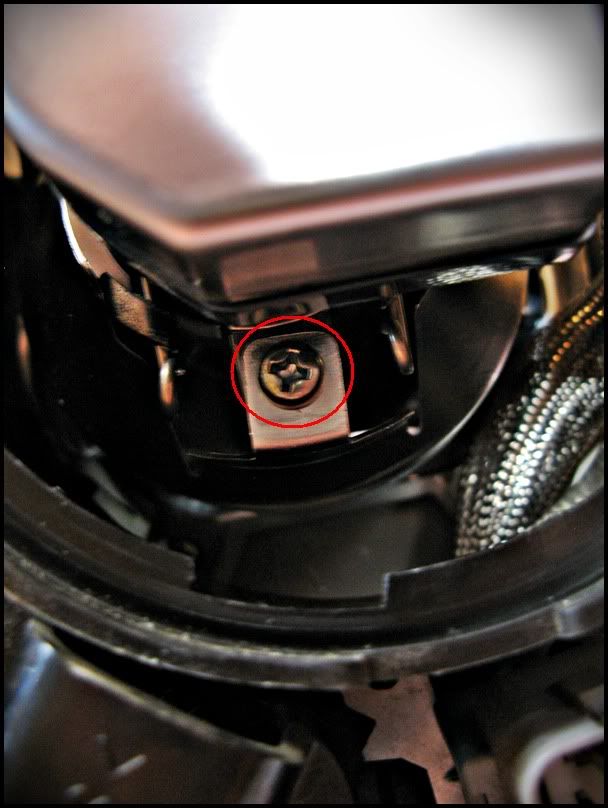
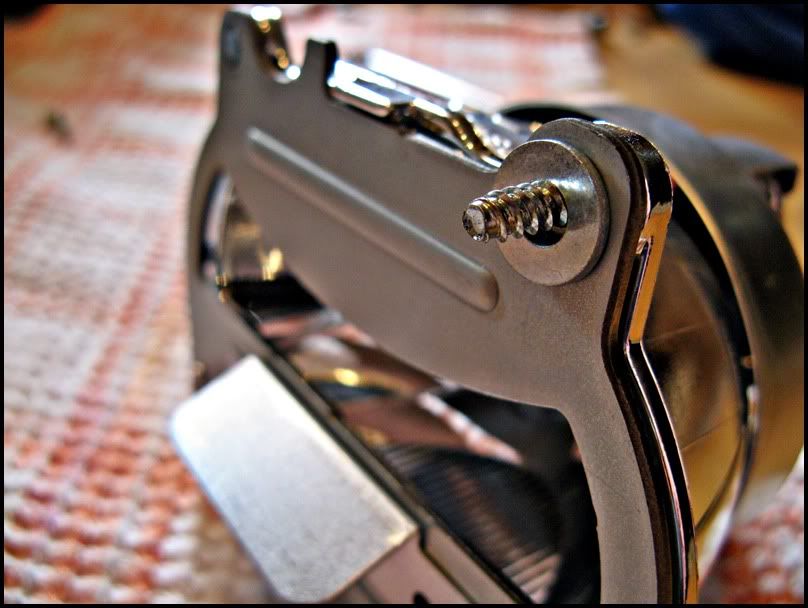
First unscrew the tab holding the adjustment screw on, then remove the three screws holding it in. It should slide out with a little effort:
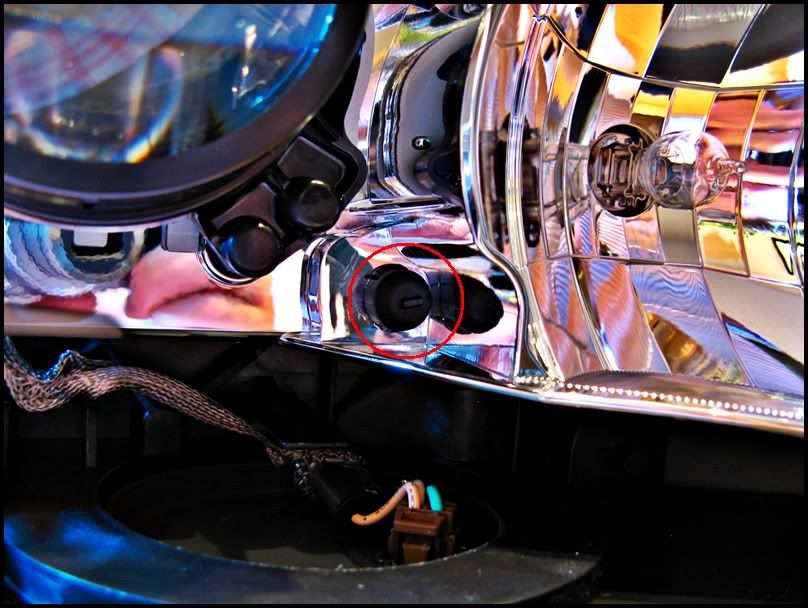
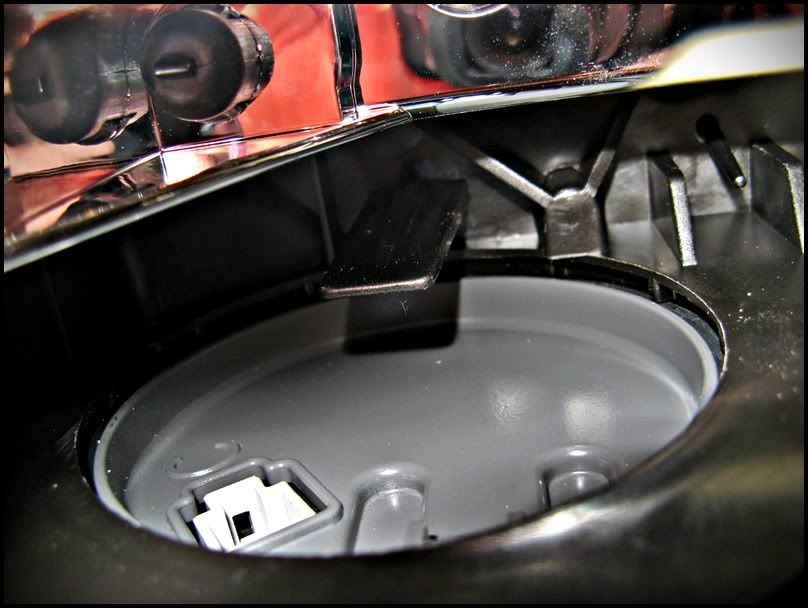
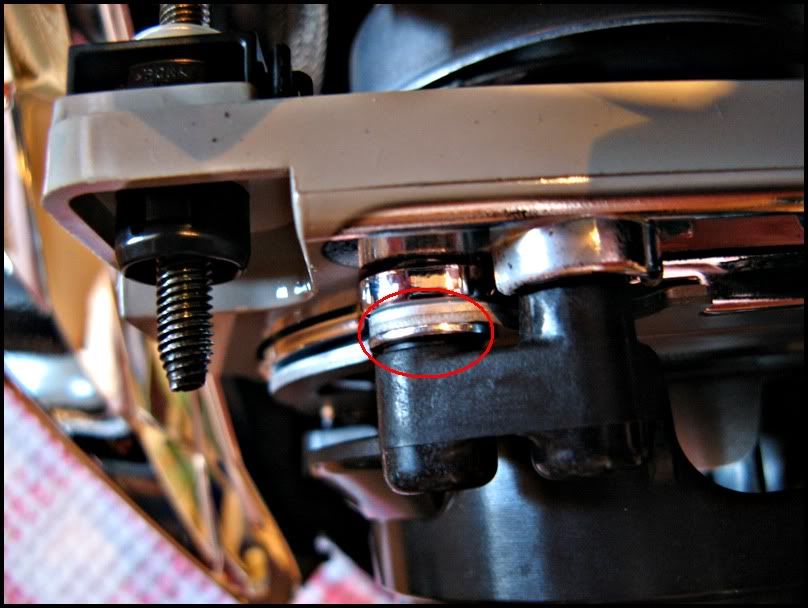
See the little black nub in the pic below? Some goofy rod with a ball on the end that goes into the nub from behind, and you need to pull it out. Reach behind the high beam bowl and pull right here, it'll take some effort, and you'll feel like your breaking it, but you need to pull back here to be able to move the high beam bowl freely, this allows you to move the bowl around a bit during this whole thing in order to get at some screws, its hard to describe but you'll see what I mean as you do this.
Then we focus on the HID D2S bulb in the low beam. First, turn the light upside down and remove the three screws holding the ballast on, and then unscrew the ground wire, and then unclip the little wire and socket that leads to the bulb, at this point I put the ballast back on so I'd have less parts laying around waiting to get lost:
Flip the light back over and unscrew the ground wire attached to the bulb, and also remove the screw holding the shield on:
Undo the clip holding the bulb in, and proceed to slide out the bulb, shield and wires all at once.
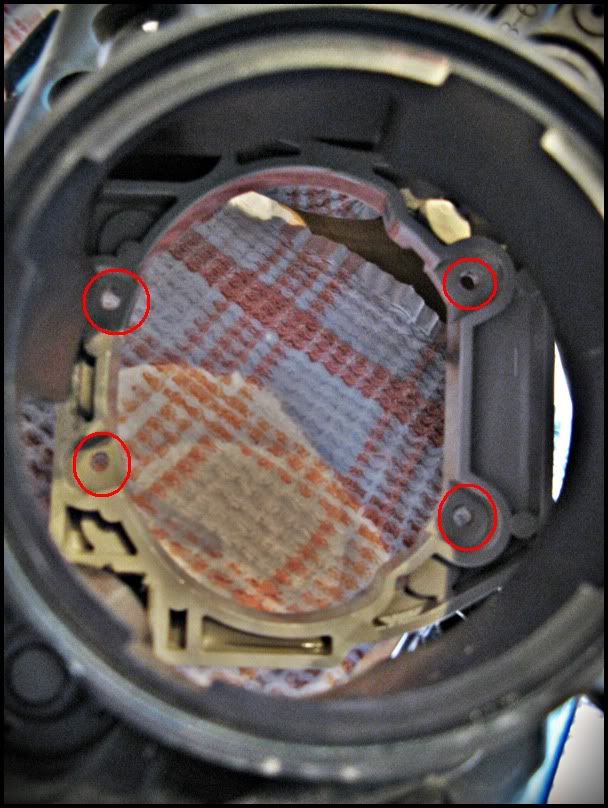
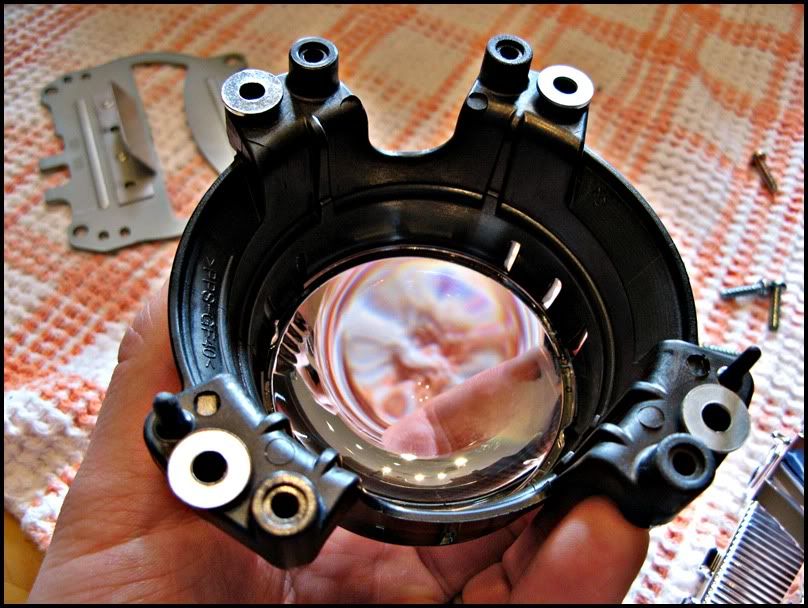
At this point you will be able to remove the 4 screws holding the projector onto the high beam bowl assembly, this is a picture of it removed:
4 more screws hold the 3 peice projector together, remove the 4 screws and seperate the lens/lens holder, cutoff shield, and reflector. Removing the old lens is tricky, take your new lens and place the flat side against the flat side of the old lens and push the new lens against it, eventually once you get it right (it took me several tries) you will release the 6 tabs holding in the stock lens and it will come out by pushing on the curved part of the old lens. Install the new lens, by pushing it into place, and make sure that the 6 tabs secure it, you'll hear a "snap" when they do. On the clear lens you will notice a squiggly line part on the outside edge, (this is called a sign light and allows a little light to pass above the cutoff to light up signs) make sure that when installing the lens, the squiggly part will face down when re-installed onto the projector. I did not do this because I was blissfully unawares, hence my cutoff is very,
very sharp.

Pics:
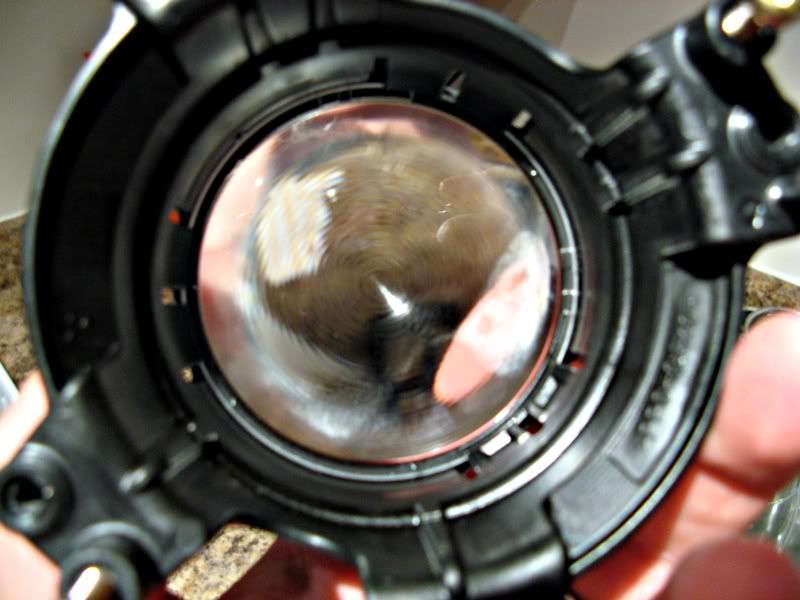
Clear Lens on the Left, old diffused lens on the right, you can see how the stock lens really diffuses the light and makes a mess of an otherwise excellent projector:

The next part is optional, but highly recommended, its called the washer mod. What you do is space the lens away from the reflector and cutoff shield by about 1mm, this focuses the beam a little more and provides a more colorful cutoff. Place 4 washers in between the lens holder and cutoff shield like so and screw the projector back together:
After this simply put everything back together in reverse order. Remember to resecure the high beam bowl at the little black nub, otherwise you'll never be able to height adjust the headlight. Now's a good time to clean out your headlight with some canned air and a microfibre cloth, you don't want dust or fingerprints showing once your headlight is sealed up. Re-bake it, and put them back into the car.
You'll likely have to re-aim your headlights after this, its dead easy. The official way is to put your car on a level surface 25 feet back against a wall. The cutoff of your low beam should be 5cm lower than the center of the projector lens. Or you can do what I did and get your friends STI next to yours and adjust your lights to match his. I set my passenger side light slightly higher than my drivers, its not the proper way to do it but I find it's easier to read roadside signs with such a defined cutoff.
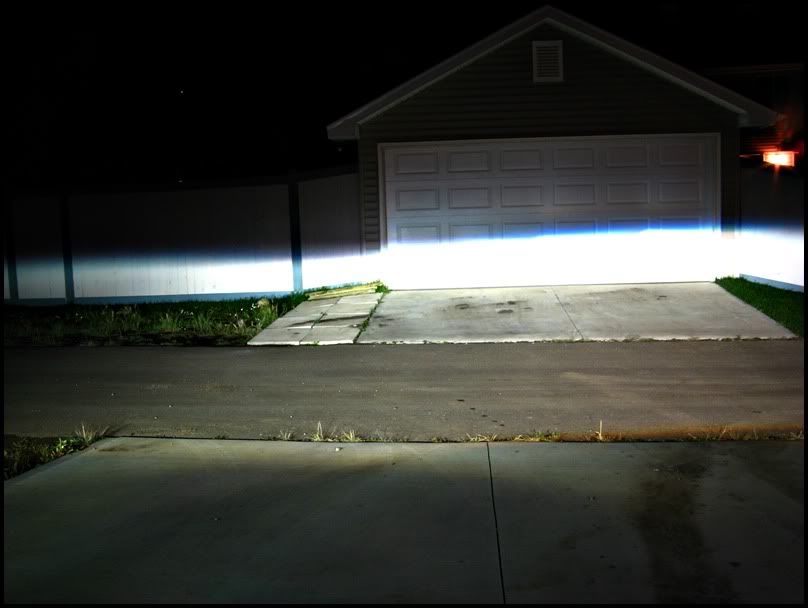
Results:
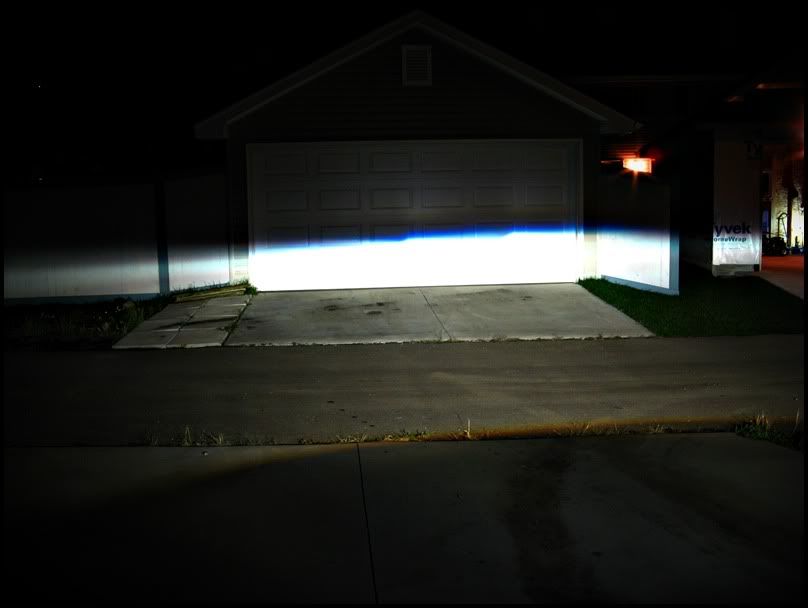
Okay so the picture isn't great, but you can see the thick band of color at the top of the cutoff.
Stock STI on the left and mine on the right, see the difference? The stock STI has a fuzzy ill defined cutoff, and though the picture doesn't really bring it out, in person it's dimmer and more yellow than the modded lens.
Wondering why you want a more colorful cutoff? Remember how when HID's first came out on Audi's and BMW's a few years back? Remember how when they came at you they'd emit a blue/purple light around the edges and it looked super cool? That's called color flicker, and in recent years the OEM's in north america started putting in diffused lenses in the projectors to get rid of this, but at the expense of light output and er....coolness.....so space out that lens and maximize the awesomeness of your HID's!!!
Enjoy your new lights! Questions? Did I miss something? Reply to the post and I'll do my best to help.


